UEFI Installation Tutorial for WINDOWS 10 PRO
Add.: 2F, Bldg 10, Changfeng Industrial Park, Dongkeng, Fenghuang, Guangming, Shenzhen, China 518132
Mobile/WHATSAPP: 86-138 25769658
Email: marketing@topadkiosk.com topadkiosk@gmail.com
Skype: pghenry1
Wechat: adkioskhenry
English Web.: http://www.topadkiosk.com/
https://www.topkioskdisplay.com/
Windows 10 Pro UEFI Installation Tutorial
1. Preparation
1.1 What You'll Need
Item | Requirement |
|---|---|
Target computer | The PC you're installing Windows on |
Working computer | To create the bootable USB drive |
USB flash drive | 8GB or larger (all data will be erased) |
Windows 10 Pro ISO | Download from Microsoft official website |
Rufus (optional) | Tool to create UEFI bootable USB |
1.2 Download Windows 10 Pro
Official Microsoft download: https://www.microsoft.com/en-us/software-download/windows10
You can download the ISO file or use the Media Creation Tool
2. Create a UEFI Bootable USB Drive
Method 1: Using Microsoft Media Creation Tool (Recommended for Beginners)
Insert your USB drive into the working computer
Run the Media Creation Tool
Accept the license terms
Select "Create installation media for another PC"
Choose:
Language: Your preference
Edition: Windows 10 Pro
Architecture: 64-bit (x64)
Select "USB flash drive"
Choose your USB drive from the list
Click "Finish" when complete
Method 2: Using Rufus (For Advanced Users)
Download and run Rufus from rufus.ie
Configure these settings:
Setting | Value |
|---|---|
Device | Your USB drive |
Boot selection | Select the Windows 10 ISO file |
Partition scheme | GPT |
Target system | UEFI (non CSM) |
File system | FAT32 |
Cluster size | 4096 bytes (default) |
Click "START" and wait for completion
⚠️ Important: The partition scheme must be GPT, not MBR, for UEFI installation.
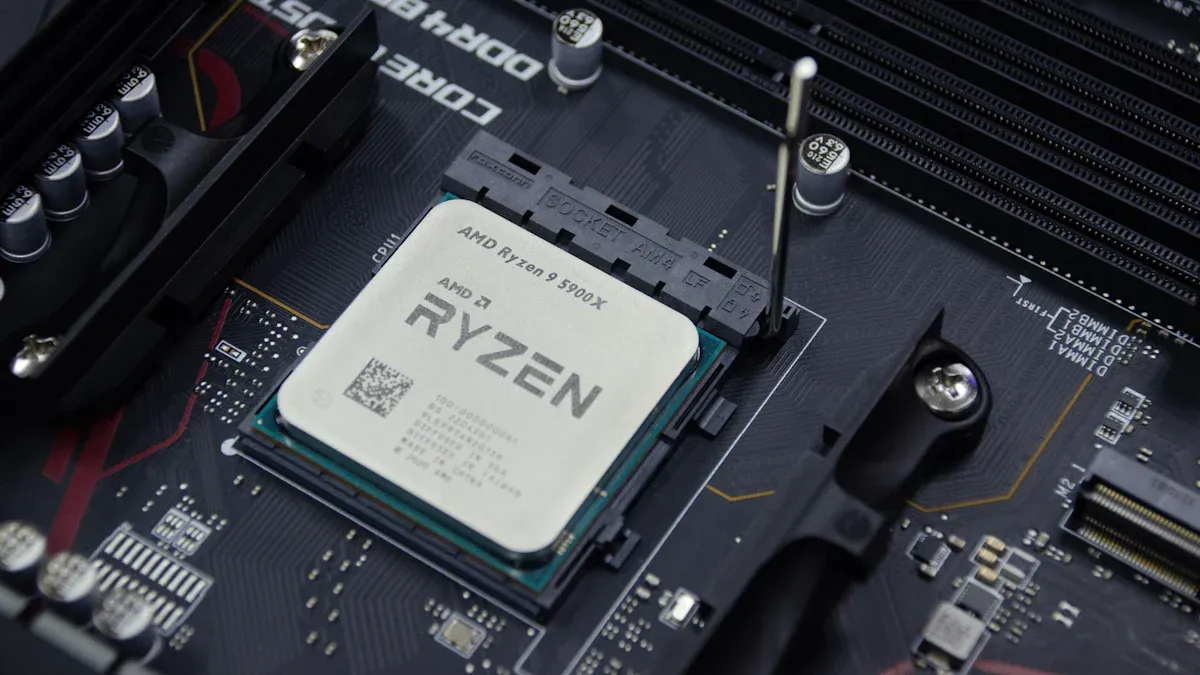
3. BIOS/UEFI Settings Configuration
Before installing, you need to configure your computer's BIOS/UEFI.
3.1 Enter BIOS/UEFI
Brand | Common BIOS Key |
|---|---|
Dell | F2 |
HP | F10 or Esc |
Lenovo | F2 or Novo button |
ASUS | F2 or Del |
Acer | F2 |
MSI | Del |
Gigabyte | Del |
3.2 Required BIOS Settings
Setting | Required Value |
|---|---|
Boot Mode | UEFI (not Legacy/CSM) |
CSM (Compatibility Support Module) | Disabled |
Secure Boot | Enabled (recommended) |
SATA Mode | AHCI |
3.3 Step-by-Step BIOS Configuration
Restart your computer and press the BIOS key repeatedly
Navigate to the "Boot" tab
Set "Boot Mode" to UEFI
Find "CSM" or "Legacy Support" and set to Disabled
(Optional) Enable Secure Boot
Save and exit (usually F10)
4. Start Windows 10 Pro Installation
4.1 Boot from USB Drive
Insert the bootable USB drive into the target computer
Restart the computer
Press the Boot Menu key (common: F12, F11, F9, Esc)
From the boot menu, select the USB drive with "UEFI" prefix
✅ Correct:
UEFI: Kingston DataTraveler
❌ Wrong:Kingston DataTraveler(no UEFI prefix)
⚠️ Critical: If you select the option without "UEFI", Windows will install in Legacy mode, not UEFI!
4.2 Windows Setup
Language: Select your preference → Click Next
Time and currency format: Your region → Click Next
Keyboard: Your preference → Click Next
Click "Install now"
4.3 Product Key
Scenario | Action |
|---|---|
You have a Windows 10 Pro key | Enter it now → Click Next |
You don't have a key | Click "I don't have a product key" → You can activate later |
4.4 Select Operating System
Choose "Windows 10 Pro"
Click Next
4.5 License Terms
Check "I accept the license terms"
Click Next
4.6 Installation Type
Select "Custom: Install Windows only (advanced)"
5. Disk Partitioning (Critical UEFI Step)
This is the most important part of the UEFI installation.
5.1 Clean Installation (Recommended)
If you want a completely fresh installation:
Delete existing partitions:
Select each partition on the target drive
Click "Delete" for each one
⚠️ This will erase ALL data on the drive
You should now see "Unallocated Space" only
Select the "Unallocated Space"
Click "Next"
5.2 What Windows Creates Automatically
When you click "Next" on unallocated space, Windows will automatically create these partitions:
Partition | Size | Purpose |
|---|---|---|
EFI System Partition (ESP) | ~100 MB | Contains boot loaders |
Microsoft Reserved (MSR) | ~16 MB | Reserved for system use |
Primary Partition | Remaining space | Where Windows is installed |
Recovery Partition | ~500-600 MB | Windows Recovery Environment |
💡 You don't need to create these manually — Windows handles everything automatically in UEFI mode.
5.3 Troubleshooting Partition Errors
Error Message | Solution |
|---|---|
"Windows cannot be installed to this disk" | Delete all partitions on the disk until only "Unallocated Space" remains |
"The selected disk has an MBR partition table" | Convert disk to GPT (see Section 8 below) |
"Windows cannot be installed to GPT disk" | You're booting in Legacy mode — restart and select the UEFI: USB option |
6. Complete Installation
6.1 Installation Process
Windows will now copy files and install features
The computer will restart several times (this is normal)
Do not interrupt the process
6.2 After First Reboot
Remove the USB drive when the screen goes black before restart
Or press F12 during reboot and select "Windows Boot Manager"
6.3 OOBE (Out-of-Box Experience)
After installation completes, you'll see the setup screen:
Select your region → Click Yes
Select keyboard layout → Click Yes
(Optional) Add a second keyboard layout → Click Skip
Sign in with Microsoft account (recommended) or create a Local account
To use a local account: Click "Offline account" → "Limited experience"
Create a PIN (if using Microsoft account)
Privacy settings: Adjust as desired → Click "Accept"
Cortana: Choose your preference
Wait for Windows to finalize settings → You'll reach the desktop
7. Post-Installation Tasks
7.1 Verify UEFI Mode
Press
Win + RType
msinfo32and press EnterLook for "BIOS Mode" — it should say UEFI
✅ Success! If it says "UEFI", your installation is correct.
❌ If it says "Legacy", you installed in the wrong mode.
7.2 Install Drivers
Method | Action |
|---|---|
Windows Update | Settings → Update & Security → Windows Update → Check for updates |
Manufacturer website | Download latest drivers for your specific model |
Optional | Graphics drivers from NVIDIA/AMD/Intel websites |
7.3 Activate Windows
Settings → Update & Security → Activation
Click "Change product key" or "Activate"
Enter your Windows 10 Pro product key
7.4 Run Windows Update
Settings → Update & Security → Windows Update
Click "Check for updates"
Install all available updates (may take multiple restarts)
8. Troubleshooting
Issue 1: "Windows cannot be installed to this disk. The selected disk has an MBR partition table."
Solution: Convert the disk from MBR to GPT
Method A (Clean install - easiest) :
Delete all partitions on the disk
You'll see "Unallocated Space"
Click Next — Windows will convert to GPT automatically
Method B (Using Command Prompt) :
Press
Shift + F10to open Command PromptType the following commands:
text
diskpart
list disk
select disk X   (X = your target disk number)
clean
convert gpt
exit
Close Command Prompt and click Refresh
Select the unallocated space and click Next
Issue 2: No USB option with "UEFI" prefix in boot menu
Possible causes and solutions:
USB drive was not created with GPT/UEFI settings → Recreate using Rufus
CSM is still enabled in BIOS → Disable CSM
Secure Boot is blocking USB → Temporarily disable Secure Boot
Try a different USB port (preferably USB 2.0)
Issue 3: Computer boots to black screen after installation
Solution:
Enter BIOS
Make sure Boot Mode is UEFI
Ensure "Windows Boot Manager" is the first boot option
Disable any "Legacy" or "CSM" options
Save and reboot
Issue 4: Installation stuck at "Getting files ready for installation"
Solution:
Wait at least 30 minutes (can be slow on older hardware)
If still stuck, recreate the USB drive and try again
Check RAM with MemTest86 (possible hardware issue)
9. Quick Reference Summary
Step | Action |
|---|---|
1 | Create USB drive with GPT + UEFI settings |
2 | Enter BIOS → Set Boot Mode = UEFI, CSM = Disabled |
3 | Boot from UEFI: USB Drive (not Legacy option) |
4 | Delete all partitions → Select Unallocated Space → Next |
5 | Complete installation → Remove USB on first reboot |
6 | Verify msinfo32 shows "BIOS Mode: UEFI" |
7 | Install drivers, activate, run Windows Update |
10. UEFI vs Legacy: Why It Matters
Feature | UEFI + GPT | Legacy BIOS + MBR |
|---|---|---|
Boot speed | Faster | Slower |
Drive size support | Over 2TB | Limited to 2TB |
Number of partitions | 128 | 4 primary |
Secure Boot | ✅ Supported | ❌ Not supported |
Modern hardware | ✅ Required for new PCs | ❌ Obsolete |
Need More Help?
If you encounter any issues during installation:
Error codes: Search the specific error code online
Microsoft Support: support.microsoft.com
Windows forums: Answers.microsoft.com
You want a safe and quick way to set up your computer. The UEFI Installation Tutorial shows you how to install Windows 10 Pro with new technology. UEFI gives you stronger security and faster startup than old BIOS systems. Many new computers need UEFI to use all features. The WIN10 PRO UEFI Installation Tutorial gives you the tools and information to begin with confidence.
Key Takeaways
Check if your computer works with UEFI before you start. Make sure it has what is needed for the installation to go well.
Always save your files before you put in a new operating system. This keeps your files safe if something goes wrong.
Use Rufus to make a UEFI bootable USB drive. Follow each step so your USB will work for the installation.
Make sure your USB drive starts in UEFI mode. This helps your computer find it when you install the system.
After you finish installing, update your drivers to keep your system working well and safe. Updating often makes your computer faster and safer.
Preparation for UEFI Installation
You must check your computer before starting the UEFI Installation Tutorial. Gather the tools you need. Good preparation helps you avoid mistakes. It also makes the steps easier.
System Requirements
Your computer must have UEFI firmware. Most new motherboards have UEFI. Check your system for these features:
Feature | Description |
|---|---|
Secure Boot | Needs UEFI Version 2.3.1 with secure boot variables set. |
UEFI Signature Database | Holds the correct keys for secure Windows booting. |
Firmware Signing | All firmware parts must use RSA-2048 and SHA-256 signatures. |
Boot Manager | Checks signatures of boot images with public key cryptography. |
Rollback Protection | Stops firmware from rolling back to older, less secure versions. |
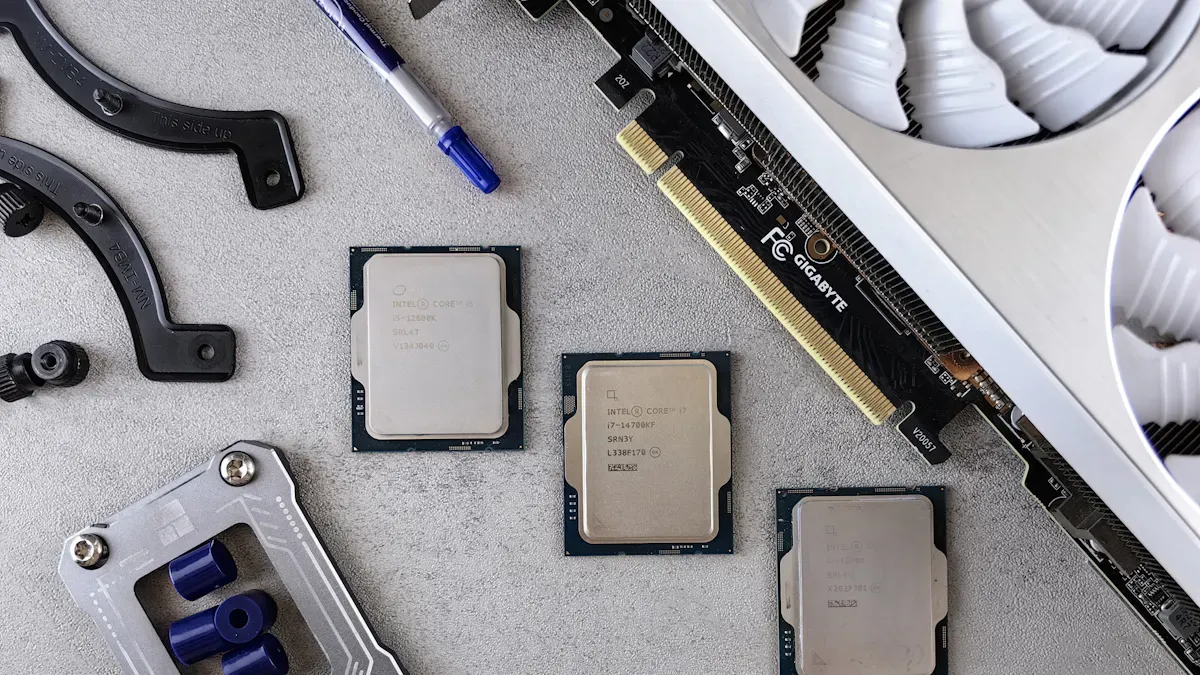
You need at least 8 GB of RAM. Your processor must be compatible. You need a USB port for the installation media. Make sure your hard drive has enough space for Windows 10 Pro.
Backup Data
Always back up your files before you start. Installing a new operating system can erase your data. Use an external hard drive or cloud storage. Pick a safe place for your backup. Check that you saved your photos, documents, and other files. This step keeps your information safe if something goes wrong.
Tip: Save your backup somewhere you can reach even if your computer will not start.
Tools Needed
To make a UEFI bootable USB for Windows 10 Pro, you need some tools:
Plug in a USB flash drive with at least 8 GB.
Open Rufus and find the Device section.
Pick your USB drive.
Choose DISK or ISO image under Boot selection. Pick the Windows 10 ISO file.
Set Partition scheme to UEFI.
Pick UEFI (non-CSM) as the Target system.
Choose your File system format.
Click Start to make the bootable USB.
You also need the Windows 10 Pro ISO file from the official Microsoft website. These tools help you follow the UEFI Installation Tutorial step by step.
Create UEFI Bootable USB
You need a UEFI bootable USB to start the UEFI Installation Tutorial. This section shows you how to get the Windows 10 Pro ISO, use Rufus to make your USB drive, and check that your USB will boot in UEFI mode.
Download Windows 10 Pro ISO
You must download the official Windows 10 Pro ISO file. Safe sources include:
The Microsoft download page for Windows 10/11.
The Heidoc Windows & Office ISO Download Tool, which gives you links to official files.
The Microsoft download page works best on non-Windows devices or with a browser tweak.
Always use trusted sources to avoid problems during the UEFI Installation Tutorial.
Use Rufus for USB Creation
Rufus helps you turn your ISO file into a bootable USB drive. Follow these steps:
Open Rufus and select your USB drive under "Device".
Under "Boot selection", choose your Windows 10 Pro ISO file.
For "Partition scheme", pick "GPT partition scheme for UEFI".
Set the "File system" to "FAT32".
Leave the other settings as they are.
Click "Start" to create your bootable USB.
Tip: Choosing the right partition scheme and file system is important. GPT and FAT32 make sure your USB works with UEFI systems.
Verify USB Boot Mode
You should check that your USB boots in UEFI mode. You can do this with a simple command:
reg query HKLM\System\CurrentControlSet\Control /v PEFirmwareType
If you see 0x2, your USB boots in UEFI mode. If you see 0x1, it boots in BIOS mode. You can also use a script to check this automatically.
Now your USB drive is ready for the next steps in the UEFI Installation Tutorial.
BIOS/UEFI Setup
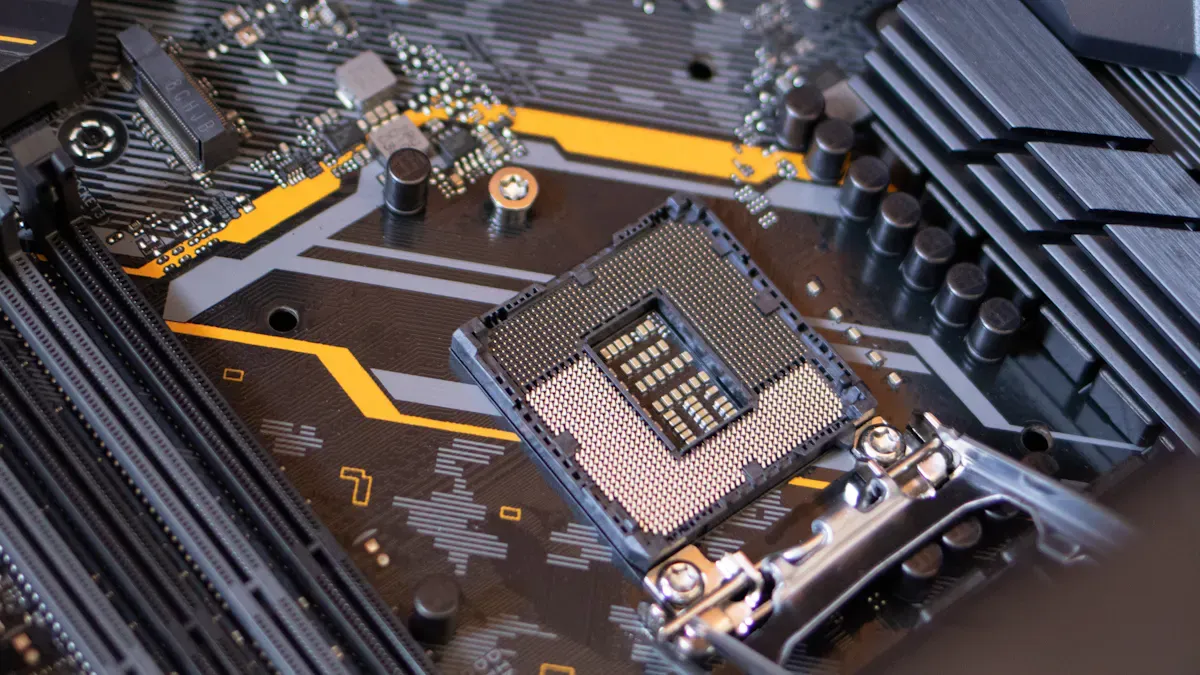
Enter BIOS/UEFI Menu
You need to enter the BIOS or UEFI menu to change your computer’s settings. Most computers use special keys during startup. Here are common ways to access the menu:
Turn on your computer and press the manufacturer’s key. This key is often Esc, Delete, F1, F2, F10, F11, or F12. Try pressing the key several times right after you power on.
On tablets, use the Volume up or Volume down button.
If Windows is already installed, hold the Shift key and select Restart from the Start menu or sign-in screen. Then, choose Troubleshoot > Advanced options > UEFI Firmware settings.
Tip: Check your computer’s manual if you are not sure which key to use.
Enable UEFI Mode
You must enable UEFI mode for the installation. Follow these steps:
Open the firmware menu using the method above.
Look for a setting called Boot Mode or Boot List Option.
Select UEFI instead of Legacy or CSM.
Save your changes and exit the menu.
Some computers show the boot device with a label like "UEFI: USB Drive." Pick this option to make sure you use UEFI mode.
Set Boot Priority
You want your computer to start from the USB drive. To do this, set the boot priority:
Restart your computer and enter the BIOS/UEFI menu.
Find the Boot Menu or Boot Order section.
Move your USB drive to the top of the list.
Save your changes and exit.
Your computer will now try to boot from the USB drive first.
Secure Boot Options
Secure Boot helps protect your computer. It checks that only trusted software loads during startup. Windows 10 Pro uses Secure Boot to block harmful programs before Windows starts. If you have trouble booting from your USB, you may need to turn off Secure Boot. Go to the Security tab in the BIOS/UEFI menu and set Secure Boot to Disabled. This step is sometimes needed for the UEFI Installation Tutorial to work on all systems.
Note: Secure Boot keeps your system safe by checking digital signatures. Turn it back on after installing Windows for better security.
UEFI Installation Tutorial Steps
Boot from USB
You want your computer to start from the USB drive you created. This step is important in the UEFI Installation Tutorial. Follow these steps to boot from your USB drive:
Unplug all other drives and devices except your keyboard and mouse.
Update your BIOS or UEFI firmware to the latest version. If you are not sure, you can reset it to default settings.
Enable UEFI mode. Turn off CSM or Legacy BIOS if you see these options.
Set Windows Boot Manager as the first boot option.
If you have trouble, turn off Secure Boot and Fast Boot until you finish installing Windows.
Set the SATA controller to AHCI mode.
Save your changes and exit the BIOS or UEFI menu.
Insert your bootable USB drive.
Power on your computer and press the Boot Menu key (like F12, F11, or Esc) right away.
Choose your USB drive from the list. Make sure it says "UEFI" next to it.
If your computer does not boot from the USB, go back to the BIOS or UEFI menu and turn off Fast Boot or Fast Startup.
Test your USB drive on another computer if it still does not work. You may need to create the USB drive again.
Tip: Always check that your USB drive is listed as a UEFI device in the boot menu.
Windows Setup in UEFI Mode
When you see the Windows Setup screen, you know your computer has started from the USB drive. You will now begin the main part of the UEFI Installation Tutorial.
On the first screen, you can press Shift + F10 to open a Command Prompt if you want to check your disk.
Use the DISKPART tool to make sure your disk uses the GPT partition style. Type
diskpart, thenlist disk. Look for a star (*) under the GPT column.Click "Install Now" to start the Windows setup.
Choose "Custom: Install Windows only (advanced)" when asked about the installation type.
Select your main drive. If you see old partitions, you can delete them to create unallocated space. This step helps Windows set up the right partitions for UEFI.
Note: UEFI mode works best with GPT disks. GPT lets you use more partitions and bigger drives than MBR.
Partitioning for UEFI
Partitioning is a key part of the UEFI Installation Tutorial. You want your disk to use the GUID Partition Table (GPT). This setup gives you more features and better support for large drives.
Make sure your disk is set to GPT. You can check this in the Windows Setup or with the DISKPART tool.
When you choose unallocated space, Windows will create the needed partitions for you. These include:
EFI System Partition (about 100 MB, FAT32)
Microsoft Reserved Partition (about 16 MB)
Primary Partition (for Windows files)
Recovery Partition
If you want to create partitions yourself, always start with the EFI System Partition. Set it as FAT32 and at least 100 MB.
The EFI System Partition stores the files needed to boot Windows in UEFI mode.
After partitioning, select the main partition and click "Next" to continue.
Tip: Using GPT with UEFI gives you more flexibility than MBR. You can have more partitions and use drives larger than 2TB.
Complete Installation
You are now ready to finish the UEFI Installation Tutorial. Windows will copy files and restart your computer several times.
Wait for Windows to finish copying files and installing features.
When your computer restarts, remove the USB drive if you see the setup screen again. This step helps you avoid starting the installation over.
Follow the on-screen instructions to set your region, language, and keyboard.
Create a user account and password.
Choose your privacy and network settings.
Let Windows finish setting up your desktop.
🎉 Congratulations! You have installed Windows 10 Pro using UEFI. You can now enjoy faster boot times and better security.
Troubleshooting and Post-Install
Verify UEFI Installation
You should check if your Windows 10 Pro runs in UEFI mode. This step helps you confirm that you followed the UEFI Installation Tutorial correctly. Open the Command Prompt and type:
reg query HKLM\System\CurrentControlSet\Control /v PEFirmwareType
You will see a return code. Use this table to understand the result:
Return code | Firmware mode |
|---|---|
0x1 | BIOS |
0x2 | UEFI |
If you see 0x2, your system uses UEFI mode. If you see 0x1, your system uses BIOS mode.
Common Issues
You may face some problems during or after installation. Here are the most common issues:
The system restarts after the motherboard logo and does not boot from USB.
Different USB disks or formats (FAT32 or NTFS) do not solve the boot problem.
BIOS settings like Secure Boot or CSM cause complications.
To fix boot failures, try these steps:
Change boot entries to include the right parameters.
Use a USB drive smaller than 8GB and format it as FAT32.
On some Dell computers, enable
efi=attr=ucduring installation.
If your system still does not boot, you can use the Command Prompt from recovery options and run these commands:
bootrec /fixmbrbootrec /fixbootbootrec /ScanOsbootrec /rebuildBcd
Update Drivers
After you finish installing Windows 10 Pro, you need to update your drivers. Updated drivers help your computer run smoothly. Start with Windows Update:
Open Settings and go to Update and Recovery.
Select 'Check for Updates' to let Windows find and install drivers.
If Windows cannot find a driver, download it from your computer maker’s website.
Important drivers include:
Chipset
Video
Audio
Network
For laptops, make sure you get the latest Touch Pad drivers. You can also update drivers manually:
Download the correct driver for your Windows version.
Open Device Manager.
Find the device you want to update.
Right-click and choose 'Update driver'.
Select 'Browse my computer for drivers'.
Find the downloaded driver and follow the prompts.
Keeping your drivers up to date helps your system stay fast and secure.
You now know the main steps for installing Windows 10 Pro with UEFI. First, get your computer ready. Next, make a UEFI bootable USB. Then, change BIOS or UEFI settings. Last, finish the installation. Check your list to be sure you did everything. If you have any problems, use these helpful links:
UEFI helps your computer start faster and keeps it safer. Have fun using your new system!
FAQ
What is the difference between UEFI and BIOS?
UEFI is newer than BIOS. You get faster boot times and better security with UEFI. Most new computers use UEFI. BIOS is older and does not support large drives or modern features.
Can I install Windows 10 Pro in UEFI mode on any computer?
You need a motherboard that supports UEFI. Most computers made after 2012 have UEFI. Check your firmware settings to see if UEFI is available.
Do I need to format my hard drive to GPT for UEFI installation?
Yes, you must use the GPT partition style for UEFI. Windows 10 Pro will not install in UEFI mode on an MBR disk. You can convert your disk using the Windows Setup or Diskpart tool.
What should I do if my USB drive does not boot?
Try these steps:
Check if you set the USB as the first boot device.
Make sure you created the USB with GPT and FAT32.
Disable Secure Boot if needed.
Is Secure Boot required for UEFI installation?
Secure Boot is not required, but it helps protect your system. You can turn it off during installation if you have problems. Turn it back on after you finish installing Windows.
See Also
Comprehensive Instructions For Setting Up A Touch Kiosk
Simple Steps To Install And Configure Signage Software
Guide To Installing And Configuring Digital Display Signage
Detailed Process For Setting Up Local Digital Signage
Key Guidelines For Installing Outdoor Digital Signage In 2026