Complete Tutorial for Building a Raspberry Pi Smart Mirror Display
Shenzhen TopAdkiosk Display Technology Co., Ltd.
Add.: 2F, Bldg 10, Changfeng Industrial Park, Dongkeng, Fenghuang, Guangming, Shenzhen, China 518132
Mobile/WHATSAPP: 86-138 25769658
Email: marketing@topadkiosk.com topadkiosk@gmail.com
Skype: pghenry1
Wechat: adkioskhenry
English Web.: http://www.topadkiosk.com/
https://www.topkioskdisplay.com/
http://www.ad-kiosk.com/
https://www.toplcddisplay.com/
http://www.multitouchdigitalsignage.com/
https://www.youtube.com/channel/UCYVYNJHxLVEcQD8fuUxXNTA/videos?view_as=subscriber
https://www.facebook.com/TOPADKIOSKSHENZHEN/?ref=bookmarks
Have you ever thought about making your mornings smarter? A smart mirror display with a Raspberry Pi can do that. It can make any room look like the future. You will see weather, your calendar, and news on the mirror. Some smart mirrors let you use your voice or hand movements. This means you do not need to touch anything. You do not need special skills for this smart mirror tutorial. You just need to be curious and have the right tools.
Show live data streams for home automation
Make a dashboard that updates by itself
Use voice and gesture controls for easy use
Key Takeaways
Get all the things you need before you start. You will need a Raspberry Pi, a monitor, and a two-way mirror.
Follow each software step with care so your smart mirror works well. Put the Raspberry Pi OS and Magic Mirror software on the device the right way.
Change your smart mirror display by adding or taking away modules. Pick what you want to see, like the weather or news.
Test your setup often while you build it. This helps you find problems early and makes sure everything works right.
Join the MagicMirror community for help and ideas. Many people share tips and answers that can make your smart mirror better.
Prepare for Your Smart Mirror Display
Gather Materials and Tools
You need the right parts and tools before you start your smart mirror display. Here’s a handy checklist:
Raspberry Pi power supply
microSD card
Adapter for microSD card
Slim 15.6" HDMI USB-C-powered monitor
USB-C power supply for the monitor
Mini HDMI to standard HDMI cable
Nylon standoff pillars, bolts, and nuts
A3-sized black card
Heavy-duty foam tape
Clear acrylic sheet (A3, 2mm thick)
Two-way acrylic mirror sheet (A3, 3mm thick)
Duct tape
Electric drill and 3mm drill bit
Craft knife and metal ruler
Small Phillips screwdriver
Prying tool
Optional: 3D-printed drill bit alignment jig
You can find two-way mirrors and monitors at places like Smart Mirror Store or Amazon. Samsung TVs work well for smart mirrors if you want a bigger screen. This raspberry pi project is a fun diy adventure, so gather everything before you begin.
Disassemble and Prepare the Monitor
Take your monitor and remove the bezel. Use a prying tool and a small screwdriver. Work slowly so you don’t crack the screen. Once you remove the bezel, check the edges for any sharp bits. Cover them with duct tape or foam tape. This step helps the monitor fit snugly behind the mirror sheet. Make sure the monitor sits flat and doesn’t wobble. If you use a portable HDMI monitor, it’s easier to handle and mount.
Plan the Frame and Lighting
You want your smart mirror to look good and shine bright. Pick a frame material that fits your style and budget. Here’s a quick guide:
Frame Material | Advantages |
|---|---|
Two-way Plexi-glass | Quick and easy to use; suitable for small mirrors. |
Two-way Glass | Best reflection quality; custom sizes available. |
Regular Glass with Reflective Film | Better results than plexi-glass; more affordable than two-way glass; nice glass surface. |
For lighting, LED strips make your mirror pop. Choose from these options:
Light Strip Type | Voltage | LED Density | Power | Luminous Efficiency (lm/W) | Application Scenarios |
|---|---|---|---|---|---|
3528 Mono Light Strip | DC12V/24V | 60 LEDs/m | 4.8W/m | 80–100 | Ambient Lighting, Home Backlighting |
5050 RGB Light Strip | DC12V/24V | 60 LEDs/m | 14.4W/m | 60–75 | Dynamic decoration, multi-color control |
2835 High-Brightness LED Strip | DC24V | 120 LEDs/m | 19.2W/m | 100–120 | Commercial lighting, retail main light source |
COB LED Strip | DC24V | 480 LEDs/m | 11W/m | 100–110 | No dark zone applications, window backlighting |
RGBW 4-in-1 LED Strip | DC24V | 60 LEDs/m | 18–20W/m | 50–65 | Outdoor contour lighting, multi-color scene lighting |

Pick LED strips that match your power supply and mirror size. Plan where you want the lights to go. You can use ambient lighting for a soft glow or RGB strips for cool effects. Make sure you leave space for wiring and the Raspberry Pi.
Tip: Sketch your frame and lighting plan on paper before you build. This helps you spot any problems early.
Software Setup on Raspberry Pi
Before you grab your screwdriver, you need to get your Raspberry Pi ready. The software setup comes first in this smart mirror tutorial. You will install the operating system, set up the Magic Mirror software, configure the modules, and make sure everything starts up automatically. This part of the process is called raspberry pi setup. Let’s walk through each step together.
Install Raspberry Pi OS
You want your smart mirror display to run smoothly, so start with the right hardware and software. Here’s a quick table to show you what you need:
Component | Specification |
|---|---|
Raspberry Pi | 4 Model B (2GB, 4GB, or 8GB) or 3 B+ |
Micro SD | 16GB Class 10 |
Power Supply | 5V/3A |
Monitor or Display | LED or LCD with HDMI input |
Mirror Material | Acrylic two-way mirror or reflective glass |
Now, let’s get your Raspberry Pi OS installed. Follow these steps:
Download the Raspbian OS image from the official Raspberry Pi Foundation website.
Choose the version called “Raspbian Stretch with Desktop” so you get a nice graphical interface.
Use a tool like 7zip to unzip the file you just downloaded.
Insert your microSD card into your computer using a card reader.
Flash the microSD card by writing the OS image to it. You can use a program like Balena Etcher for this.
Once it’s done, pop the microSD card into your Raspberry Pi and power it up.
Tip: Make sure your microSD card is at least 16GB and is a Class 10 card. This helps your smart mirror run faster.
Set Up Magic Mirror Software
With your Raspberry Pi OS running, you can now install the Magic Mirror software. This is the heart of your smart mirror display. Magic Mirror² uses a flexible module system, so you can add or remove features as you like.
To install Magic Mirror, open the terminal on your Raspberry Pi and enter these commands:
sudo apt-get update
sudo apt-get upgrade
curl -sL https://deb.nodesource.com/setup_16.x | sudo -E bash -
sudo apt-get install -y nodejs
git clone https://github.com/MichMich/MagicMirror
cd MagicMirror
npm install
Sometimes, you might run into problems during installation. Here’s a table with common issues and how to fix them:
Issue | Cause | Fix |
|---|---|---|
Black Screen | Syntax error in config.js | Run |
Modules Not Showing Up | Misconfigured or missing module settings | Check module names and positions. Make sure you add API keys if needed. |
Screen Turns Off | Power saving or HDMI timeout | Add |
Note: If you see a black screen, don’t panic! Most of the time, it’s just a small typo in your config file.
Configure Essential Modules
Now it’s time to make your smart mirror display useful. Magic Mirror comes with several modules you can turn on or off. Each module is like a widget for your mirror. You can show the time, your calendar, the weather, or news headlines.
Here are some modules you should consider:
Clock
Calendar
Weather
Newsfeed
To set up these modules, follow these steps:
Open your config file by typing
sudo nano MagicMirror/config/config.jsin the terminal.To add more modules, check out the Magic Mirror forum’s showcase section for ideas.
For news, find the newsfeed module in the config and add your favorite news sources.
For weather, update the weather module with your city and API key.
To show your calendar, add the calendar module and link it to your online calendar.
Tip: You can enable, disable, or customize each module. Try different layouts until you find one you like.
Automate Startup
You want your smart mirror to turn on by itself every time you power up your Raspberry Pi. There are a couple of ways to do this.
Method 1: Startup Script
Create a script by running
sudo nano /home/pi/mm.shand add:cd /home/pi/MagicMirror DISPLAY=:0 npm startMake the script executable:
sudo chmod +x /home/pi/mm.shEdit your bash profile:
sudo nano /home/pi/.bash_profileAdd this line:
[[ -z $DISPLAY && $XDG_VTNR -eq 1 ]] && startx -- -nocursorSave and reboot with
sudo reboot.
Method 2: Use PM2 Process Manager
sudo npm install -g pm2Start Magic Mirror as a service:
pm2 start ~/MagicMirror/installers/mm.sh
pm2 save
pm2 startup
If Magic Mirror does not start after reboot, try these troubleshooting steps:
Double-check your startup scripts.
Use PM2 to manage the Magic Mirror process.
Make sure the server is running by typing
sudo netstat -tlnp | grep 8080.If you see permission errors, change
allowed_users=consoletoallowed_users=anybodyin/etc/X11/Xwrapper.config.Restart your Raspberry Pi and see if the smart mirror display loads up.
Note: Automating startup saves you time and makes your smart mirror feel like a real smart device.
You’ve finished the raspberry pi setup part of this tutorial! Now your smart mirror display is ready for the next step—building the frame and putting it all together.
Build the Smart Mirror Display
Assemble the Frame
You want your smart mirror to look sharp and stay strong for years. Start by picking the right frame size for your monitor. Here’s a quick reference:
Width (inches) | Height (inches) | |
|---|---|---|
24" Mirror | 11.5 | 24 |
Cut your wood pieces to match your monitor’s size. Use a Dremel or drill to create notches in the wood. This helps you get clean edges and a snug fit. Drill pilot holes close together, then connect them for a smooth finish. Grab a Kreg Jig to make pocket holes at the corners. Pocket holes give your frame extra strength.
Here are some tips to make your frame sturdy:
Use hot glue on the joints if the frame feels wobbly.
Attach plywood strips to the back. These strips add support and can hold your Raspberry Pi or power supply.
Secure the frame to the wall with screws. Make sure the frame overlaps the mirror edge a little. This keeps everything in place.
Run a thin bead of silicone caulk between the frame and the mirror. This stops the mirror from shifting.
Tip: Test-fit all your pieces before gluing or screwing them together. You can fix mistakes more easily this way.
Mount the Display and Raspberry Pi
Now you need to put the monitor and Raspberry Pi inside the frame. Choose an IPS display for bright colors and wide viewing angles. Remove the plastic bezel from your monitor to make it thinner. This helps the monitor sit flat against the mirror.
Follow these steps for a safe and neat setup:
Use brackets or mounts to hold the monitor inside the frame.
Secure all parts tightly. You don’t want anything to move around and break.
Leave space around the monitor and Raspberry Pi for air to flow. You can drill small holes or add spacers for better ventilation.
Pick the right mounting hardware for your Raspberry Pi. Here’s a handy table:
Hardware Type | Description |
|---|---|
Standoffs | 35mm standoffs with M4 thread for mounting to frame |
Screws | M2.5 thread screws for securing Pi to standoffs |
Attach plywood strips to the back of the frame if you need shelves for your electronics.
Make sure your monitor has at least 250 nits of brightness. This makes the display easy to see through the mirror.
Note: If you plan to hang your smart mirror display on the wall, use strong screws and anchors. Safety first!
Add LED Strips and Manage Wiring
LED strips make your smart mirror glow and look modern. Stick the strips around the inside edge of the frame. Keep them away from spots where you’ll drill or screw. You don’t want to damage the lights.
Here’s how to keep your wiring neat and safe:
Use rigid, ventilated PVC conduit to hold your wires. Pick one with at least 30% open surface area.
Mount the conduit vertically behind the frame.
Anchor your power adapters inside a perforated metal box at the bottom back of the frame. Leave at least 1.5 inches of space around all electronics.
Route cables upward before turning them sideways. This helps with airflow and keeps wires from getting squished.
Label every cable at both ends with heat-shrink tags. You’ll thank yourself later if you need to fix something.
“I once drilled a screw right through my LED strip. It stopped working! Always check where your strips and wires are before you drill.”
Sometimes, the code for your LEDs might need admin access to run. If your LEDs don’t light up, check your permissions.
Connect Power and Test
You’re almost done! Now it’s time to power up your smart mirror and make sure everything works. Use a 5V/3A power supply for your Raspberry Pi. Pick a high-quality adapter to avoid power problems.
Here’s a simple checklist for testing:
Test the monitor and Raspberry Pi as you build. Don’t wait until the end.
After you put the glass, monitor, and frame together, turn everything on again.
Use an infrared thermometer to check the temperature inside the frame. Make sure nothing gets hotter than 40°C.
Do a final test the next day. Sometimes problems show up later.
Tip: If something doesn’t work, check your cables and connections first. Most problems come from loose wires or plugs.
You’ve finished the hardest part of this tutorial. Your smart mirror display is ready to hang and enjoy!
Customization & Troubleshooting
Customize Your Smart Mirror Display
You can make your smart mirror display fit your style and needs. MagicMirror² lets you change how your mirror looks and what it shows. Want to see the weather, your calendar, or news? You can pick where each module goes on the screen. Change the title for your weather module or set your favorite city. You can even pull news from different sources. If you want to control your mirror from your phone or another device, turn on web access in the config file. Many users love real-time data updates, voice commands, and facial recognition. Some people use their mirror to control home appliances or connect with other apps. This smart mirror tutorial gives you a lot of freedom to personalize your diy project.
Add or Remove Modules
MagicMirror² uses modules like widgets. You can add or remove them to show what matters most to you. Here are some popular modules:
Calendar
Commute time
Transit info
Current and forecasted weather
Sports scores
Nest thermostat status
Sonos system 'Now Playing'
Compliments
News/RSS feed
To add a module, open your config.js file and copy the module code. Change the name, position, and settings. To remove a module, delete its section from the config file. Try different layouts until you find one you like.
Common Issues and Fixes
Sometimes things go wrong. Don’t worry! You can fix most problems with a few simple steps. Here’s a table to help you:
Issue | Cause | Fix |
|---|---|---|
Black Screen or Interface Not Loading | Syntax error in config.js | Run |
Modules Not Showing Up | Misconfigured or missing module settings | Double-check module names and positions. Make sure API keys are correct. |
Screen Turns Off | Power saving or HDMI timeout | Edit autostart file. Add commands to stop screen blanking. |
Updating Modules and MagicMirror² | N/A | Update core and modules using git and npm commands. |
Tip: Always check your cables and connections first. Most issues come from loose wires or plugs.
Find More Resources
You don’t have to do this alone. The MagicMirror community is very active and helpful. You can visit their website or GitHub page. Many builders share their ideas and solutions. The GitHub repository has thousands of stars and forks. You will find guides, modules, and answers to common questions. If you get stuck, ask for help or search the forums. You will learn new tricks and make your smart mirror even better.
You finished building your smart mirror one step at a time. Now you can make it even better. Try adding new things like voice control or smart home features. Here are some cool upgrades:
Feature | What It Does |
|---|---|
Voice Assistant | Lets you talk to the mirror and give commands |
Works with Zigbee and WiFi gadgets in your house | |
Touch Screen | Lets you use your finger to touch and control |
Face Recognition | Changes the mirror for each person who uses it |
Share what you made online or join a group. You can find more ideas and get help from other people who build smart mirrors. 🚀
FAQ
How much does it cost to build a Raspberry Pi smart mirror?
You can build a basic smart mirror for $100–$250. The price depends on your monitor, frame, and mirror material. If you add LED lights or a fancy frame, the cost goes up.
Can I use any monitor for my smart mirror?
You can use most flat-screen monitors with HDMI input. Thinner monitors work best. Make sure the screen is bright enough to shine through the mirror.
Do I need to know how to code?
No, you don’t need to be a coder. MagicMirror² uses simple config files. You copy and paste code snippets. The community also shares lots of guides and examples.
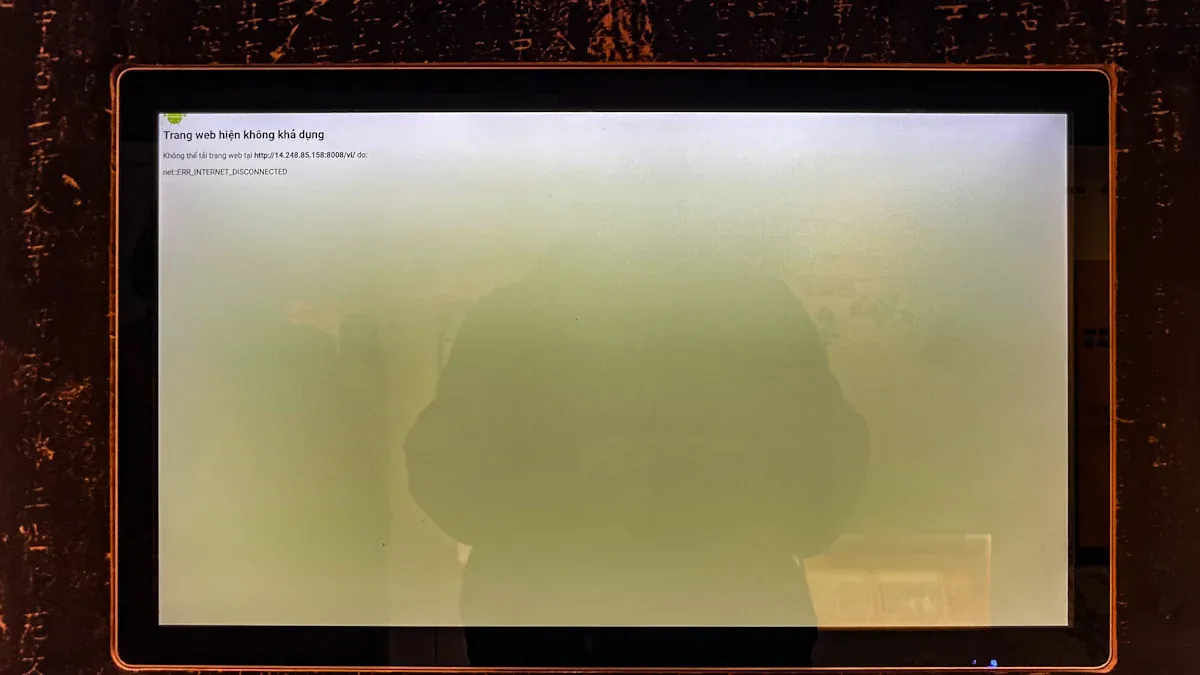
Will my smart mirror work without the internet?
Yes, your smart mirror will show the time and calendar without the internet. For weather, news, or live updates, you need a Wi-Fi connection.
Can I add voice control or smart home features later?
Absolutely! You can add voice assistants like Alexa or Google Assistant. You can also connect smart home devices with extra modules. Start simple, then upgrade when you feel ready.
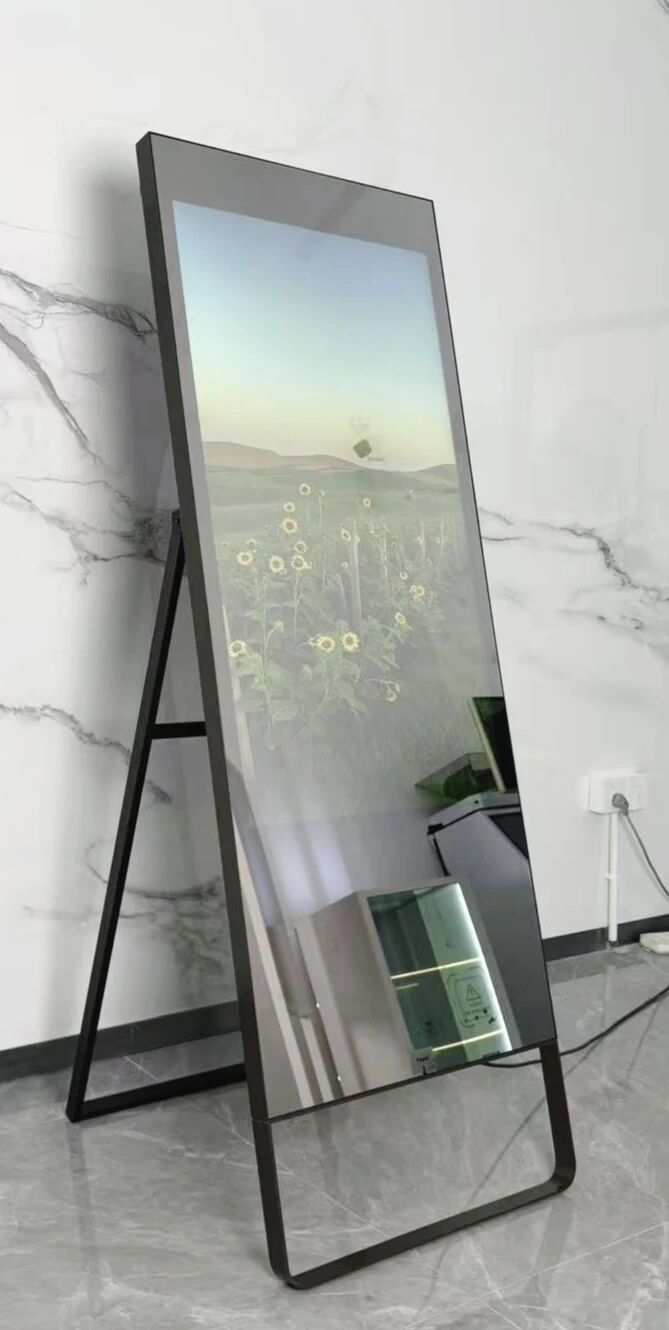
There are two main paths to building a smart LCD mirror, depending on whether you want to be able to touch it.
A non-touch smart mirror displays information like a digital dashboard behind the glass. A touchscreen smart mirror, on the other hand, turns the entire surface into an interactive panel, allowing you to control your smart home, check the weather, or browse information with a tap or swipe .
Here is a direct comparison of the hardware approaches to help you decide which one to build.
Feature | Non-Touch Smart Mirror | Touchscreen Smart Mirror |
|---|---|---|
Interaction | Passive display only (viewing) | Active control (tapping, swiping) |
Core Hardware | Standard monitor + two-way mirror | Monitor + two-way mirror + touch layer |
Best For | Quick glances at time/weather; voice-controlled setups | Interactive menus, smart home control, retail kiosks |
Software | MagicMirror² (standard config) | MagicMirror² + touch detection modules |
DIY Difficulty | Beginner-friendly | Intermediate (requires calibration) |
1. Option 1: Building a Non-Touch Smart Mirror
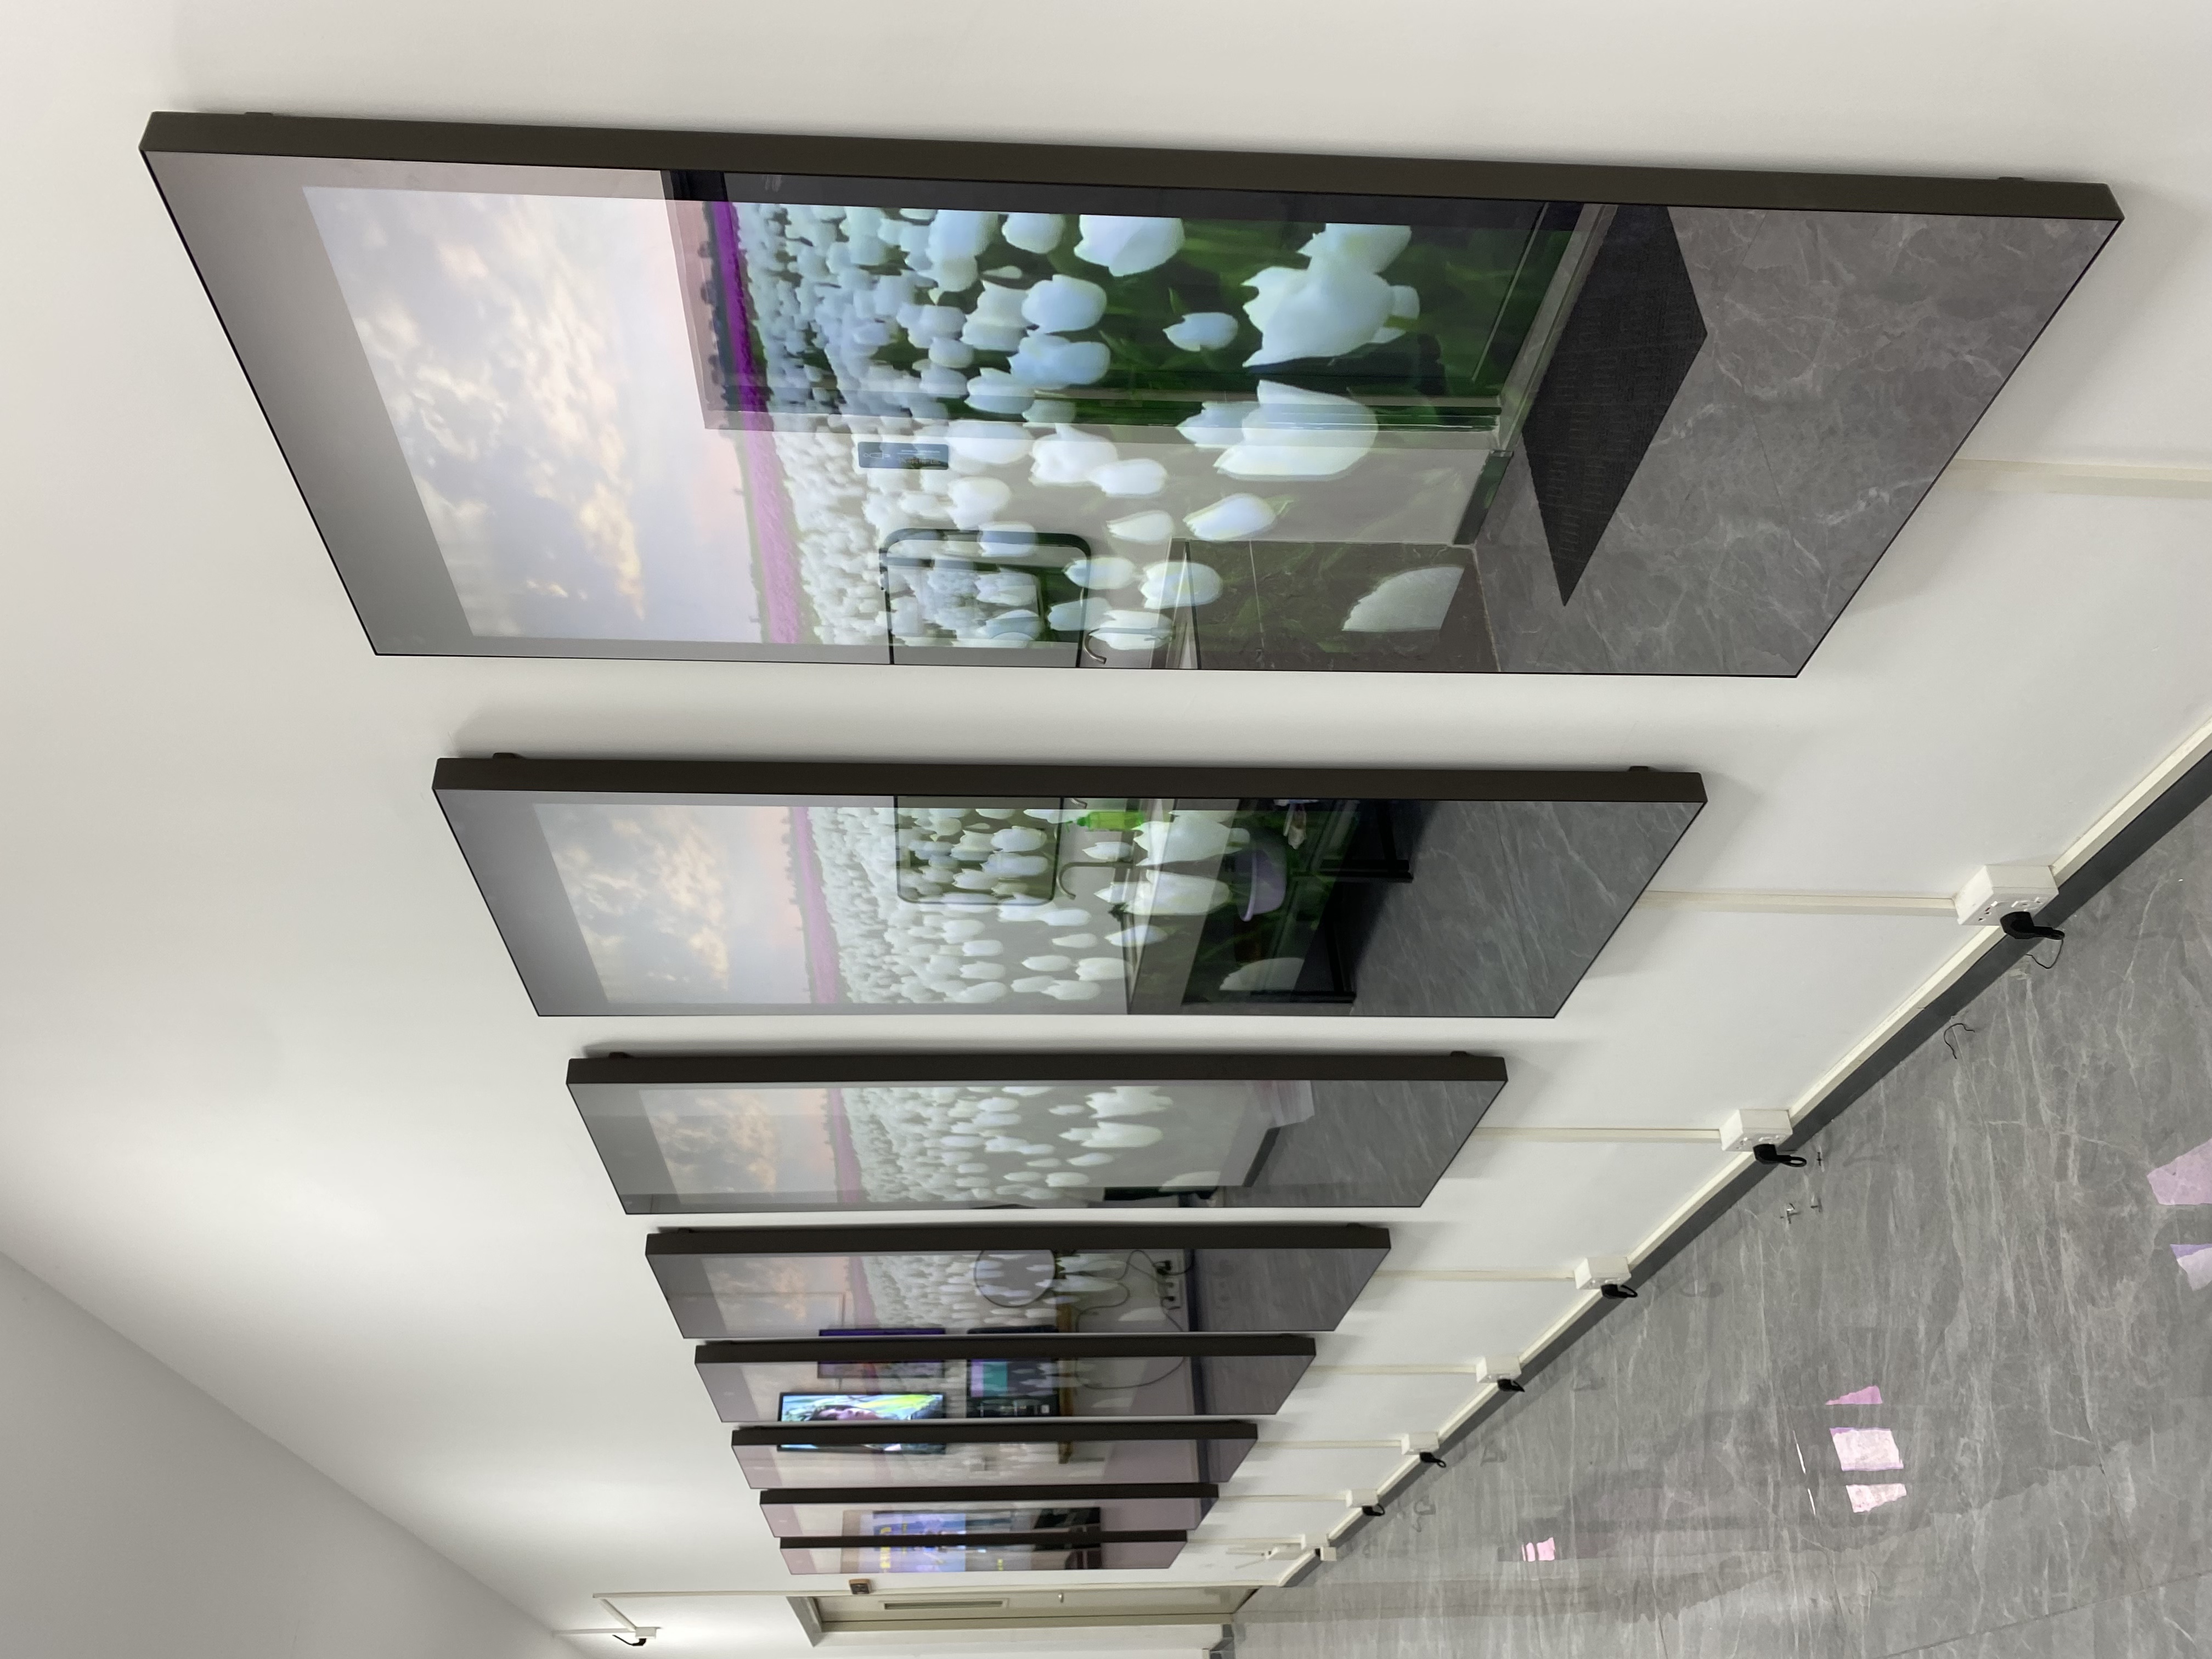
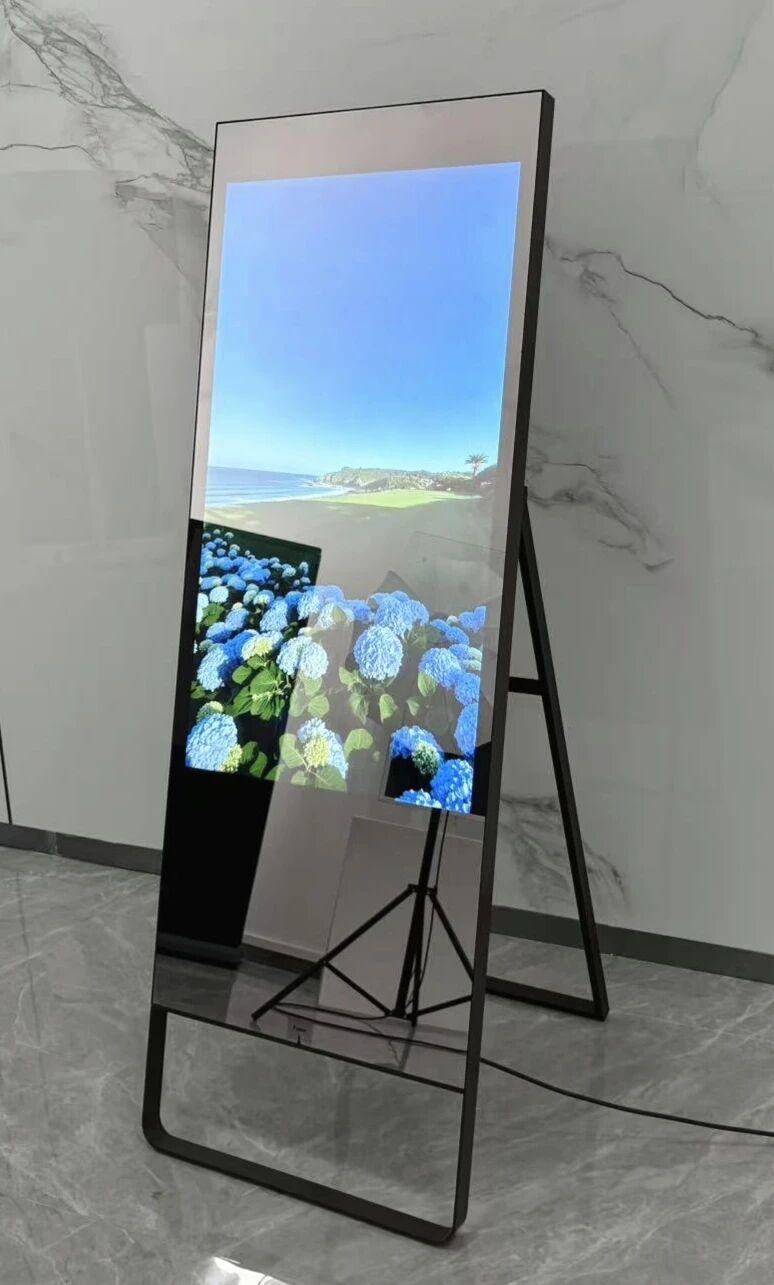
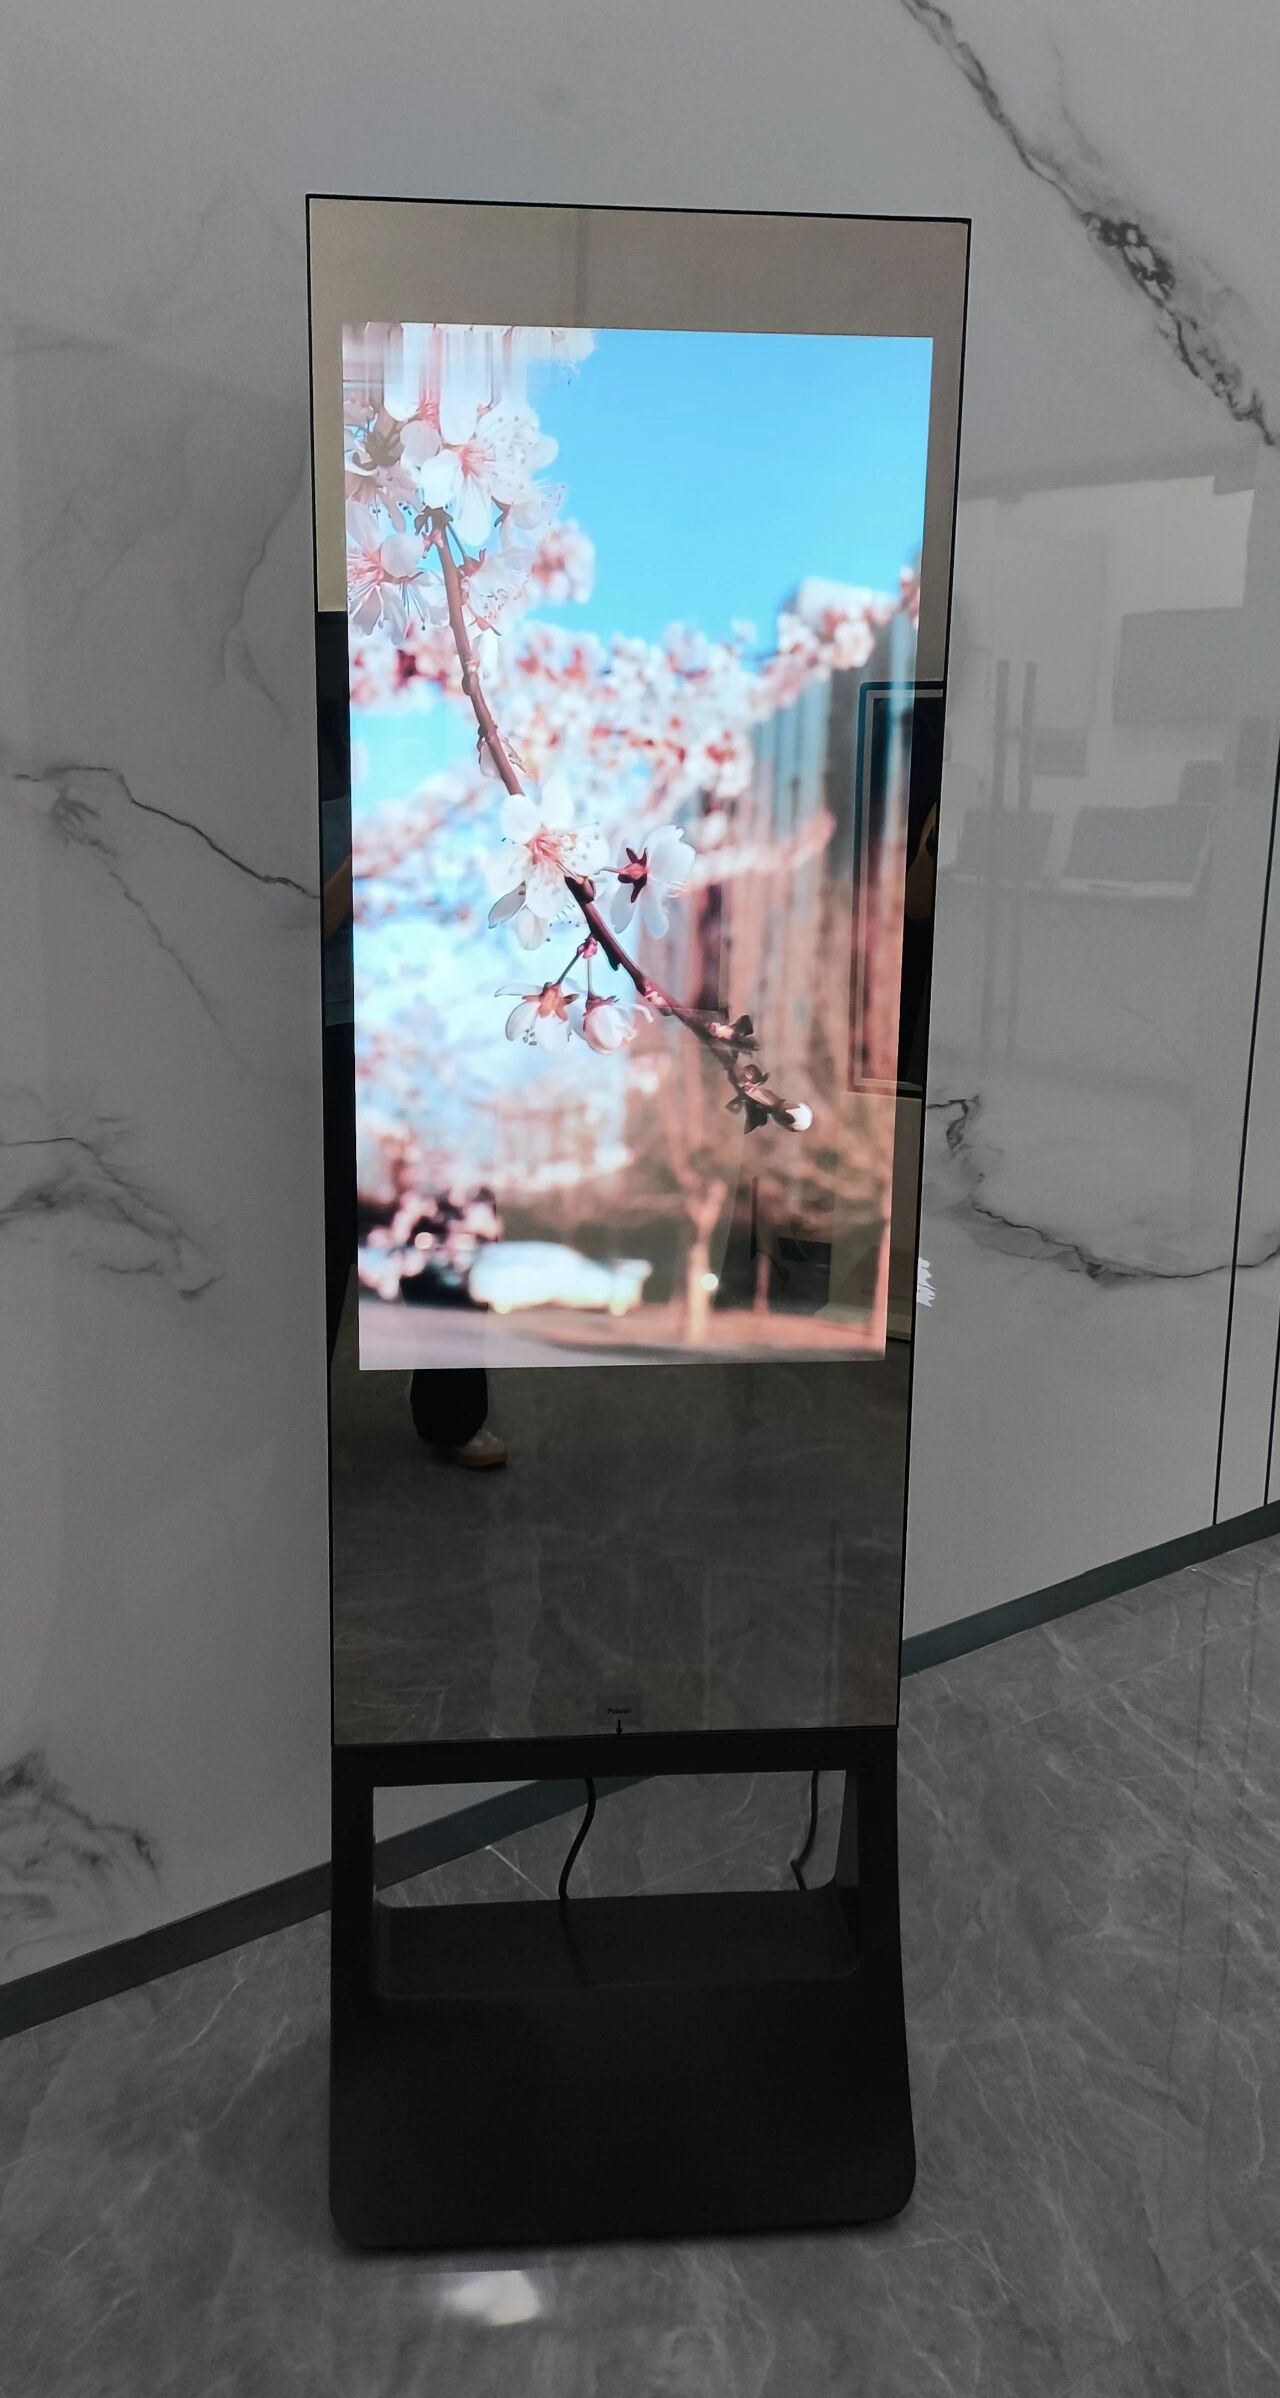
This is the classic "Magic Mirror" setup. The screen simply shines information through the reflective glass.
The Core Components:
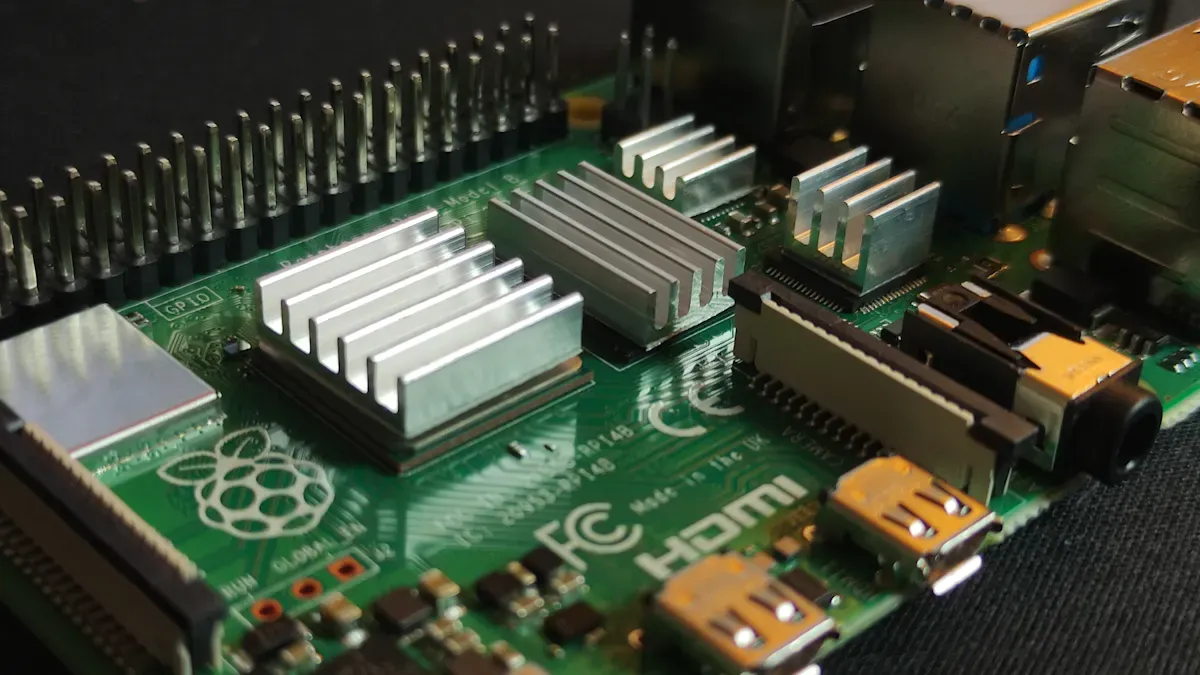
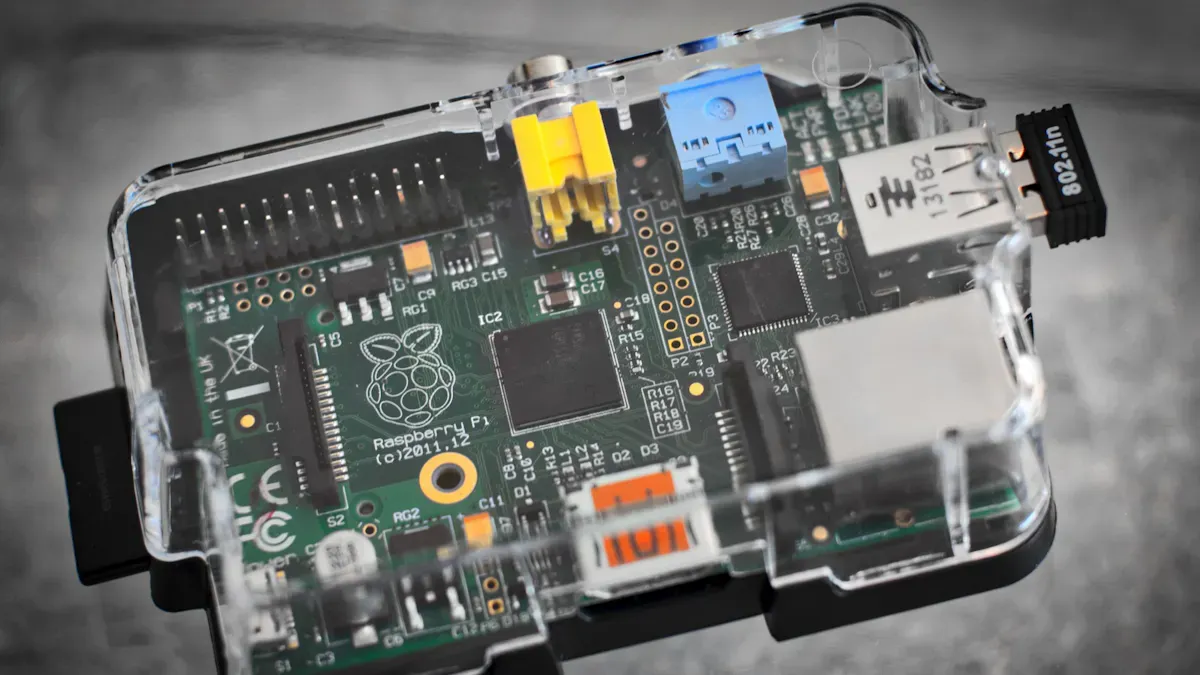
A Raspberry Pi 4/5: The computer that runs the mirror .
A Monitor: Any standard computer monitor will work. Removing the plastic bezel helps it sit flush against the glass .
Two-Way Mirror Glass: Acrylic is lighter and safer, while glass is more scratch-resistant.
The Software: MagicMirror² is the standard. It is an open-source platform that runs on the Raspberry Pi and displays modules like clock, weather, and news .
Why choose this? It is simple to build, significantly cheaper, and requires no calibration. You can still add voice control later with Alexa or Google Assistant for a hands-free experience .
2. Option 2: Building a Touchscreen Smart Mirror
This turns your mirror into a tablet. There are two distinct ways to achieve this.
Path A: DIY Infrared (IR) Touch Frame (Most Popular for DIYers)
This method creates an invisible "grid" of light beams across the surface of the glass. When your finger breaks the beam, it registers as a touch.
How it works: You line the inside edges of your mirror frame with IR LEDs (transmitters) on two sides and IR receivers on the opposite sides. This creates a matrix of light. When a finger touches the glass, it interrupts the light, and the computer calculates the X/Y coordinate .
Pros: Can be retrofitted to almost any existing mirror; works even if your hands are slightly dirty or gloved; relatively low cost.
Cons: Requires precise soldering and coding to map the sensors; the frame must be slightly thicker to house the sensors.
Path B: Pre-Built Capacitive Touch Overlay (Easier but Costlier)
This method uses the same technology as your smartphone.
How it works: You buy a capacitive touch foil or a pre-assembled USB touch frame that adheres directly to the back of the mirror glass or sits on top of the LCD .
Pros: Plug-and-play (connects via USB); supports multi-touch (pinch-to-zoom); very responsive.
Cons: More expensive than DIY IR; may struggle to sense touch through very thick glass; requires a conductive touch (bare fingers) .
🛠️ Step-by-Step Build Process
Regardless of which version you choose, the physical assembly follows these steps:
Prepare the Display: Remove the plastic casing from your monitor to make it thinner. Mount the bare LCD panel inside your frame .
Assemble the "Sandwich": Place the LCD screen inside the frame facing outward.
For Touch: Install your IR frame or attach your capacitive overlay.
For Mirror: Place the two-way mirror glass directly in front of the screen .
Install the Computer: Mount the Raspberry Pi to the back of the monitor.
Power and Ventilation: Ensure you have enough space for airflow to prevent overheating. Drill hidden vent holes if necessary .
💻 Software and Calibration
The software setup is similar for both, but the touch adds an extra layer.
Base Setup: Flash Raspberry Pi OS onto a microSD card using the Raspberry Pi Imager tool. Install MagicMirror² via the terminal script .
Non-Touch: You are done! Configure your
config.jsfile to change modules.Touch Calibration:
For Capacitive overlays: These usually work immediately over USB (plug-and-play).
For IR Frames: You will likely need to run a calibration tool (like
xinput_calibrator) to map the IR grid to your screen resolution. You may also need a Python script to read the GPIO pins from the IR sensors and convert them into mouse clicks .
💡 Final Recommendation
Go Non-Touch if... you just want to see the time, weather, and your calendar while you get ready in the morning. It looks sleek and is much easier to build.
Go Touch (DIY IR) if... you are an electronics hobbyist looking for a fun soldering challenge and want to interact with widgets on the screen (like controlling Spotify or checking off a to-do list) .
Go Touch (Pre-built) if... you have a higher budget and want a professional, responsive experience similar to a modern tablet.
See Also
Creating A Premium Touch And Non-Touch LCD Mirror Display
Steps For Installing And Configuring Digital Signage Displays
Introductory Guide To DIY Transparent OLED Display Projects
Comprehensive Guide To Configuring Local Server Digital Signage