Step-by-Step Guide to Connecting an LCD Screen in Electronics Projects

You often want your electronics project to show information in a clear way. An lcd screen helps you do that. Many people use lcd screens because they are easy to read and work with different microcontrollers like arduino, STM32, and ESP32.
Shenzhen TopAdkiosk Display Technology Co., Ltd.
Add.: 2F, Bldg 10, Changfeng Industrial Park, Dongkeng, Fenghuang, Guangming, Shenzhen, China 518132
Mobile/WHATSAPP: 86-138 25769658
Email: marketing@topadkiosk.com topadkiosk@gmail.com
Skype: pghenry1
Wechat: adkioskhenry
English Web.: http://www.topadkiosk.com/
https://www.topkioskdisplay.com/
http://www.ad-kiosk.com/
https://www.toplcddisplay.com/
http://www.multitouchdigitalsignage.com/
https://www.youtube.com/channel/UCYVYNJHxLVEcQD8fuUxXNTA/videos?view_as=subscriber
https://www.facebook.com/TOPADKIOSKSHENZHEN/?ref=bookmarks
Architecture | Clock Speed | Memory (Flash/SRAM) | Peripherals | |
|---|---|---|---|---|
ATmega328 | 8-bit AVR | 20 MHz | 32 KB / 2 KB | UART, SPI, I²C, ADC |
STM32F103C8T6 | 32-bit ARM Cortex-M3 | 72 MHz | 128 KB / 20 KB | SPI, I²C, CAN, USB, USART, ADC |
ESP32 | Xtensa LX6 dual-core | 240 MHz | 520 KB | Wi-Fi, Bluetooth, SPI, I²C, ADC |
When you start, you may face some questions:
Description | |
|---|---|
Power Sequences | You might wonder how to power your lcd screen correctly. |
Data Initialization | You may ask how to send the right data to the screen. |
Project Feasibility | You could worry about making your own controller board for your project. |
Connecting an lcd screen can be tricky. You need to choose the right display, understand the interface, and manage the connections.
Key Takeaways
Pick the right LCD type for your project. A 16x2 LCD is popular and simple to use with many microcontrollers.
Learn the LCD pinout to stop wiring errors. Each pin has its own job that is important for the LCD to work right.
Use a potentiometer to change the contrast of your LCD. This helps you see the text and images clearly on the screen.
Follow step-by-step directions to connect your LCD to a microcontroller. This makes setting up easier and helps it work better.
Check your connections and code often. This lets you find problems early and makes sure your LCD works the way it should.
LCD Screen Basics
An lcd screen is also called a liquid crystal display. It helps you show information in your electronics projects. You can use it to show numbers, words, or simple pictures. Many people pick lcd screens because they are easy to use. They also work well with microcontrollers.
Types of LCD Character Display
There are different types of lcd character display for projects. Each type has its own size and features. Here are the main types you might use:
Character lcd
Graphic lcd
Chip-On-Glass (COG) lcd
Most lcd character display modules come in many sizes. The 16×2 lcd is the most common. It shows 2 lines with 16 characters on each line. Other sizes you might see are:
1 x 8 characters
1 x 16 characters
2 x 8 characters
2 x 12 characters
2 x 16 characters (also called 16×2 lcd)
2 x 20 characters
2 x 24 characters
2 x 40 characters
4 x 16 characters
4 x 20 characters
4 x 40 characters
You can compare lcd character display types by how they work:
Performance Aspect | Active Matrix LCDs | Passive Matrix LCDs |
|---|---|---|
Power Consumption | Uses less power for still images | |
Resolution and Clarity | Has high resolution and looks sharp | Has lower resolution and looks less clear |
Why Use an LCD Screen in Projects
There are many reasons to use an lcd character display in your projects:
It uses little power, so your device lasts longer.
It is bright, so you can read it easily.
It shows colors well, so images look clear.
You can connect a 16×2 lcd to most microcontrollers without problems.
A 16×2 lcd makes your project easier to use. In healthcare, lcd touch panels show clear pictures for patient checks. In schools, lcd screens help students learn with smartboards and tablets. In stores, lcd touch panels make self-service kiosks simple to use.
When you add a 2×16 lcd display, your project becomes more helpful and easy to use. The lcd character display gives you a simple way to show data, messages, or menus. You can use a 16×2 lcd in almost any electronics project.
LCD Screen Components and Pinout
Understanding the lcd pinout helps you connect your display correctly. Each pin on the lcd has a special job. If you know the lcd pinout, you can avoid wiring mistakes and make your electronics project work better.
LCD Pinout Overview
Most 16x2 lcd screens use a standard pinout. You can use the table below to see what each pin does:
Name | Description | |
|---|---|---|
1 | VSS | Ground (0V) connection. |
2 | VDD | Power supply (4.7V to 5.3V). |
3 | VO | Contrast adjustment (connect to a potentiometer for contrast control). |
4 | RS | Register Select (0: Command mode, 1: Data mode). |
5 | RW | Read/Write (0: Write to LCD, 1: Read from LCD). |
6 | E | Enable pin (triggers data read/write). |
7 | D0 | Data pin 0 (used in 8-bit mode only). |
8 | D1 | Data pin 1 (used in 8-bit mode only). |
9 | D2 | Data pin 2 (used in 8-bit mode only). |
10 | D3 | Data pin 3 (used in 8-bit mode only). |
11 | D4 | Data pin 4 (used in both 4-bit and 8-bit modes). |
12 | D5 | Data pin 5 (used in both 4-bit and 8-bit modes). |
13 | D6 | Data pin 6 (used in both 4-bit and 8-bit modes). |
14 | D7 | Data pin 7 (used in both 4-bit and 8-bit modes). |
15 | A/LED+ | Anode of the backlight LED (connect to 5V through a resistor). |
16 | K/LED- | Cathode of the backlight LED (connect to ground). |
Tip: Always double-check the lcd pinout before connecting wires. This step prevents damage to your lcd screen.
Essential Components for LCD Setup
You need a few main parts to set up your lcd with a microcontroller. The table below lists these components and what they do:
Component | Description |
|---|---|
Shows text or images. | |
Microcontroller | Controls the lcd and sends data. |
Interface Type | Connects the lcd to the microcontroller (SPI, I2C, or parallel). |
Size | Tells you how big the lcd screen is. |
Resolution | Shows how clear the images or text will look. |
Color Depth | Tells you how many colors the lcd can show. |
Data Pins | Carry the data from the microcontroller to the lcd. |
Control Pins | Help manage how the lcd works, like turning it on or off. |
You can find these parts in most electronics kits for beginners.
Optional Parts for Enhanced Display
You can add extra parts to make your lcd screen work even better:
Brightness adjustment lets you change how bright the screen looks.
Interface options help you pick the best way to connect your lcd.
LCD touchscreen capabilities let you touch the screen to control your project.
LCD driver board customization gives you more control over how the lcd works.
Bezels protect the screen from dust and moisture.
Overlays keep the screen safe from scratches and smudges.
Note: Adding these optional parts can make your lcd screen last longer and look better in your electronics projects.
Wiring LCD Screen to Microcontroller
Connecting an LCD screen to your microcontroller can seem hard at first, but you can do it step by step. You will learn how to connect Arduino to LCD, make power and ground connections, and use a potentiometer for contrast. These steps help you show information on your display and make your project more useful.
Connect LCD Display to Arduino
You can connect Arduino to LCD by following these steps:
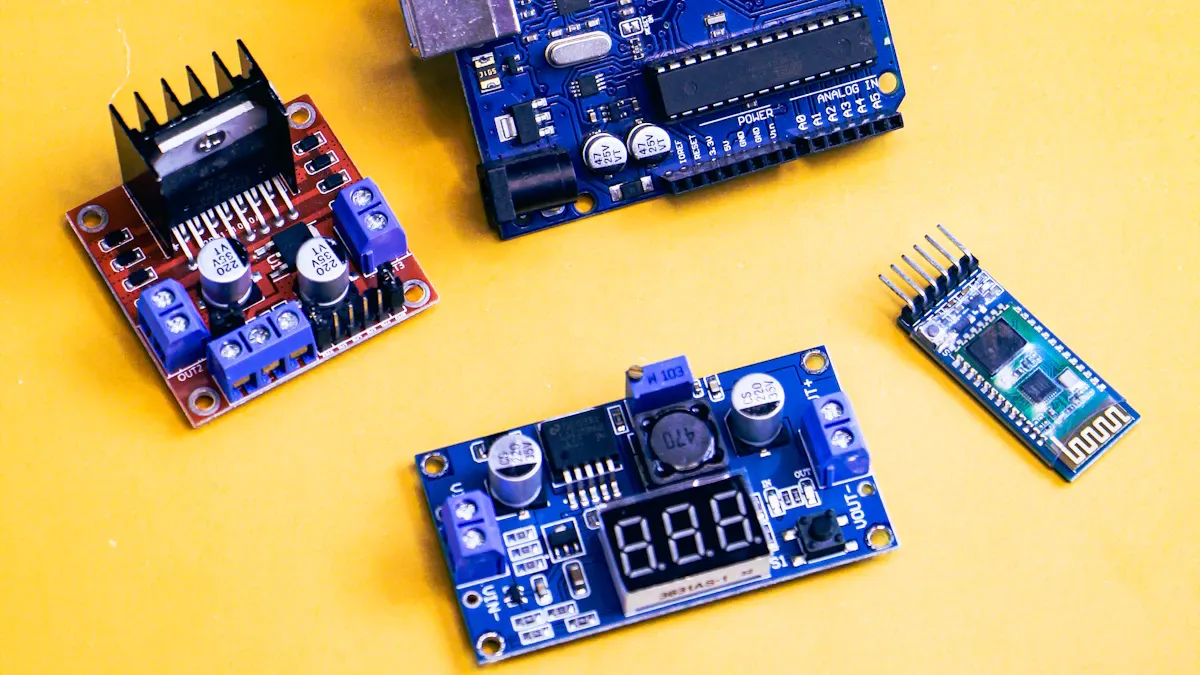
Gather your hardware. You need a 16x2 LCD, an Arduino board, a breadboard, jumper wires, and a 10k potentiometer.
Solder pin headers to your LCD if they are not already attached. This gives you a strong connection for the wires.
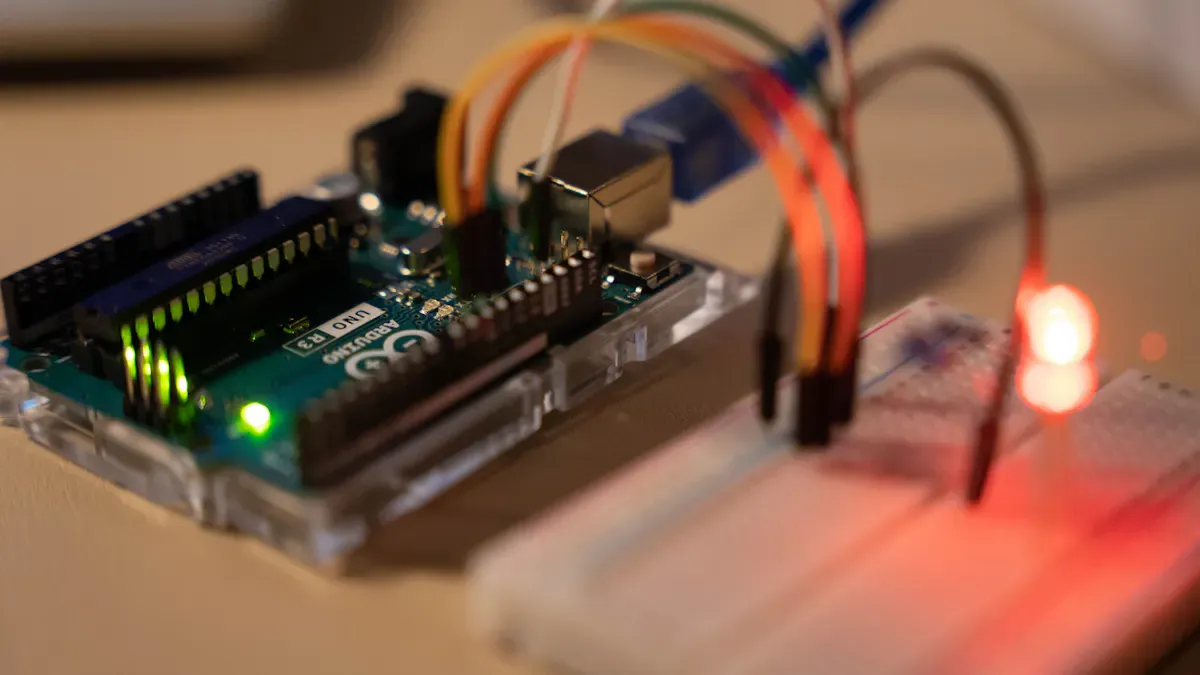
Place the LCD on the breadboard. Use jumper wires to connect the LCD pins to the Arduino. Follow the pinout table to match each pin correctly.
Connect the RS, RW, and E pins from the LCD to digital pins on the Arduino. Connect the data pins (D4-D7) to other digital pins. Most people use 4-bit mode for fewer wires.
Use a ribbon cable if you want a neat setup. Secure the ribbon cable with tape or a shim to keep it in place.
Mount the display on your project box or panel. Make sure the screen is easy to see and the wires do not pull loose.
Double-check all connections before you power up the Arduino.
Tip: If you use a ribbon cable, you can add a piece of electrical tape to the back of the cable head. This increases thickness and improves contact pressure.
Here is a table with practical tips for reliable connections:
Tip Description | Method |
|---|---|
Use a shim | File down a small flex ribbon head and shim it into the connector. |
Cardstock support | Cut cardstock to size, tape it to the ribbon cable, and cover with tape. |
Electrical tape | Add tape to the back of the ribbon cable head for better contact. |
Common mistakes can happen when you connect Arduino to LCD. You might connect the wrong pin or use the wrong voltage. Always check the datasheet and your wiring before turning on the power.
Power and Ground Connections
You must give your LCD screen the right power and ground connections for stable operation. Connect VSS to GND and VDD to 5V. This supplies the correct voltage to the display. Use a decoupling capacitor (0.1µF) near the power pins to keep the voltage steady and reduce noise.
Here are best practices for power and ground:
Best Practices for Power and Ground Connections | Description |
|---|---|
Proper Grounding | Avoids noise or flickering issues. |
Use of Decoupling Capacitors | 0.1µF capacitors near power pins help. |
Voltage Connections | VSS to GND, VDD to 5V for correct supply. |
VCC and VDD give positive power to the LCD.
VSS is the ground connection.
Route grounding wires away from power cables to prevent shock risks.
Use terminal blocks or heat-shrink tubing to cover connections and avoid accidents.
Note: Secure and well-insulated connections keep your LCD safe and working well.
Using Potentiometer for Contrast
You can adjust the contrast of your LCD screen with a potentiometer. This makes the text on the display clear and easy to read. Connect one end of the potentiometer to 5V, the other end to GND, and the middle pin (wiper) to the VO pin on the LCD.
Follow these steps to set up the potentiometer:
Place the potentiometer on the breadboard near the LCD.
Connect one outer pin to 5V and the other outer pin to GND.
Connect the middle pin to the VO pin on the LCD.
Turn the potentiometer with a small screwdriver while the display is on. Watch the screen and stop when the text looks clear.
The potentiometer lets you change the voltage at VO.
Adjusting the knob makes the display darker or lighter.
You can always fine-tune the contrast if the display looks faded or too dark.
Tip: If your LCD has a small potentiometer on the back, you can use a screwdriver to adjust it directly.
By following these steps, you can connect LCD display to Arduino, set up power and ground, and adjust the contrast for the best results. This makes your display easy to read and your project more professional.
Programming LCD Display
You can make your project come alive when you program your lcd screen. You will learn how to set up the lcd, show messages, and use advanced features. This section will guide you through each step with clear code and examples.
Initialize LCD in Code
You need to follow a few steps to get your lcd working with arduino. These steps help you set up the display and make sure it shows what you want.
Install the LiquidCrystal library in your Arduino IDE. This library helps you control the lcd.
Import the correct header file at the top of your code. For I2C displays, use
LiquidCrystal_I2C.h.Connect the lcd to your arduino. Use the SDA and SCL pins for I2C, or the correct digital pins for parallel mode. Always connect VCC and GND.
Define your lcd in the code. Set the address and size, like 16 columns and 2 rows.
In the setup function, initialize the lcd and turn on the backlight.
You must check your wiring and code before you upload. If you use I2C, manage timing carefully. Turn off interrupts during I2C communication to avoid data problems. Try to use char[] instead of String objects in your code. This keeps your memory safe and your lcd running well. Warnings in your code may not always show the real problem, so check your setup if the lcd does not work.
Display Text and Commands
You can show messages and numbers on your lcd with simple code. Here is an example that prints "Hello, world!" on the first line and shows the number of seconds on the second line.
const int rs = 13, en = 12, d4 = 11, d5 = 10, d6 = 9, d7 = 8;
LiquidCrystal lcd(rs, en, d4, d5, d6, d7);

void setup() {
  lcd.begin(16, 2);
  lcd.print("Hello, world!");
}

void loop() {
  lcd.setCursor(0, 1);
  lcd.print(millis() / 1000);
}
You can also use another example to show how to clear the display and print new messages:
#include <LiquidCrystal.h>
LiquidCrystal lcd(1, 2, 4, 5, 6, 7);

void setup() {
  lcd.begin(16, 2);
}

void loop() {
  lcd.print("Arduino");
  delay(3000);
  lcd.setCursor(2, 1);
  lcd.print("LCD Tutorial");
  delay(3000);
  lcd.clear();
}
You can use these code blocks as a starting point for your own lcd arduino code. Change the text or numbers to fit your project. Always check your code for mistakes before uploading.
Advanced LCD Features
You can do more than just show text on your lcd. You can scroll messages or create your own characters. These features make your display more fun and useful.
Function/Concept | Description |
|---|---|
Moves the text on the lcd to the left. | |
scrollDisplayRight() | Moves the text on the lcd to the right. |
Custom Character Creation | Lets you design your own symbols using an array of bytes. |
Example Code for Scrolling Text | Use lcd.scrollDisplayLeft(); or lcd.scrollDisplayRight(); in your code to move the text. |
Example Code for Custom Characters | Use lcd.createChar(index, characterArray); to make and show new characters on the display. |
You can scroll a message if it is too long for the screen. You can use the scrollDisplayLeft() or scrollDisplayRight() commands in your code. You can also make a smiley face or other symbol with custom characters. Write an array of bytes to design your shape, then use lcd.createChar to add it to the display.
Try these advanced features in your lcd arduino code. You will see how much more you can do with your lcd and arduino. If you want to show a menu, a moving message, or a special icon, you can do it with just a few lines of code.
Tip: Always test your code with simple examples first. Add advanced features one at a time. This helps you find mistakes and fix them quickly.
You now know how to program your lcd screen. You can set it up, show messages, and use advanced features. With these skills, you can make your electronics project stand out.
Troubleshooting LCD Issues
Diagnosing Common LCD Problems
You may see your lcd screen act strangely during a project. Many problems have simple causes. Here are some common issues you might face:
Cover glass broken from a drop or bump can make the touch stop working.
Polarizer broken from heat or sunlight can change colors or make the display dim.
Backlight broken from age or high brightness can make the display go dark.
Image sticking or ghosting leaves old images on the display.
A dead display often means a power problem.
A white screen can mean a signal input issue.
Blur images may come from slow response or cleaning damage.
Physical pressure can leave marks or leaks.
Extreme temperatures can shorten the display’s life.
Dirt or oil can make touchscreens stop working.
You can follow these steps to find the problem:
Look at the lcd for cracks, leaks, or color changes.
Run a software test to check for dead or stuck pixels.
Check the power supply, cables, and connectors.
Make sure you have the latest drivers or firmware.
Swap cables or parts to see if the problem goes away.
Fixing Display Errors
You can fix many lcd problems with simple steps. Use this table to match the problem with a solution:
Problem Type | Symptoms | Solutions |
|---|---|---|
Dead or Stuck Pixels | Black or bright dots | Try pixel-refresh software or gentle pressure. |
Flickering Screen | Flickers during use | Update drivers and check power. |
Image Retention/Ghosting | Old images stay on display | Use a screen saver or move images often. |
Touchscreen Malfunction | Touch does not work right | Recalibrate or reseat ribbon cables. |
If your lcd stays blank or too bright, adjust the contrast with the potentiometer. Make sure you include the lcd library in your arduino code. Check all connections if the display flickers.
Best Practices for Reliable LCD Operation
You can keep your lcd working well for a long time. Try these best practices:
Best Practice | Description |
|---|---|
Pick lcd modules for tough jobs and wide temperature ranges. | |
Smart UI Design | Move images and avoid static high-contrast shapes. |
System Controls | Turn off the display when not in use and adjust brightness. |
Use Built-in Features | Enable screen savers and sleep modes. |
Good Habits | Power down when not needed and change what you show often. |
Keep Cool | Avoid heat and give the display good airflow. |
You can also use libraries like LiquidCrystal or Adafruit’s GFX with arduino. These tools help you control the display and fix many problems. Always check your setup and wiring to avoid errors.
You can add and use an lcd screen in your electronics project if you follow these steps: First, set up the lcd and pick the interface mode. Next, check if the lcd is ready by looking at the busy flag or waiting a short time. Then, send commands and move data to the lcd so it shows what you want. You can use different microcontrollers like arduino and try out cool lcd features. The table below lists panel types you can pick for your display:
Panel Type | Color Accuracy and Contrast | Response Time | Viewing Angles |
|---|---|---|---|
TN | Not many colors, lower contrast | Fastest | Small angle, colors change |
IPS | Great color, high contrast | Slower than TN | Very wide, colors stay the same |
VA | Very good contrast, deep blacks | Slower than TN | Wider than TN, not as wide as IPS |
You can find lcd screens that cost less or more, so you can start with a simple one or get a better one as you learn more. Arduino projects with lcd screens help you practice and make cool things.
FAQ
How do you know if your LCD screen is working?
You see blocks or text on the display when you power it up. If the screen stays blank, check your wiring and contrast settings. You can also upload a simple test code to show a message.
What should you do if your LCD shows only black boxes?
Turn the contrast knob slowly. If you still see only black boxes, check your connections. Make sure you connect the RS, E, and data pins to the correct Arduino pins.
Can you use an LCD screen with any microcontroller?
Yes, you can use an LCD screen with most microcontrollers. You need to match the voltage and connect the right pins. Many libraries support LCDs on Arduino, ESP32, and STM32 boards.
Why does your LCD screen flicker or show random characters?
Loose wires or poor power supply can cause flickering. Double-check your connections. Use a decoupling capacitor near the power pins. Make sure your code matches your wiring.
See Also
Comprehensive Instructions for Setting Up a Touch Kiosk
Introductory Guide to Using Transparent OLEDs in DIY Projects
Understanding LCD Display Screens and Their Functionality