Standalone Tutorial for 3D LED FAN hologram fan 3D
You can build your own 3D HOLOGRAM FAN at home with simple tools and a little patience. This project welcomes beginners and lets you create stunning floating images right in your room. The process does not require advanced skills or expensive equipment. With a hologram fan, you will impress friends and learn new technology skills.
Tip: Set aside a few hours for this project so you can enjoy each step and see amazing results.
Key Takeaways
Making a 3D hologram fan is a fun project. You need some simple tools and patience to do it. The fan has spinning LED lights that show 3D images in the air. This makes it good for displays and events. You can change your fan by adding new images and videos. This makes it look even better. Clean the blades often to keep your fan working well. This also helps the images stay clear. Safety is very important. Always turn off the fan before you clean or fix it.
What Is a Hologram Fan?
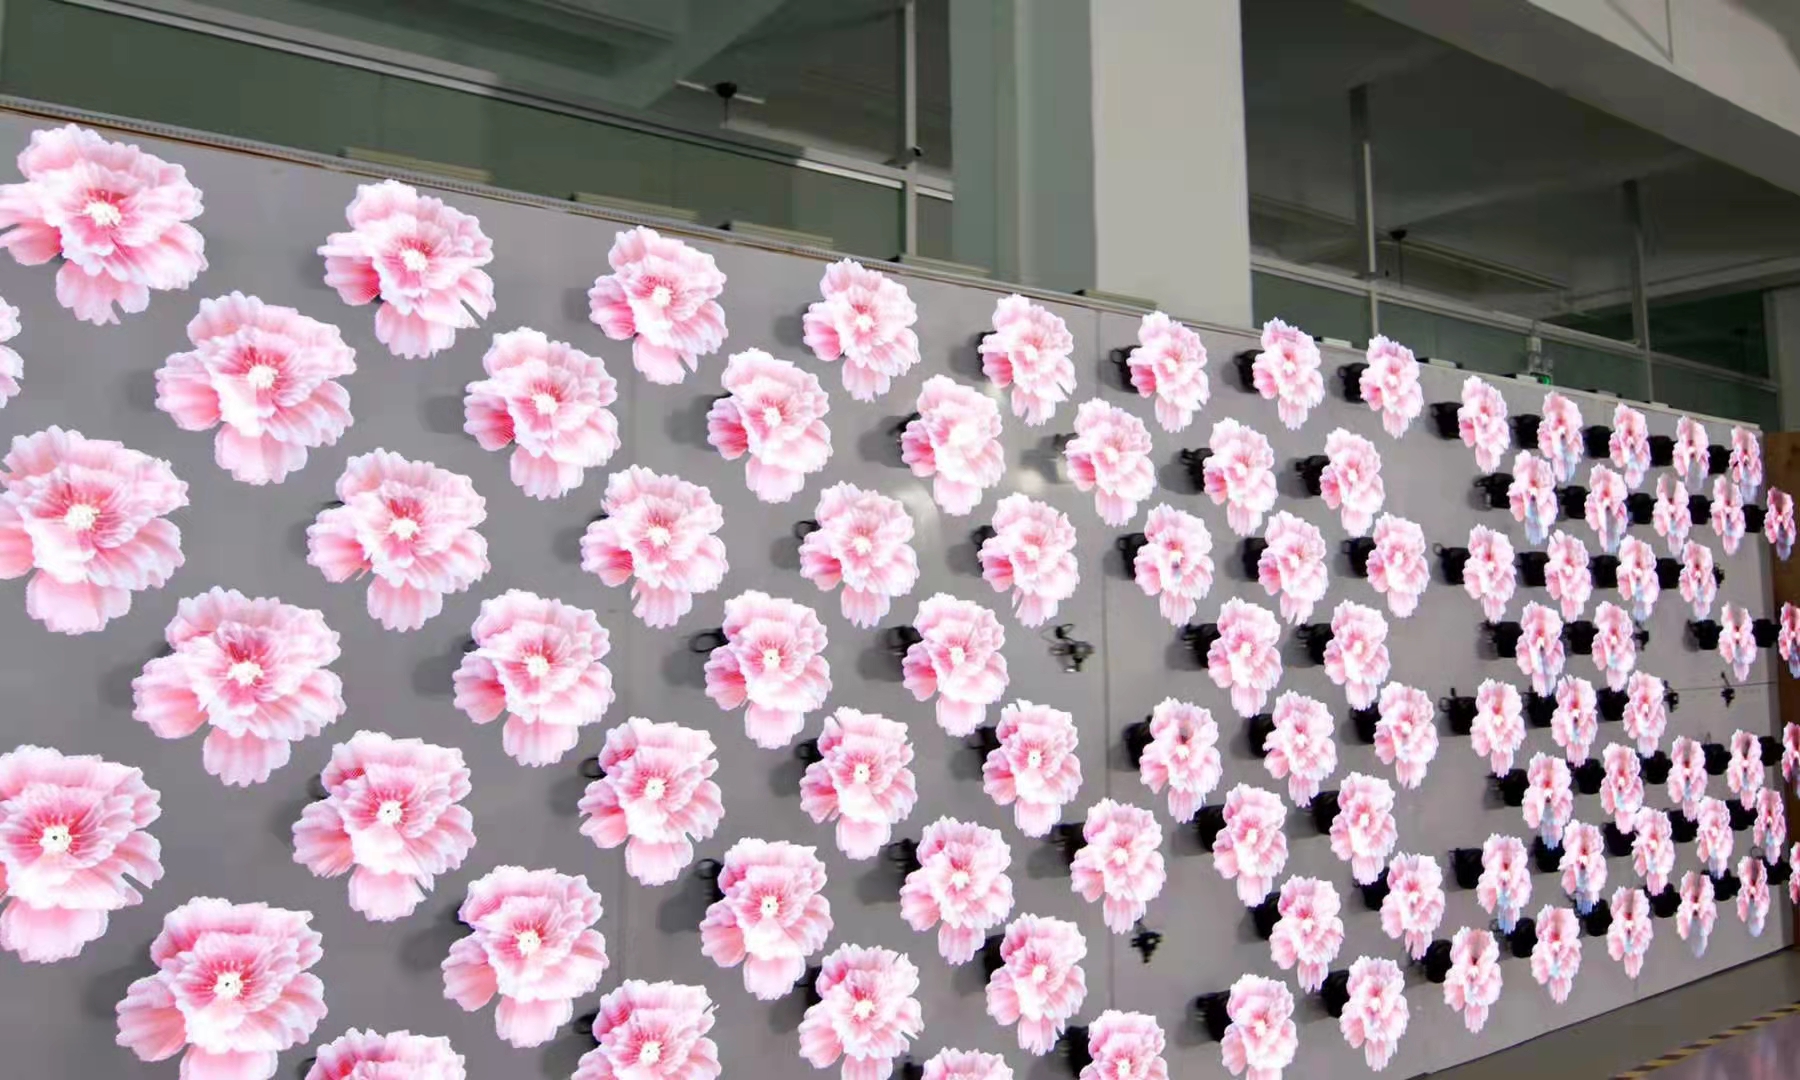
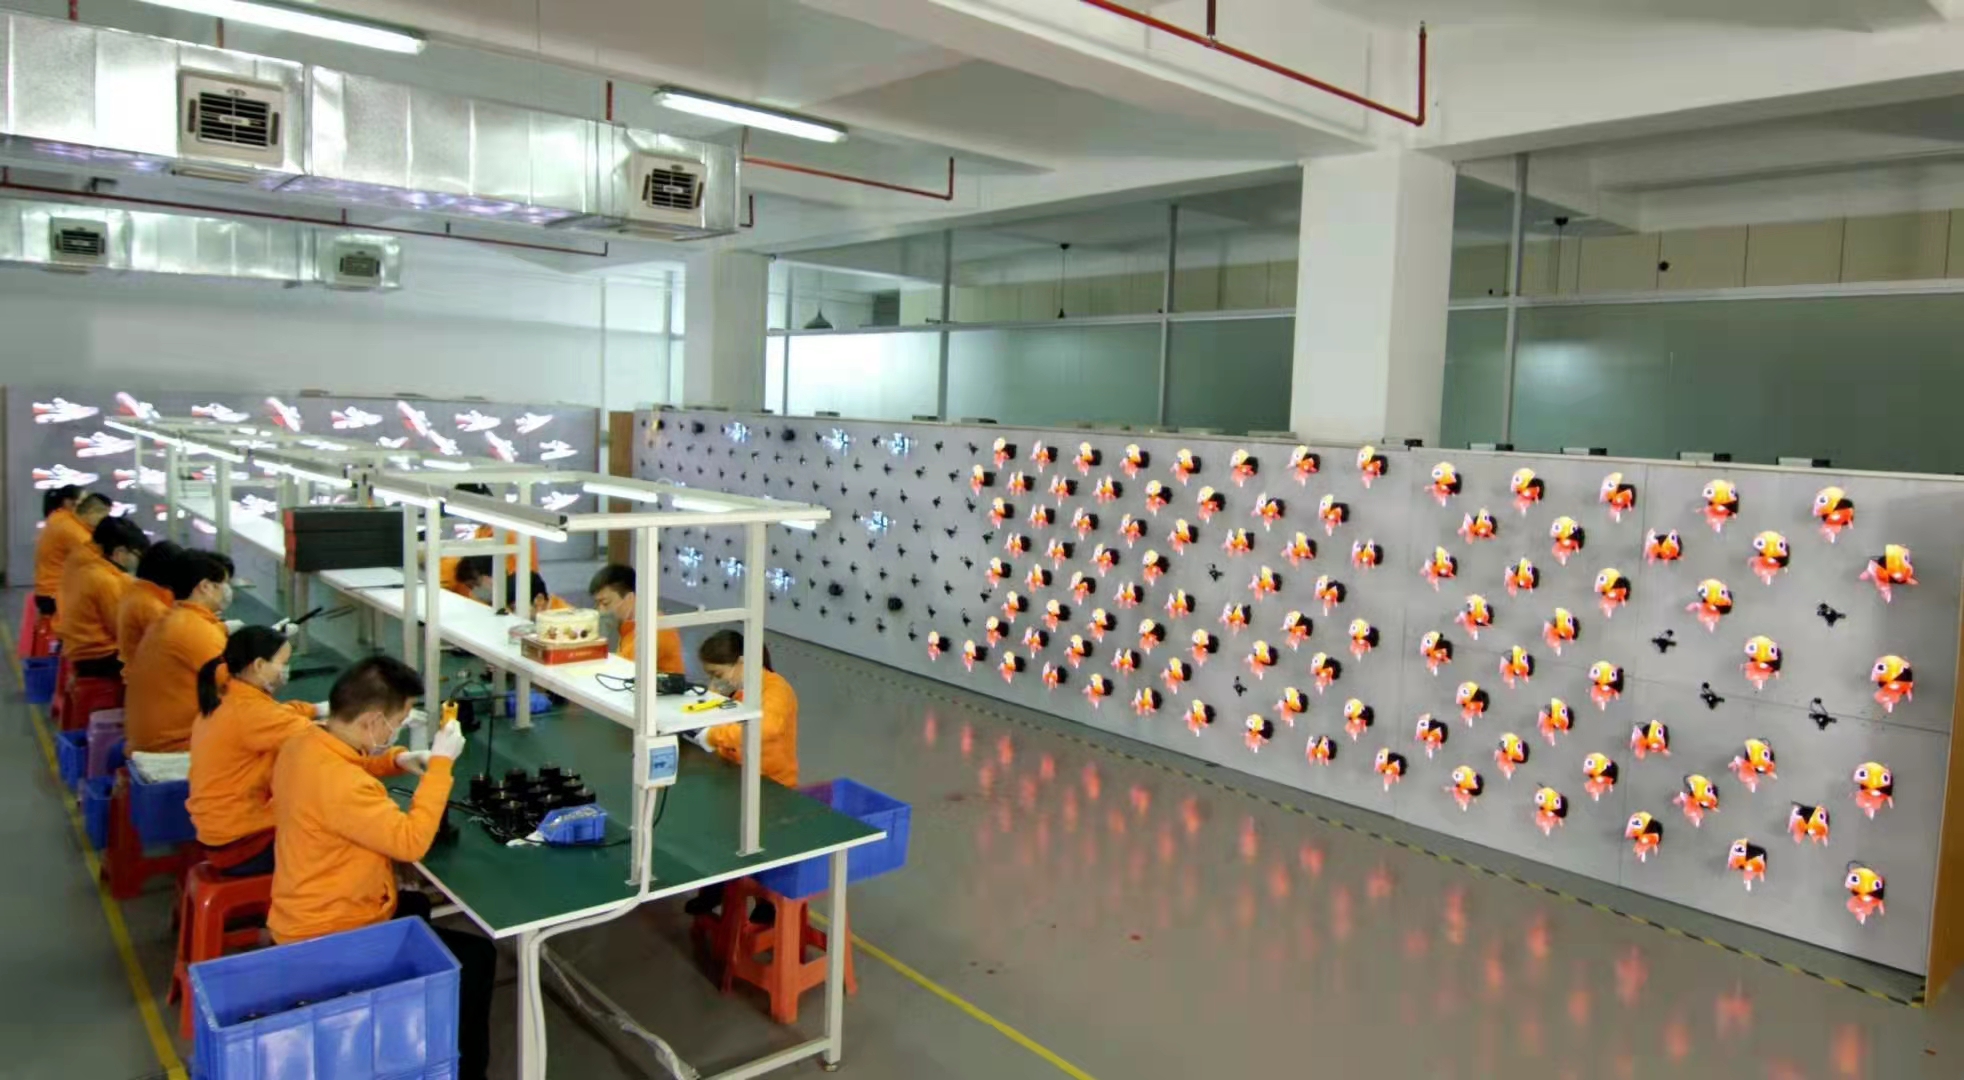
A hologram fan is a machine that makes 3D images look like they float in the air. You can use it to show cool pictures, moving animations, or short videos. The fan has spinning blades with LED lights. These lights make pictures look like they are hanging in space. People use a hologram fan for ads, parties, or to decorate their homes.
How It Works
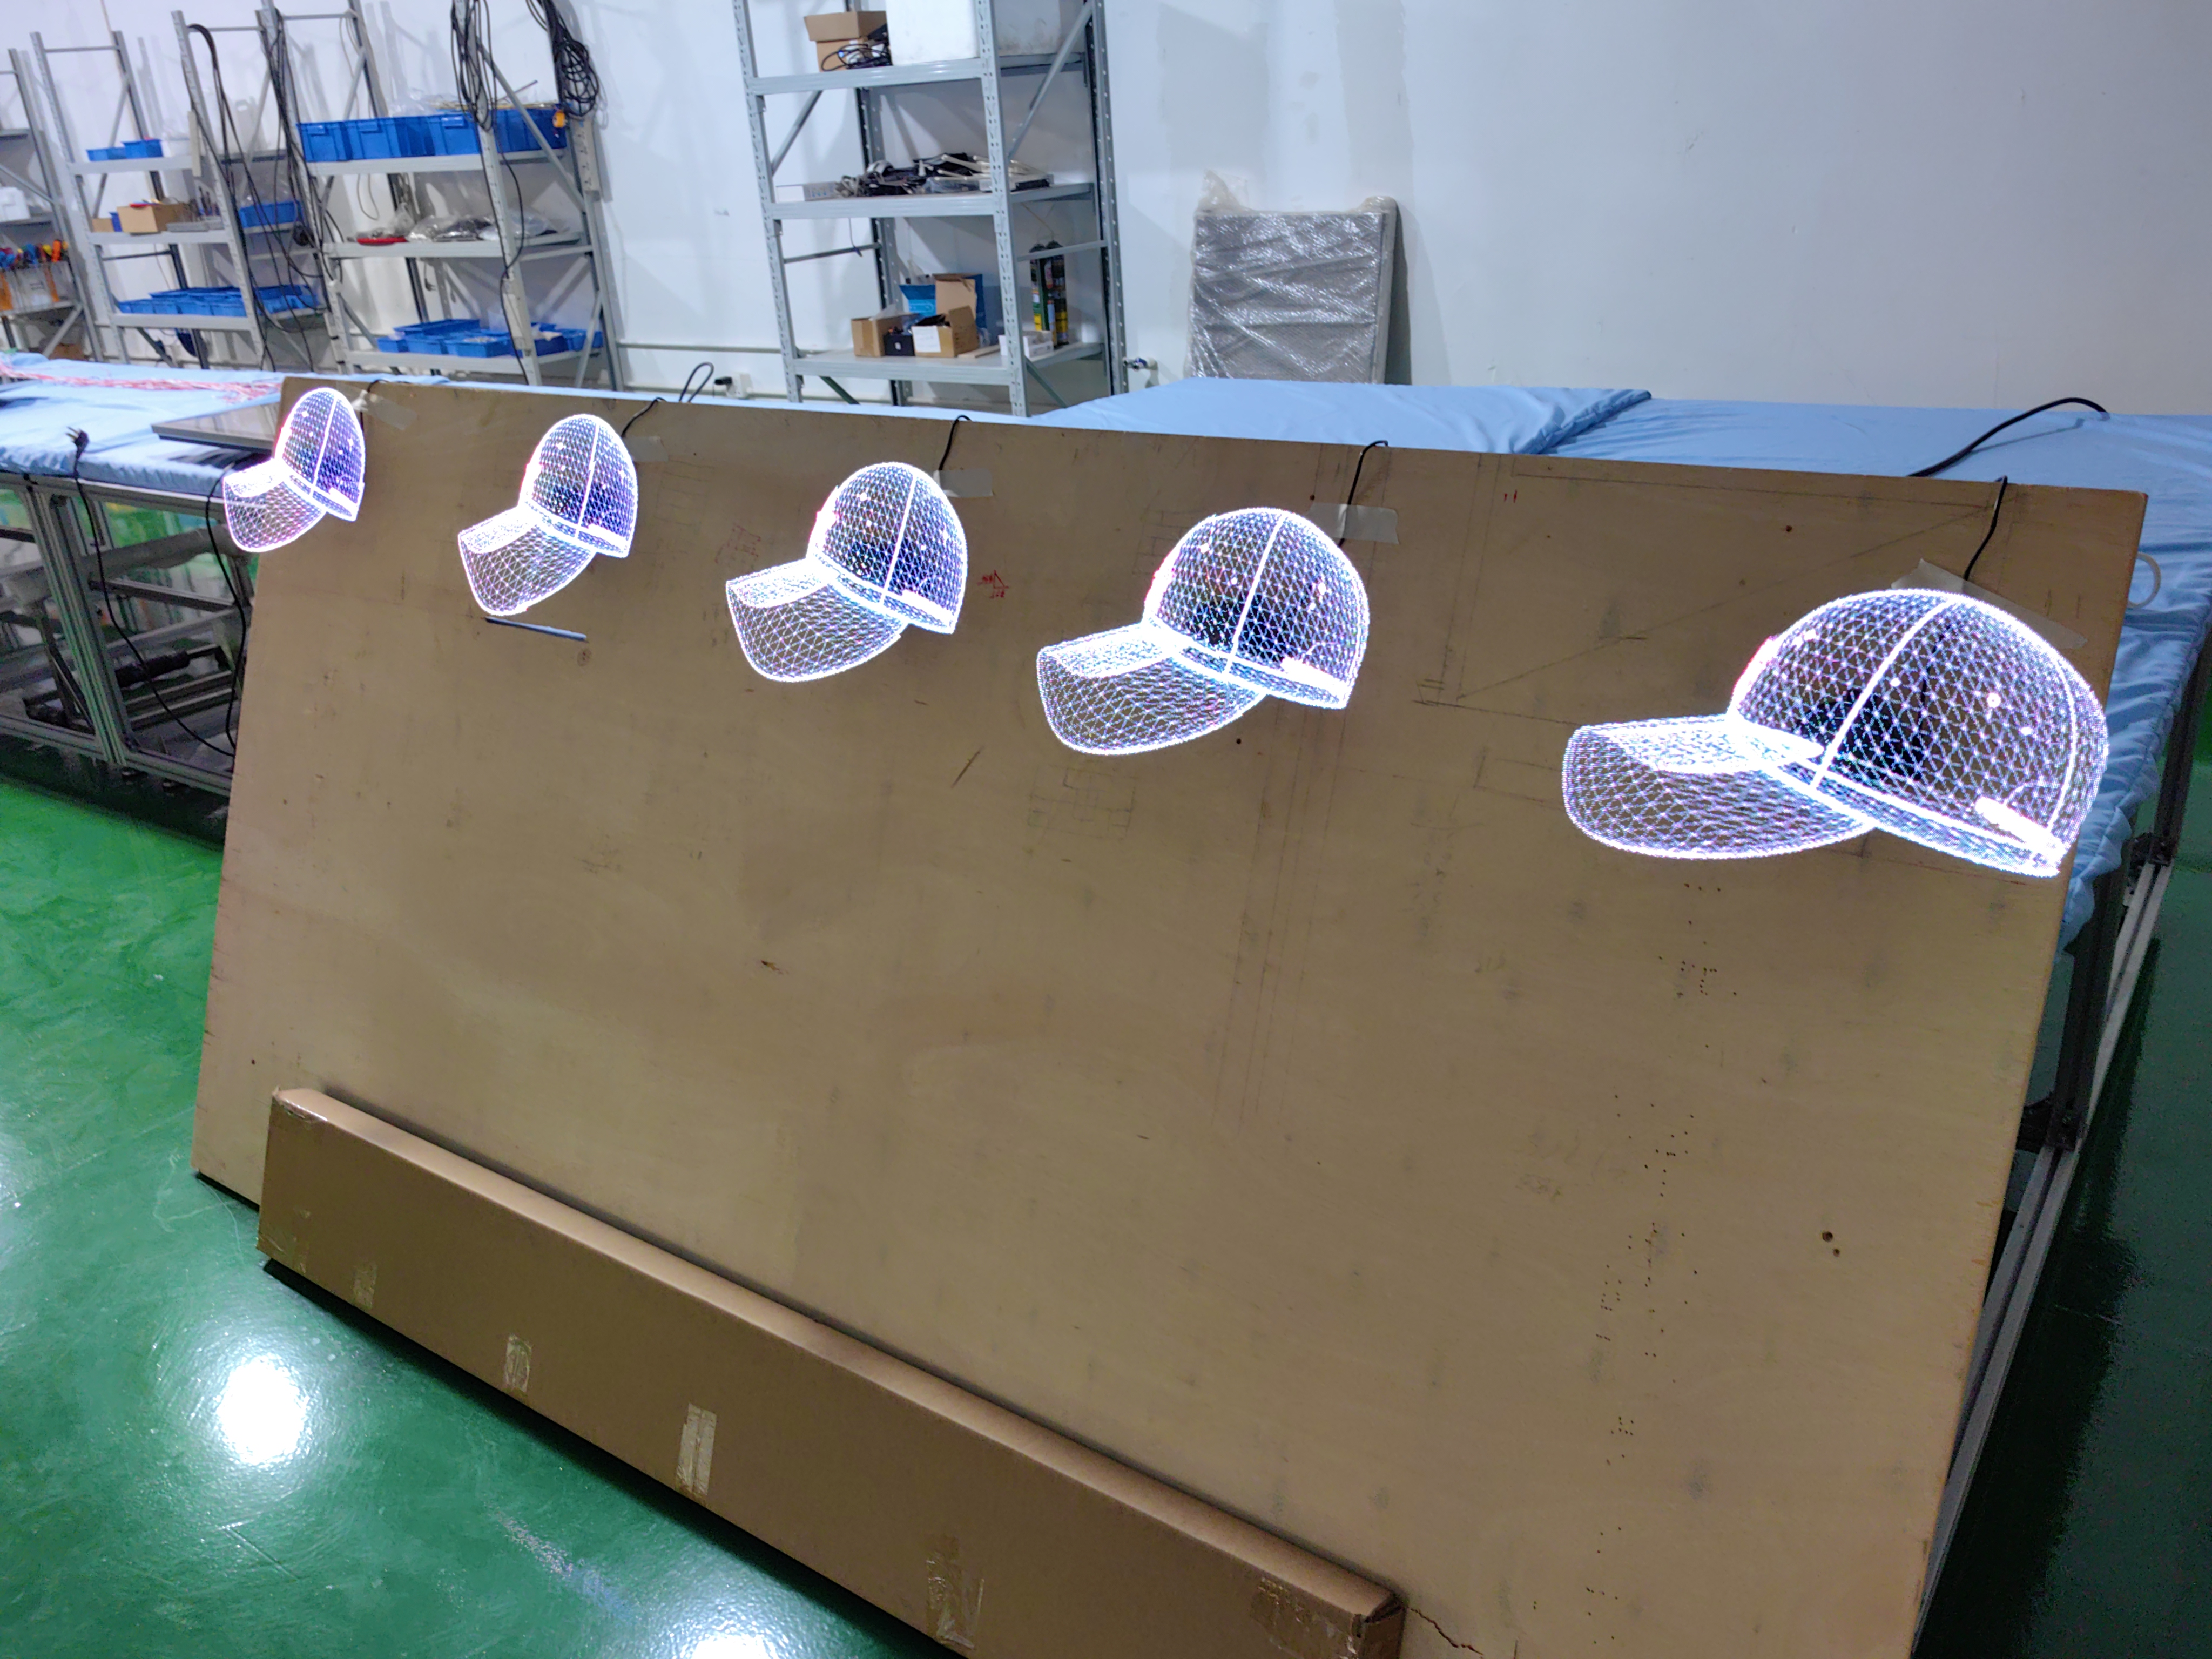
The hologram fan spins its blades very fast. Each blade has small, colorful LEDs in a row. When the fan spins, the LEDs light up in a special way. Your eyes mix the fast lights together because of something called persistence of vision. This trick makes you see a smooth, steady 3D image floating in the air.
The main parts of a hologram fan are:
LED strips: These are on the blades and can show many colors.
Motor and control system: This keeps the blades spinning at the right speed.
Microprocessor and memory: This saves your pictures and tells each LED when to turn on.
Note: The fan usually spins between 500 and 1,000 times every minute. This speed helps make the images clear and steady.
Main Benefits
There are many good things about using a hologram fan:
It gets attention with bright, floating pictures.
You can change the pictures or videos whenever you want.
It is great for ads, learning, or fun shows.
The fan uses less power because of new LED technology.
Some fans now let you use gesture control or augmented reality.
Here is a table that shows new upgrades in hologram fan technology:
Advancement Type | Description |
|---|---|
Higher Resolution | More LEDs make images sharper and clearer. |
Larger Formats | Bigger fans can show visuals in large spaces. |
Interactive Capabilities | Some fans react to your gestures or when you are near. |
Augmented Reality Integration | Fans can work with AR apps for new effects. |
Improved Energy Efficiency | New LEDs use less power and shine brighter. |
AI Content Optimization | AI helps make and improve the images you see. |
A hologram fan lets you show 3D images in your own room. You can surprise your friends or make cool displays for any event.
Materials and Tools
Required Components
You need several key parts to build your own hologram fan. Each part has a special job in making the images float in the air.
Fan Motor with Blades: Spins the LED strips quickly to create the 3D effect.
RGB LED Strips: Show bright colors and form the images you see.
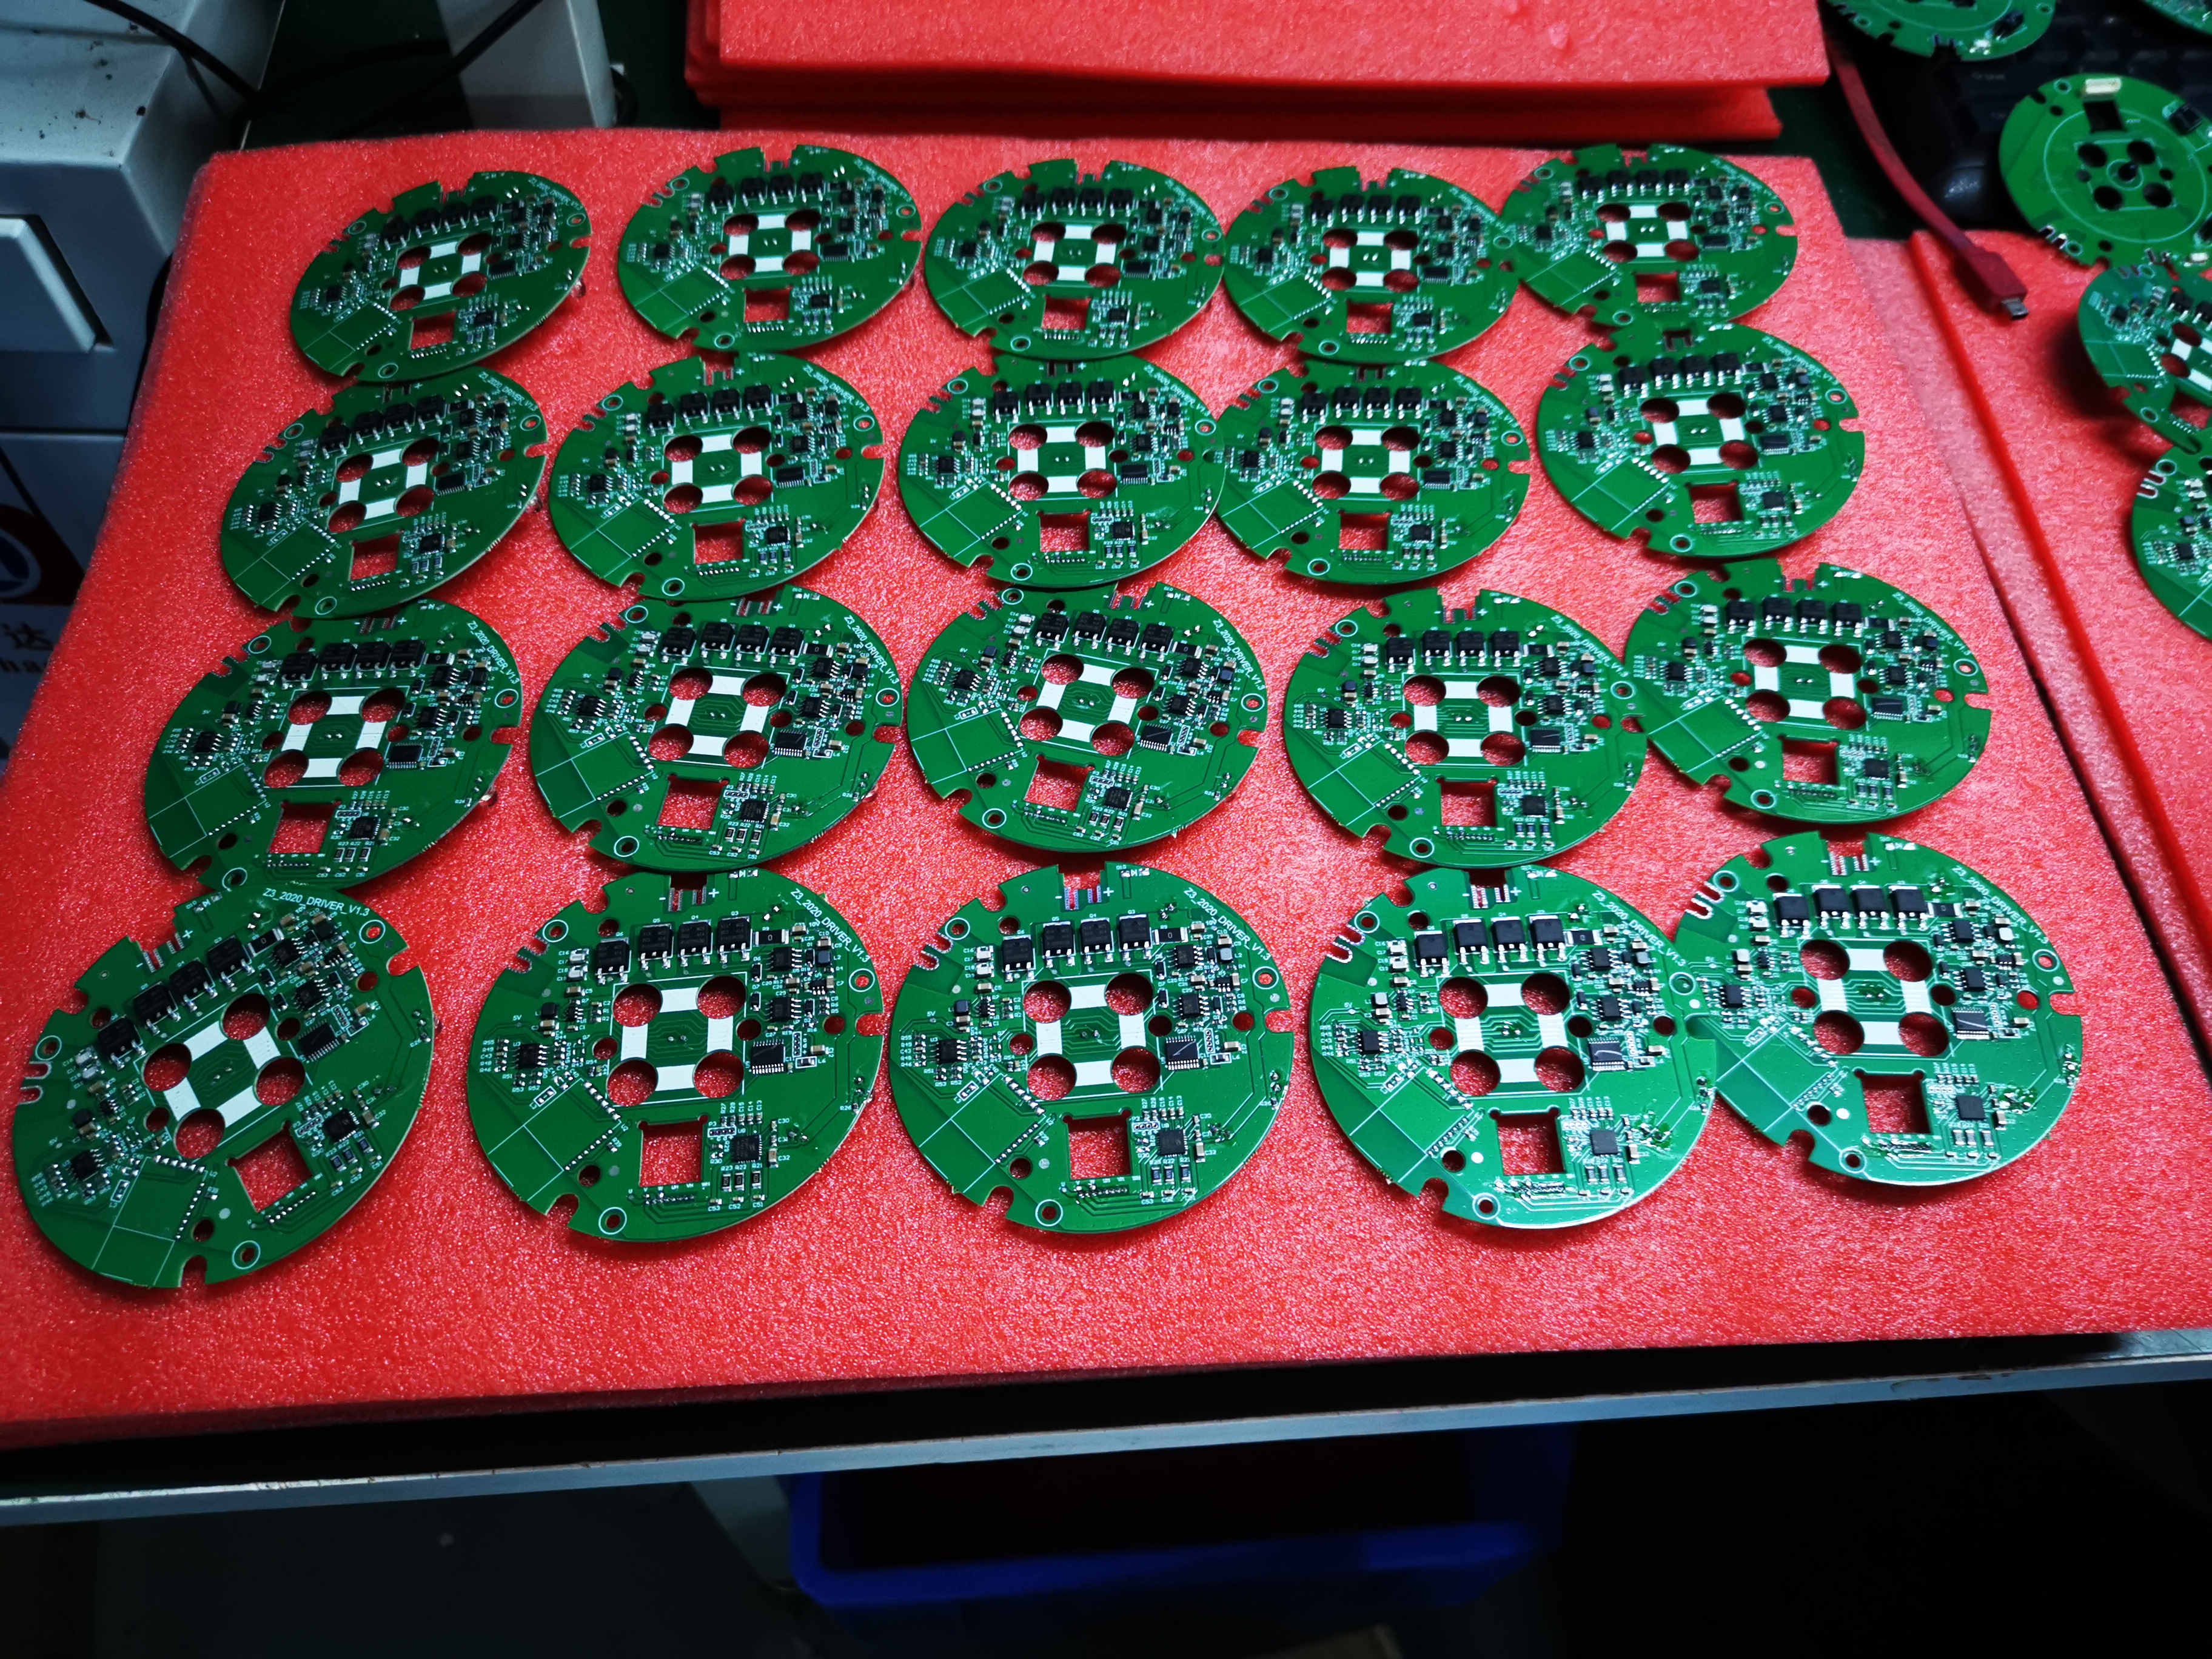
Controller Board: Tells each LED when to light up and keeps everything in sync.
Power Supply: Gives steady energy to the fan and LEDs. You can use a 5V/2A USB power bank or a wall adapter for best results.
MicroSD Card: Stores your pictures and videos for the fan to display.
Frame or Mount: Holds the fan safely in place.
Wires and Connectors: Link all the parts together.
Here is a table with the recommended specifications for the power supply and controller:
Component | Specification |
|---|---|
Power Supply | 5V/2A USB Power Bank or Wall Adapter, stable 5V |
Controller | Handles LED control and rotation synchronization |
When you buy parts, choose suppliers known for quality. Lumina is a trusted source for high-quality components and good customer service.
Tip: Always check for safety certifications. Look for CE, FCC, UL, and RoHS marks. These show that the parts meet important safety and environmental rules.
Tools Overview
You need a few basic tools to put your hologram fan together:
Small Screwdriver Set: Tightens screws and helps with assembly.
Soldering Iron: Joins wires to the LED strips and controller.
Wire Cutters and Strippers: Prepare wires for connections.
Hot Glue Gun: Secures parts and keeps them from moving.
Protective Glasses: Keep your eyes safe while you work.
Each tool helps you build safely and makes the process easier. You do not need advanced tools. Most people can find these in a basic electronics kit.
Note: Take your time and use each tool carefully. Safety comes first when working with electronics.
Build Your Hologram Fan
Building your hologram fan involves several steps. You will assemble the circuit, set up the physical parts, program the fan, and run an initial test. Each step helps you create a working device that displays floating images.
Assemble the Circuit
Start by connecting the main components. Use the schematic provided with your kit or parts. Make sure you connect the RGB LED strips to the controller board. Attach the motor wires to the controller. Connect the power supply to the board. Insert the microSD card into the slot on the controller.
Check each connection before moving to the next step. Use high-quality materials for better results. Poor connections can cause the fan to fail. Take your time and avoid rushing. Test each part as you connect it. This helps you find problems early.
Tip: Use a soldering iron for strong wire connections. Secure wires with hot glue to prevent movement.
Physical Setup
Mount the fan and components in a sturdy frame. Follow these steps for safe and effective assembly:
Place the frame on a flat surface.
Attach the motor and blades to the center of the frame.
Secure the controller board near the motor.
Fix the LED strips onto the blades.
Manage cables so they do not touch moving parts.
Install the power supply in a safe spot.
Make sure the fan sits above head level, between 2.2 and 2.5 meters. This prevents accidental contact. Use certified power adapters and keep cables neat. Set up a safety zone around the fan. Warn viewers to stay back while the fan spins.
Note: Always check that the frame does not vibrate. A stable setup gives you clearer images.
Hologram Fan Programming
You need special software to program your hologram fan. Use the software that comes with your controller board. Open the program on your computer. Connect the controller to your computer using a USB cable or FTDI breakout board.
Upload the code to the controller. The code tells the LEDs when to light up and controls the motor speed. Adjust the settings for the best image quality. Make sure the fan spins faster than 400 RPM. This speed creates a convincing 3D effect.
Tip: Test the code with simple patterns first. Change the settings until the images look smooth.
Initial Test
Turn on the power supply. Watch the fan spin and the LEDs light up. Check for clear images and steady motion. If you see problems, follow these steps:
Check the power adapter and cables.
Make sure the software connects to the fan.
Clean the LED blades.
Calibrate the sensors if needed.
Here is a table showing common errors and solutions:
Step | Common Errors | Solutions |
|---|---|---|
1 | Power Issues | Check adapter connections, inspect cables, try another adapter |
2 | Software Issues | Stay within Bluetooth/Wi-Fi range, restart app and fan, update software |
3 | Hardware Issues | Clean blades, check motor, calibrate sensors |
Test each stage before moving forward. This helps you fix problems quickly. Avoid skipping tests. Careful checks lead to better results.
Safety Reminder: Keep your hands away from the spinning blades. Wear protective glasses during tests.
You now have a working hologram fan. You can upload custom visuals and enjoy floating images in your space.
Upload Custom Content
Prepare 3D Visuals
You can make your hologram fan show amazing 3D images and videos. Start by choosing the right type of content. Here are some ideas that work well:
Show a slowly spinning 3D model with soft lighting.
Display your brand or logo with bright colors and reveal animations.
Use looping abstract shapes or geometric forms for events and parties.
Pick high-resolution images or videos for the best results. Use a dark background to make your visuals stand out. Make sure your content fills most of the display—about 70–80% of the fan’s diameter. If your image is too small, it will not look as impressive. Try to use slow, smooth movements instead of fast action. Slow motion helps your audience see the details.
You can find 3D videos on websites like YouTube or Instagram. Search for “3D fan hologram” to get ideas. Some people use a 3D video database or hire a design team for custom visuals.
Most hologram fans support these file formats:
AVI
GIF
JPG
PNG
Tip: Use pure black for the background. Dark gray can create a glowing halo around your image.
Upload to Fan
After you finish your visuals, you need to upload them to your fan. Save your files in one of the supported formats. Copy the files to your microSD card or use the software that came with your fan. Connect your fan to your computer with a USB cable if needed.
Follow these steps:
Insert the microSD card into your computer.
Copy your images or videos to the card.
Put the card back into the fan’s controller.
Turn on the fan and check your display.
If you see any problems, check your file size and format. Make sure your content uses most of the display area. Try using slower animations if the motion looks blurry.
Note: Choose content that matches your audience. Logos, product images, and fun animations work well for most events.
Now you can enjoy your custom 3D visuals floating in the air!
Troubleshooting & Tips
Common Issues
Sometimes your 3D HOLOGRAM FAN might not work right. Most problems are easy to fix. Here is a table that shows common display problems and how to solve them:
Issue | Causes | Solutions |
|---|---|---|
Distorted or Unstable Images | Incompatible content format or wrong resolution. Dust on blades. Misaligned blades. | Use supported formats like MP4 or GIF. Clean blades with a soft cloth. Check and fix blade alignment. |
Content Fails to Load or Play | Unsupported or corrupted files. Faulty USB drive. Signal interference. | Use compatible files. Test USB drive on another device. Move fan closer to router or restart devices. |
Tip: Always turn off and unplug your fan before you clean it or check the parts.
Take care of your fan so it works well. Clean the LED blades every few weeks with a soft, dry cloth. Look at the cables and connections often to make sure they are okay. Update the software when you see a new version. If you notice damage, ask an expert for help.
Optimization Tips
You can make your 3D HOLOGRAM FAN look even cooler with some tricks. Try these ideas:
Make your image stand out from the background. This helps the 3D effect look stronger.
Keep your designs simple and bold. Do not use thin lines or strong color changes.
Check that your images look good from different sides.
Use dark backgrounds to help the floating effect.
Make your content look best from the main viewing spot.
Here is a table with more ways to make your fan work better:
Optimization Technique | Description |
|---|---|
Avoid Strong Gradients | Use clear shapes and colors for better definition. |
Understand Fan Geometry | Know your fan’s size and pixel arc for best results. |
Increase Pixel Count | More LEDs give you sharper images. |
Multi-Unit Arrays | Sync more fans for bigger, immersive visuals. |
Remote Content Updates | Update visuals easily with advanced models. |
Note: Take care of your fan to keep it bright and working well. Clean it, check it, and update it often. This stops problems and helps you enjoy great images every time.
You can make a 3D HOLOGRAM FAN by doing five simple steps. Try different pictures and settings to make cool effects. This project lets you learn about technology and get new skills. Here are some important points:
Key Aspect | Description |
|---|---|
Technology | Hologram fans use spinning LED blades and persistence of vision for 3D images. |
Skills Required | You learn motor control, LED sync, and content management. |
Applications | Use your fan for events, branding, or fun displays. |
Accessibility | Modern fans are easy for anyone to use. |
You can add wireless control, motion sensors, or play music with your fan. Always recycle old parts to help the planet. Making your own fan is fun and simple for everyone!
FAQ
How do you clean your 3D HOLOGRAM FAN?
Use a soft, dry cloth to wipe the LED blades. Turn off and unplug the fan before cleaning. Avoid using water or harsh chemicals. Clean the fan every few weeks for the best image quality.
Can you use any image or video on your fan?
You can use most MP4, AVI, GIF, JPG, or PNG files. Make sure your content fits the fan’s display size. Use a dark background for the best 3D effect.
Is it safe to touch the fan while it spins?
No, you should never touch the fan while it spins. The blades move very fast and can cause injury. Always turn off the power before making adjustments.
How do you update the visuals on your 3D HOLOGRAM FAN?
Copy your new images or videos to the microSD card. Insert the card into the controller. Turn on the fan to see your updated visuals. Some models let you update content wirelessly.
What should you do if your fan does not display images?
Check the power supply and all connections. Make sure your files use the correct format. Clean the blades and check for loose wires. Restart the fan after fixing any issues.
See Also
Exploring The Magic Of 3D LED Holographic Fans
Transforming Dull Advertisements With 3D LED Hologram Fans
Maximizing Advertising Impact With 3D LED Fans In 2025