Splicing Tutorial for 3D LED FAN hologram fan 3D
Add.: 2F, Bldg 10, Changfeng Industrial Park, Dongkeng, Fenghuang, Guangming, Shenzhen, China 518132
Mobile/WHATSAPP: 86-138 25769658
Email: marketing@topadkiosk.com topadkiosk@gmail.com
Skype: pghenry1
Wechat: adkioskhenry
English Web.: http://www.topadkiosk.com/
https://www.topkioskdisplay.com/
https://www.toplcddisplay.com/
http://www.multitouchdigitalsignage.com/
https://www.youtube.com/channel/UCYVYNJHxLVEcQD8fuUxXNTA/videos?view_as=subscriber
https://www.facebook.com/TOPADKIOSKSHENZHEN/?ref=bookmarks
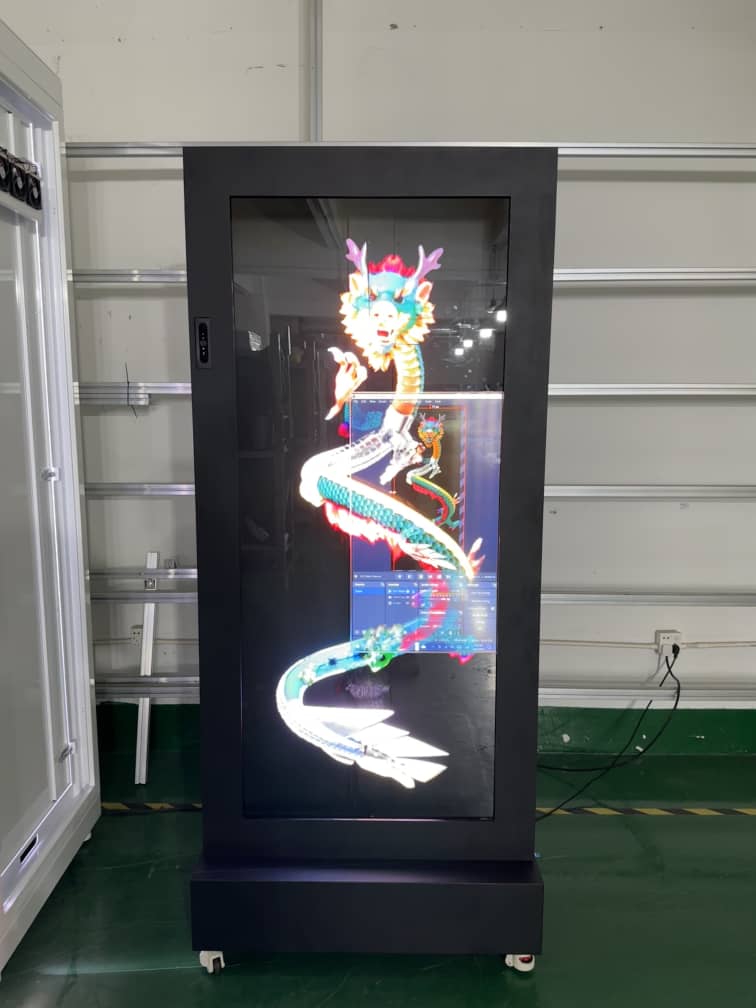
You can join a 3D LED FAN hologram fan by linking two or more units. You need to use splicing kits and special software. There are different ways to set them up, like putting them in a line, stacking them up, or making a grid with many fans. Each way lets you make bigger and cooler visuals. Setting it up the right way makes the fans work together smoothly. This helps your hologram fan 3D display look neat and professional.
Tip: Make sure you line up the fans well and connect them tightly. This helps you stop gaps or fans not matching up.
Key Takeaways
Use a splicing kit and special software to join many 3D LED FANs for bigger displays.
Pick strong materials like aluminum alloy frames and tough wiring to make sure your setup is safe and steady.
Follow safety steps, like wearing gloves and looking for damage, before you start installing.
Test your display after you set it up to make sure the visuals look smooth and fix things if needed.
Clean and take care of your fans often to keep them working well and showing bright images.
3D LED FAN Splicing Tools
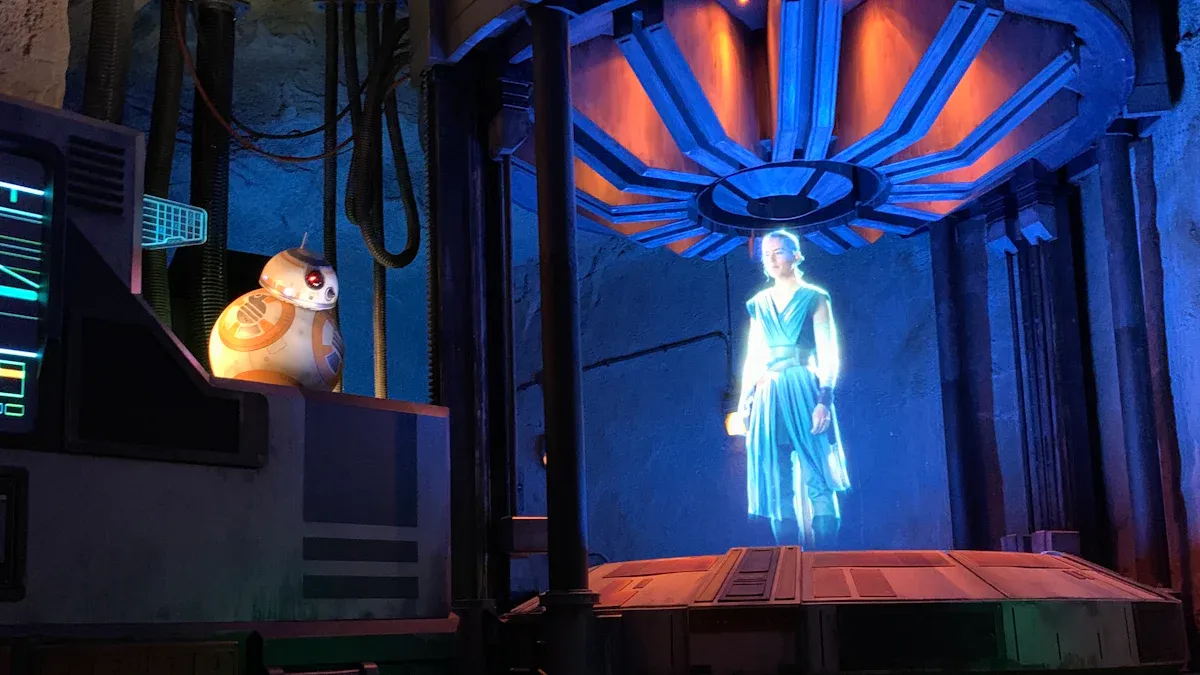
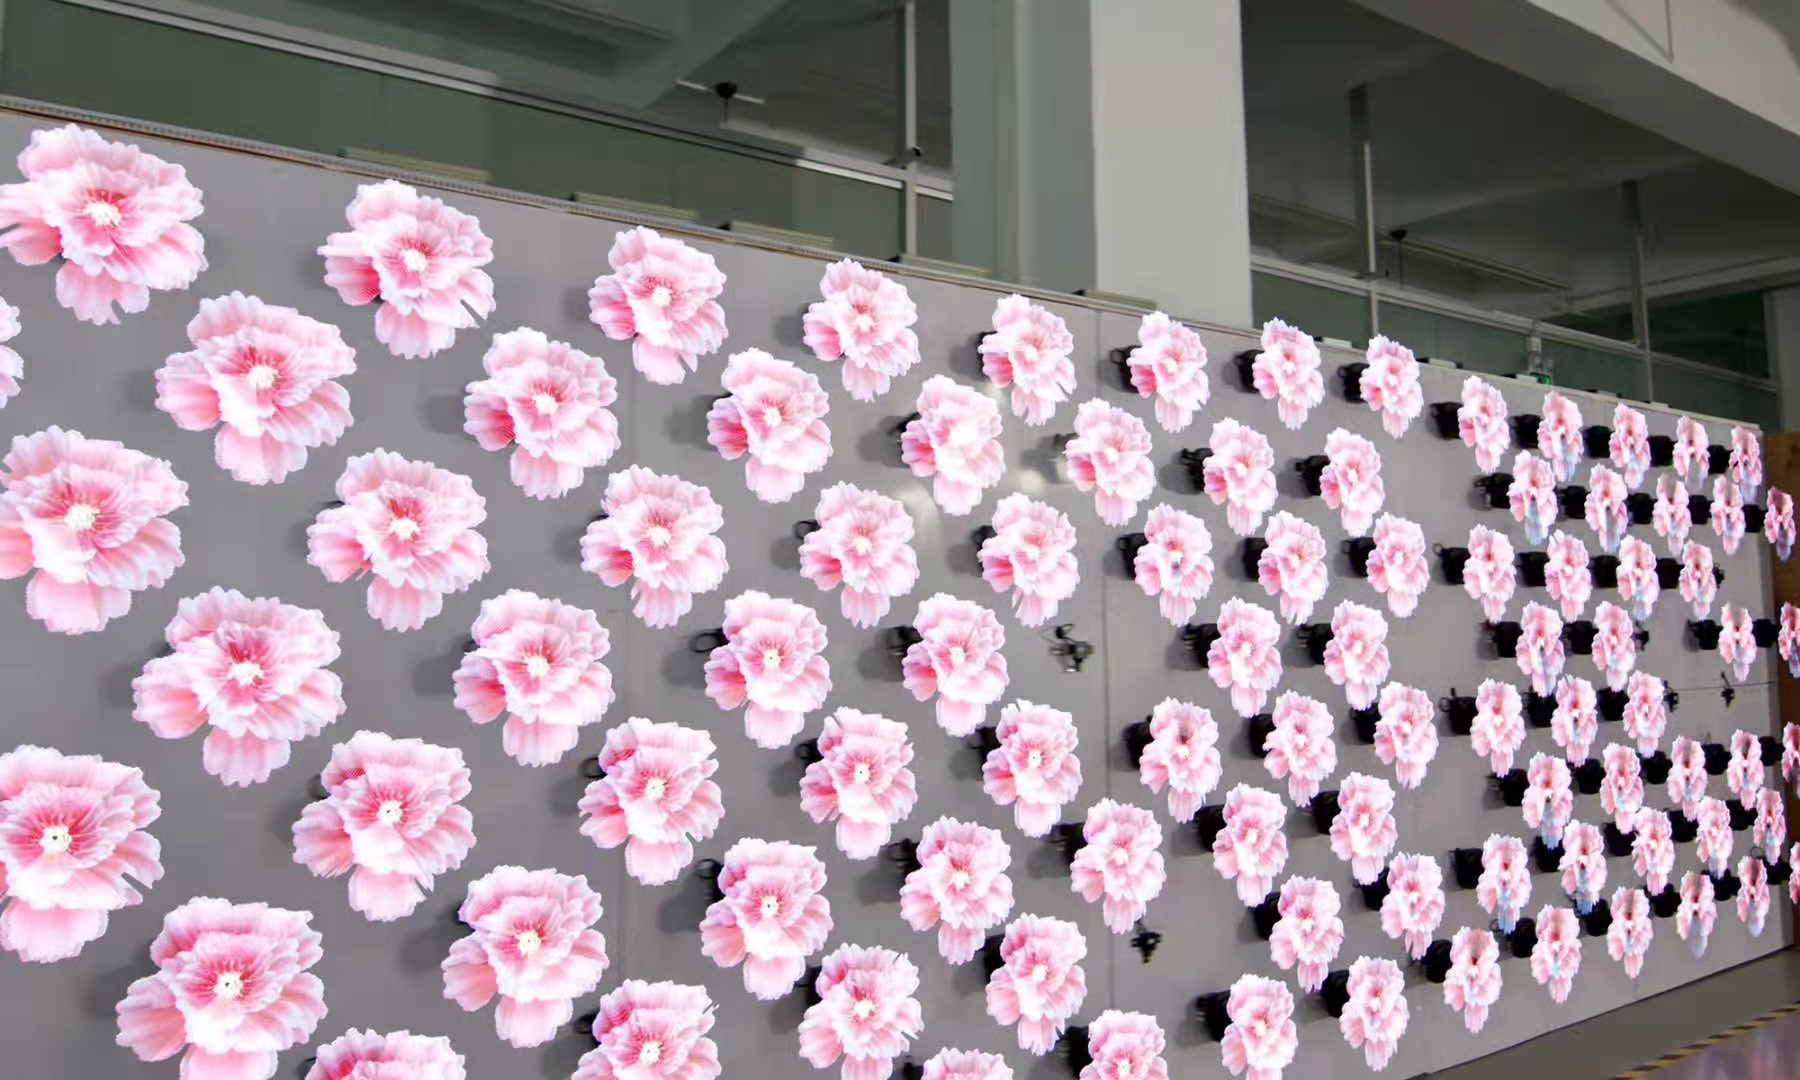
A hologram fan 3D shows moving pictures in the air. It uses LED lights on fast-spinning blades. You see bright images that seem to float. These fans are used in stores and at events. They show cool 3D graphics and videos. If you want to join more than one fan, you need special tools. The right tools help your display look smooth and nice.
Essential Tools
You need some simple tools to connect your 3D LED FAN units. These tools help you put the fans together and set them up:
Splicing kit (has connectors and mounting brackets)
Screwdriver set
Level tool
Measuring tape
Power extension cables
Safety gloves
Tip: Use the level tool to check if your fans are straight. This keeps your pictures clear and smooth.
Recommended Materials
Picking strong materials helps your 3D LED FAN last longer. You want your display to be safe and steady. Here are some materials you should use:
High-quality mounting brackets
Durable wiring
Secure fasteners
Cable ties
Aluminum alloy frames make your display strong and tough. These frames hold your fans steady, even in busy places. Good brackets and fasteners keep everything tight. Cable ties help you keep wires neat.
Note: Always look at your materials before you start. Good materials stop problems and help your 3D LED FAN work well.
Splicing Steps
Preparation & Safety
Start by choosing a clean and stable workspace. Put on safety gloves before you handle any parts. Unplug all 3D LED FAN units before you begin. Lay out your tools and materials so you can reach them easily. Check each fan for damage or loose wires. Make sure you have enough space to move around the fans. Good lighting helps you see small parts and connections.
Tip: Always double-check that the power is off before you touch any wires or connectors.
Identifying Splice Points
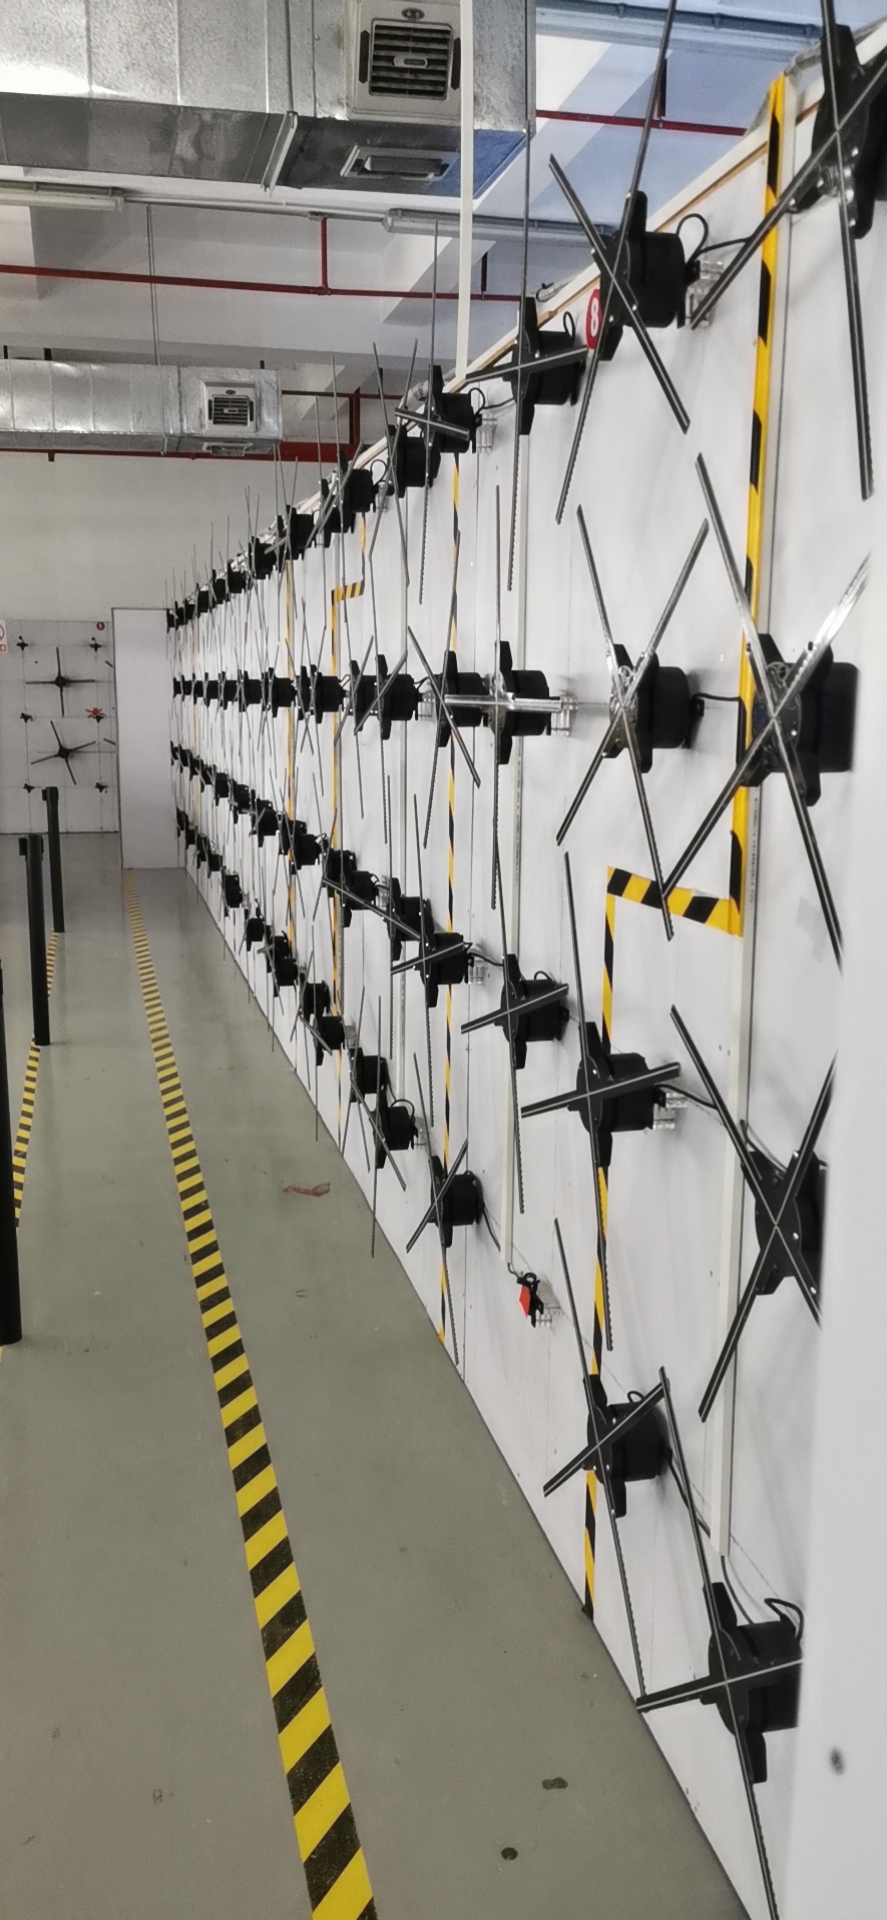
Look at your 3D LED FAN units and find the spots where you will connect them. These are called splice points. Most fans have marked areas or ports for linking to other units. Use your measuring tape to plan the distance between each fan. Mark the spots on your frame or wall where you will mount the fans. This step helps you line up the fans for a smooth display.
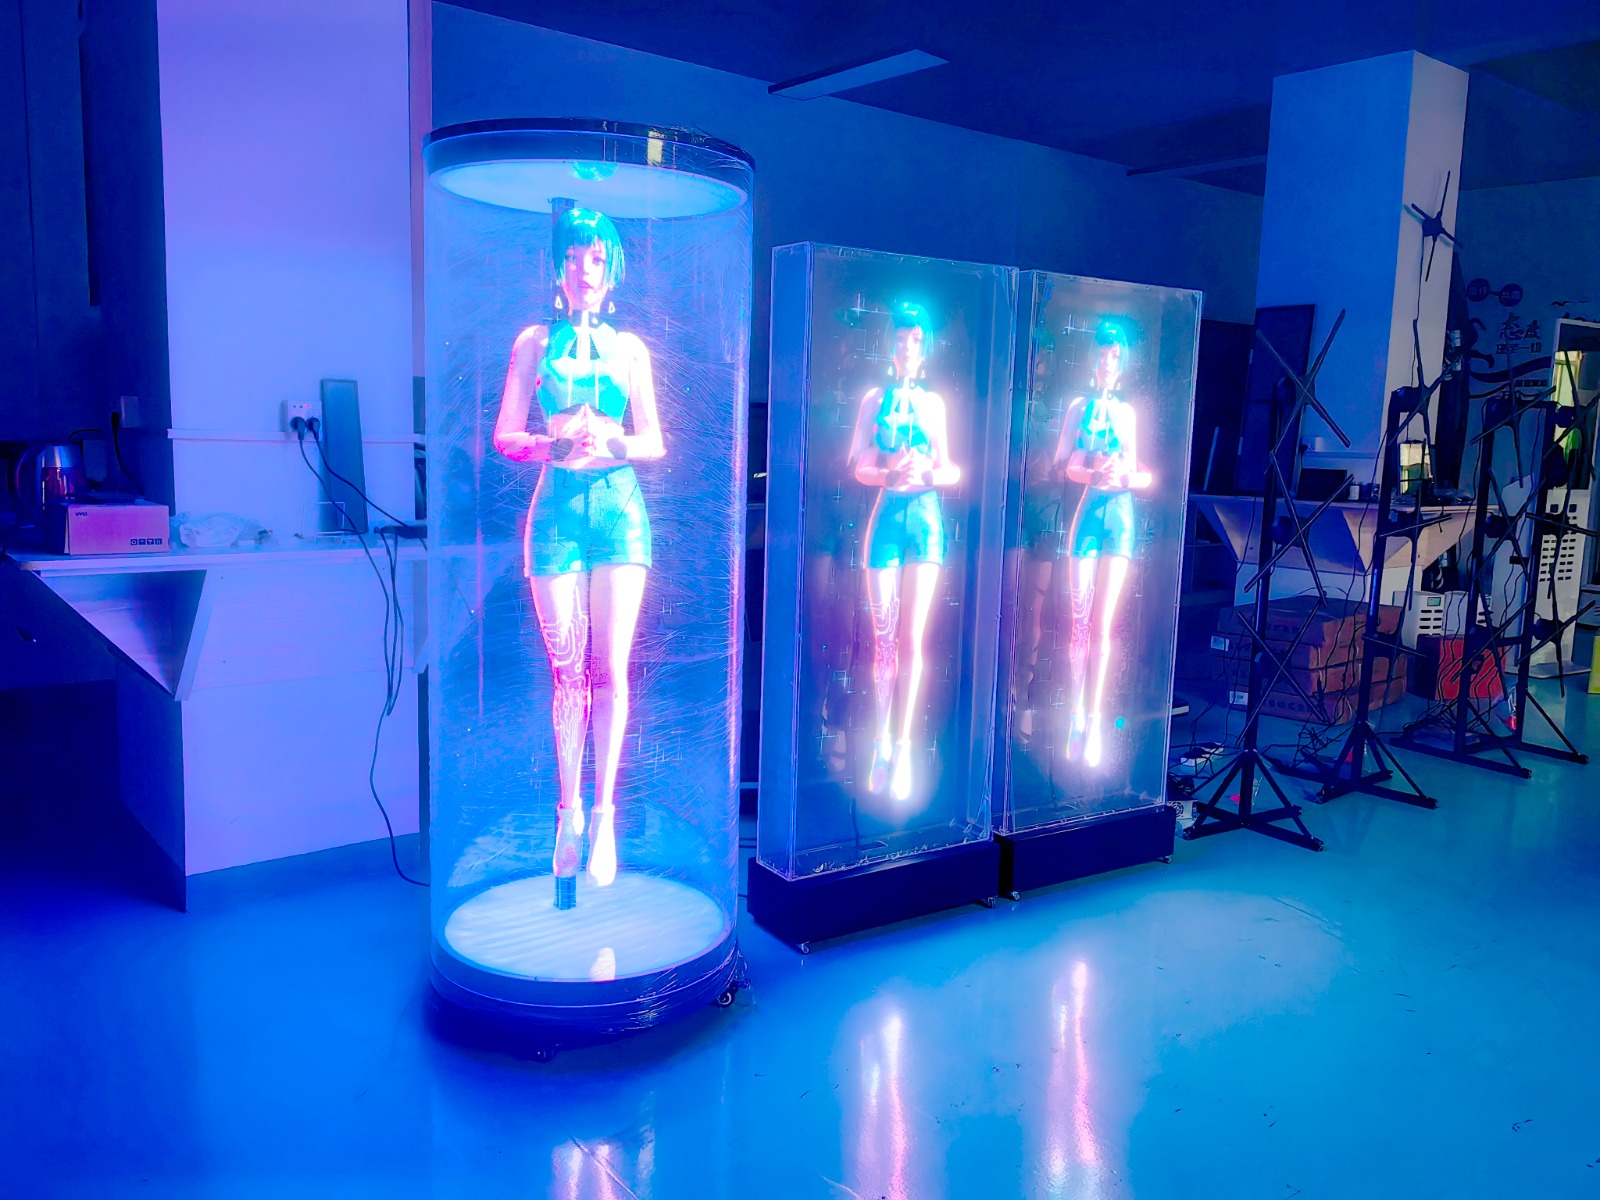
You can set up your fans in different ways. Some people make a straight line, while others build a grid. The way you arrange the fans changes how your 3D images look. Make sure the fans are close enough so the visuals blend together.
Making Connections
Now you can start joining the fans. Use the splicing kit to connect the fans at the splice points. Secure each fan to the frame with mounting brackets and fasteners. Connect the power cables and data wires as shown in your kit instructions. Keep the wires neat with cable ties.
You have two main ways to connect your 3D LED FAN system:
Description | Benefits | |
|---|---|---|
Single Mode | Direct control via hotspot | Quick setups, no internet required, control via mobile app or SD card |
Network Mode | Cloud & remote control | Best for multi-fan setups, requires Wi-Fi (2.4GHz recommended), enables remote management & synced playback |
Single Mode works well for simple setups. You can control each fan with your phone or an SD card. Network Mode is better for bigger displays. It lets you manage many fans at once and keeps the visuals in sync.
Securing & Testing
After you connect everything, check that all fans are tight and secure. Use your level tool to make sure the fans are straight. Plug in the power and turn on the fans one by one. Watch for any loose wires or strange noises. Test the display by running a simple 3D animation. Look for smooth movement and clear images.
If you see gaps or the visuals do not match up, turn off the power and adjust the fans. Make small changes until the display looks seamless. When you finish, clean up your workspace and store your tools safely.
Note: Testing each step helps you catch problems early and keeps your 3D LED FAN display looking sharp.
Software Setup for Splicing
Setting up the software helps your 3D LED FANs work together. This makes the pictures look smooth across all the fans. You need to follow some steps to get everything working right.
Configuring Splicing Software
First, pick the software that works with your fans. Most fans use an SD card or a PC program. Some fans can also connect with WiFi. You put your video on the SD card or link your PC to the fans. If you have many fans, network mode is best. This lets you control all the fans at once and keeps the pictures in sync.
Check that every fan has the same settings. Set the rotation speed and frame rate to match. If you use different brands, the fans may not look the same. Using the same model helps your display look even and stops gaps.
Tip: Always use steady power for many fans. This keeps your pictures smooth and stops sync problems.
Sometimes, software errors can mess up splicing. Here is a table with problems and how to fix them:
Issue | Causes | Solutions |
|---|---|---|
Incorrect signal line connections | Check signal lines and plug them in securely | |
Inconsistent settings (rotation speed, frame rate) | Set identical settings for all fans using the software | |
Insufficient power supply | Use a dedicated, stable power source |
Adjusting Display Settings
You need to change display settings for the best look. Multi-unit sync links your fans for big displays. Pixel-perfect alignment lines up your pictures with no gaps. Content adaptation splits your video so it plays right on all fans.
Here is a table with features for smooth visuals:
Feature | Description |
|---|---|
Connects multiple fans for large displays, enhancing visual continuity | |
Pixel-Perfect Alignment | Ensures visuals are aligned without gaps, crucial for seamless splicing |
Content Adaptation | Automatically splits content for smooth playback across multiple fans |
Put your designs in the center for round displays. Make sure your pictures are easy to see from all sides. Try to make your visuals look best from the main view. Network setup helps you add more fans and keep them in sync for bigger displays.
Note: Setting up your software and display settings well helps you make great hologram fan 3D visuals.
Troubleshooting & Pro Tips
Common Issues
When you set up a 3D LED FAN system, you might have some problems. Knowing how to find and fix these problems helps your hologram fan 3D work well. Here is a table with some common problems and how to solve them:
Issue Description | Common Solutions |
|---|---|
The fan doesn't turn on or stops working unexpectedly | Check the power and cables. Change the motor if you need to. |
The images projected are fuzzy or distorted | Wipe the lens clean. Change the resolution settings. Get a new lens if needed. |
The fan makes a strange noise while rotating | Look for loose screws or parts. If it still makes noise, ask a professional about the motor. |
Sometimes, you might see blurry or broken images. This can happen if the blades are not balanced or the LEDs are not in sync. If the colors look wrong, check the RGB order in your software and use good LED strips. Too much shaking means the blades need balancing or the mount is loose. If the LEDs do not light up, look at the wires and solder spots.
Expert Tips
You can stop most problems by following some expert tips. Start by checking your fans often. Every day, wipe the fans with a microfiber cloth. Each month, put HDFocus L-100 grease on the bearings, check all the wires, and update the firmware. Once a year, get a professional to check, calibrate, and test all the parts.
Here are some best ways to keep your fans working:
Clean and check your fans often to stop dust.
Find mechanical problems early to stop bigger issues.
Always use real parts for fixing and upgrades.
Keep your splicing kit and tools in a safe, dry spot.
Tip: If you take care of your 3D LED FAN system, you will get bright and smooth visuals for a long time.
You can make cool hologram fan 3D displays if you follow the right steps. Use the right tools and set up your hardware and software with care. When you join more fans, your 3D visuals get bigger and look even better.
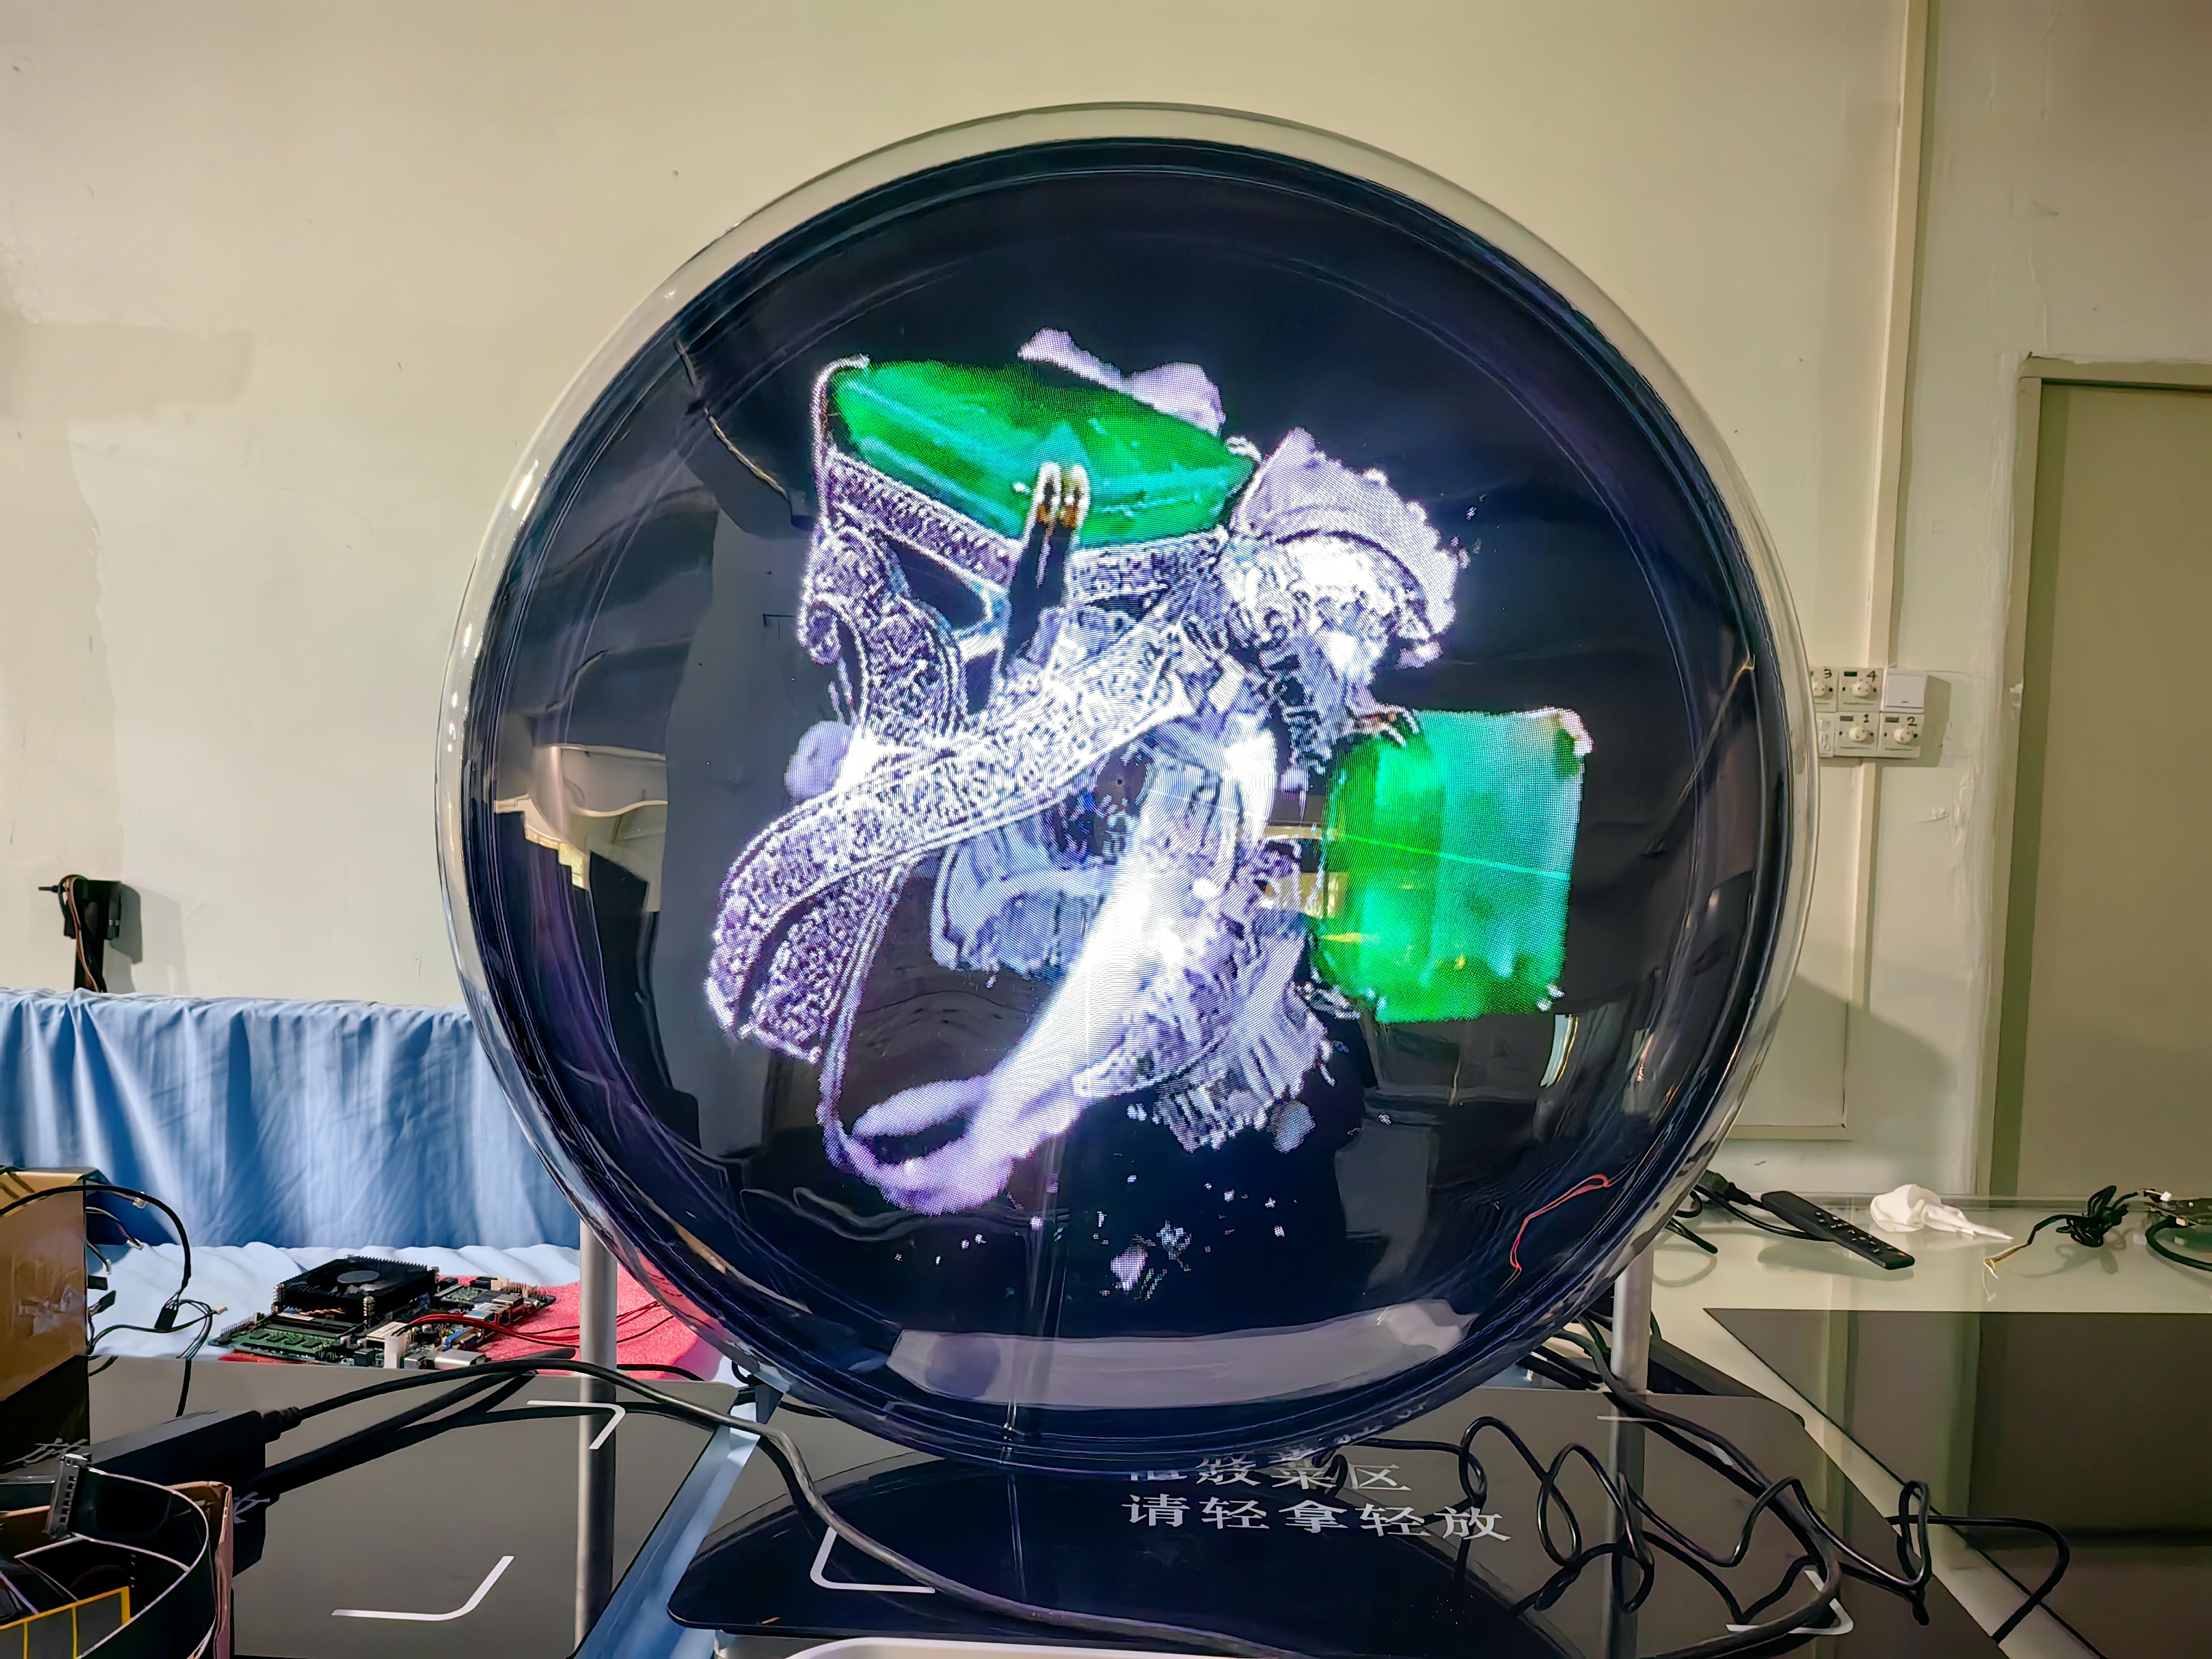
Holographic fans have spinning LED blades that show 3D images in the air.
These fans are great for stores, outdoor ads, and events.
Newer fans have high resolution and WiFi, so you can control what shows up easily.
If you set things up carefully, your 3D displays will look bright, smooth, and professional.
FAQ
How do you clean a hologram fan 3D?
You can use a soft, dry cloth to wipe the blades and frame. Make sure the fan is unplugged before cleaning. Avoid water or harsh chemicals. Clean your fan often to keep the visuals bright.
Can you use any video with a hologram fan 3D?
You need to use videos in the right format. Most fans support MP4 or AVI files. Check your fan’s manual for details. Use the software to upload and split your video for the best effect.
What should you do if the fans do not sync?
First, check all cables and connections. Make sure each fan has the same settings in the software. Restart the fans if needed. If you still see problems, review the splicing steps and try again.
Is it safe to install a hologram fan 3D by yourself?
You can install a hologram fan 3D if you follow the safety steps. Always unplug the fan before working. Wear gloves and use the right tools. Ask for help if you feel unsure.
How many fans can you splice together?
You can splice two, four, or even more fans. The number depends on your splicing kit and software. More fans create bigger and brighter 3D visuals. Check your manual for the maximum supported units.
See Also
Exploring The Magic Of 3D LED Holographic Fans
Transforming Dull Advertisements With 3D LED Hologram Fans
Maximizing Advertising Impact With 3D LED Fans In 2025