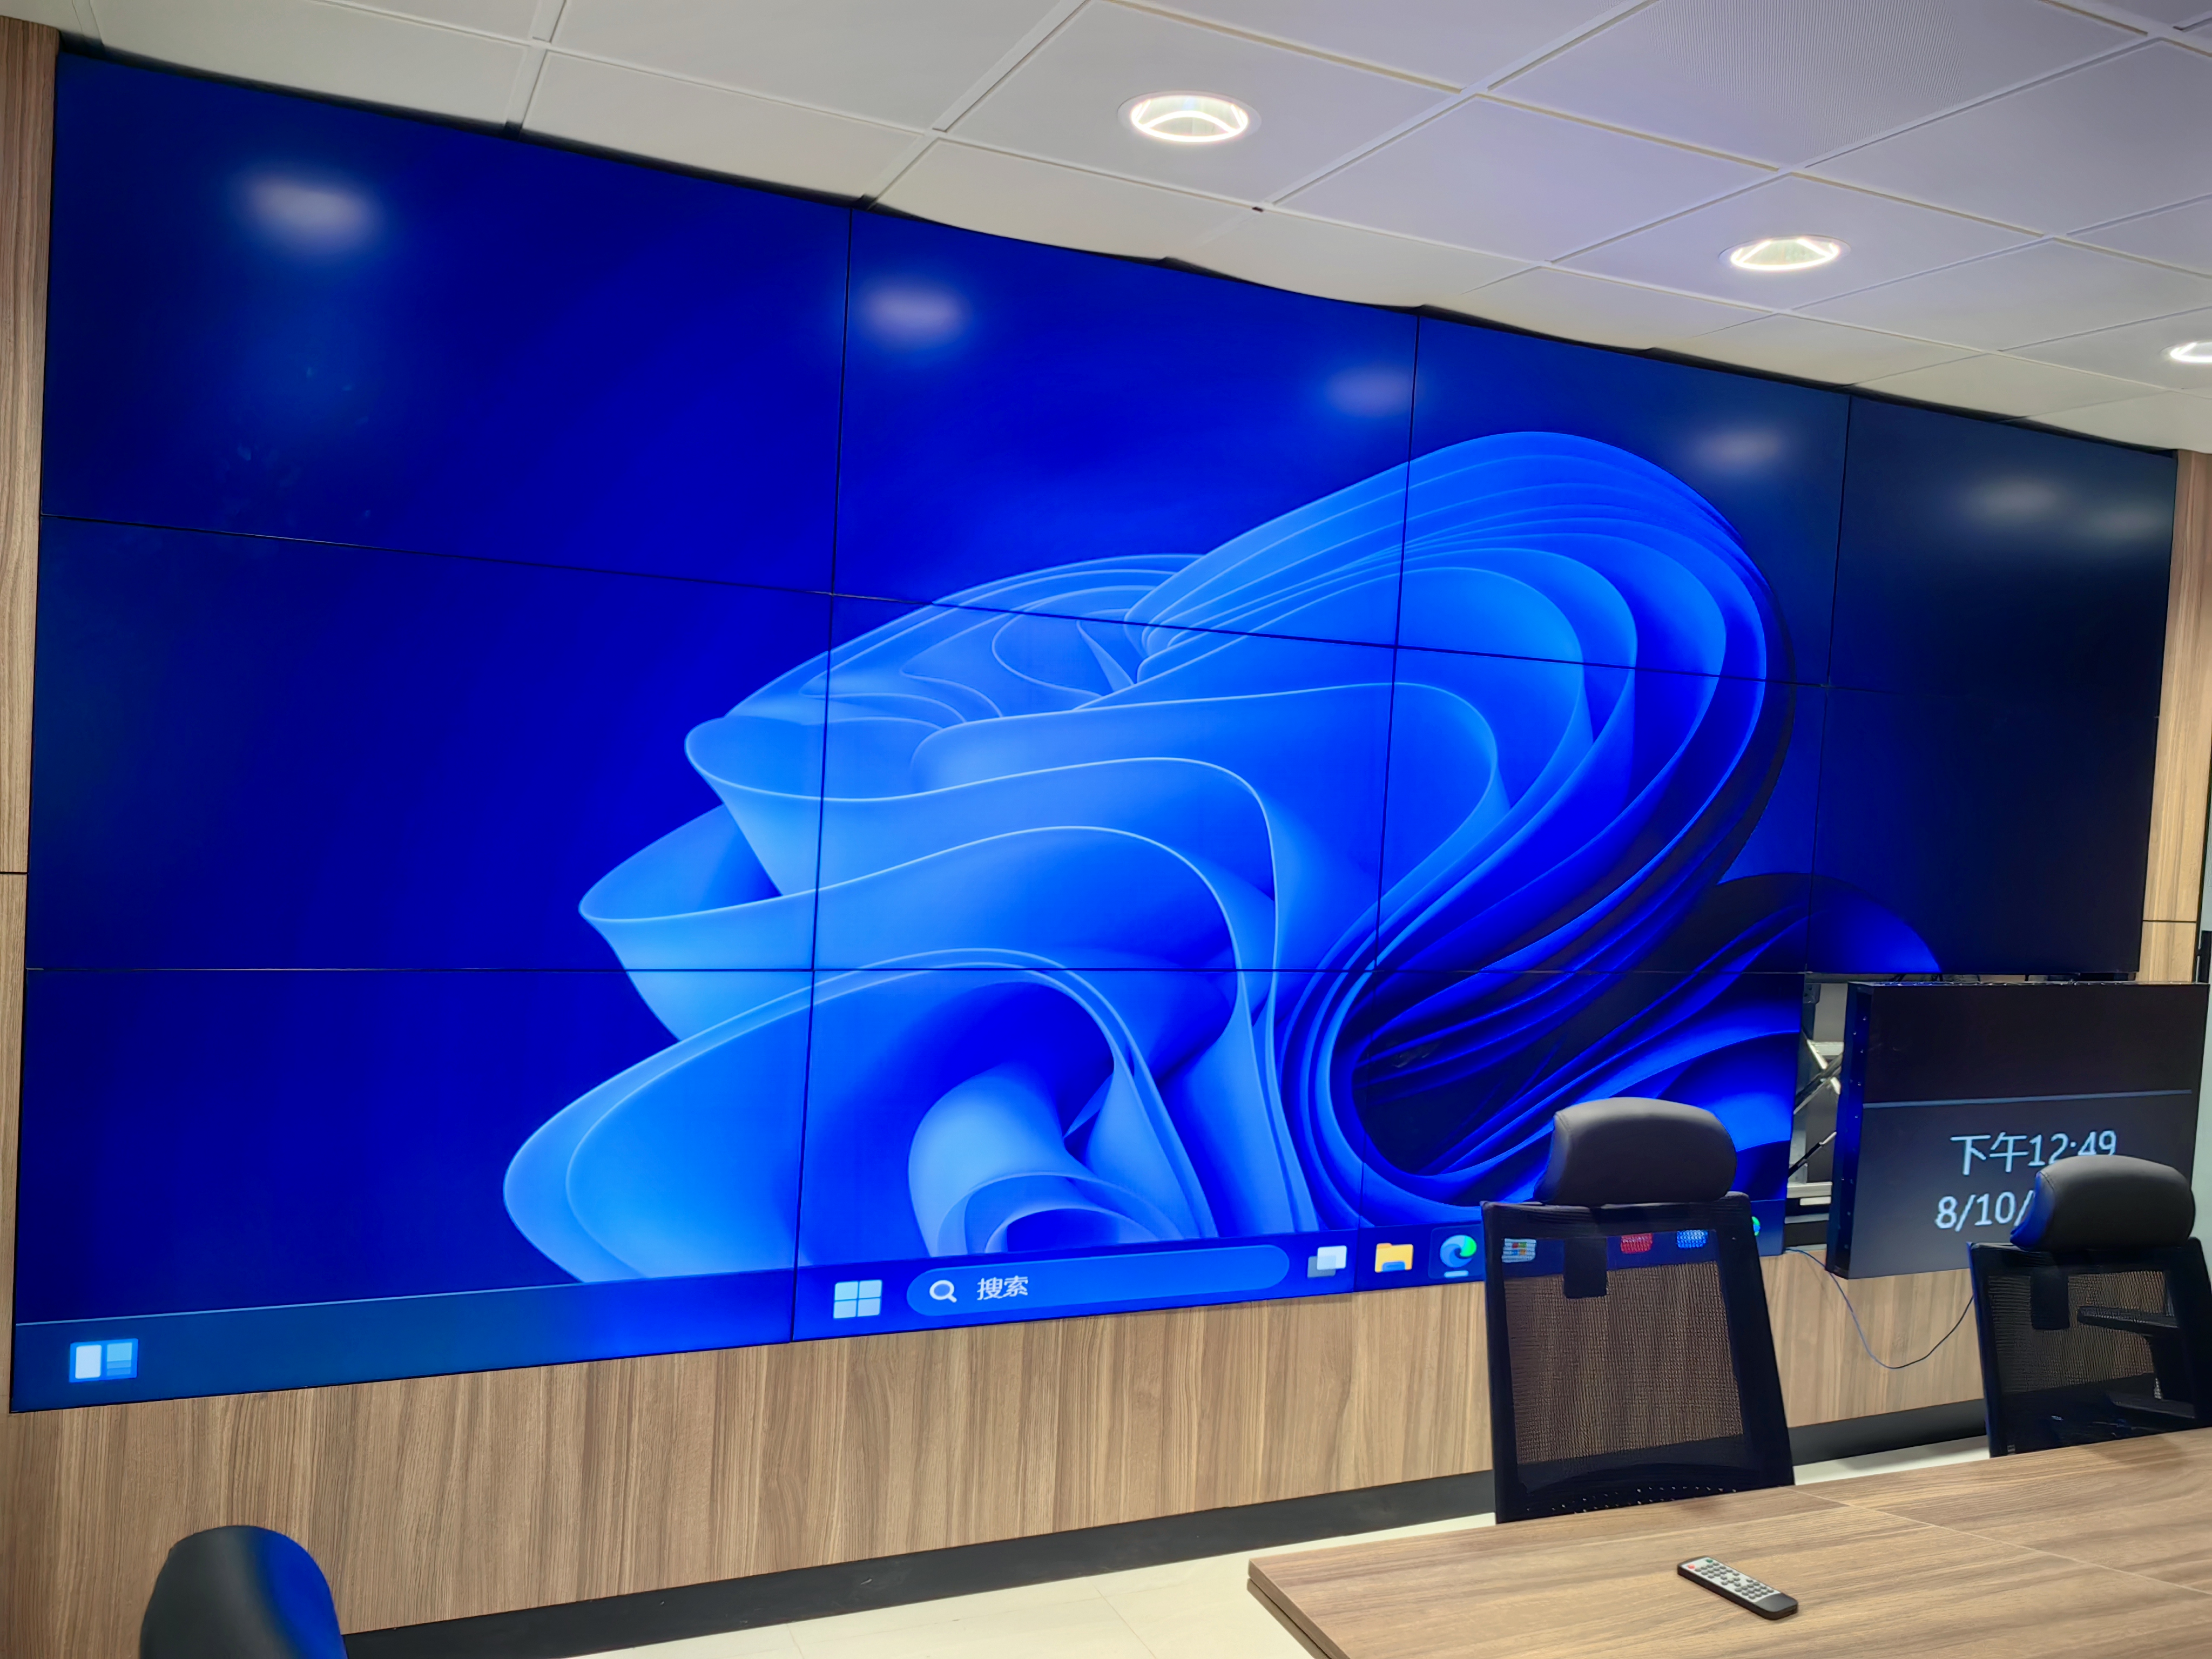
How to install LCD VIDEO WALL
Shenzhen TopAdkiosk Display Technology Co., Ltd.
Add.: 2F, Bldg 10, Changfeng Industrial Park, Dongkeng, Fenghuang, Guangming, Shenzhen, China 518132
Mobile/WHATSAPP: 86-138 25769658
Email: marketing@topadkiosk.com topadkiosk@gmail.com
Wechat: adkioskhenry
English Web.: http://www.topadkiosk.com/
https://www.topkioskdisplay.com/
http://www.ad-kiosk.com/
https://www.toplcddisplay.com/
You can install an LCD VIDEO WALL? by following a few key steps. First, plan your space and check the wall’s structure. Make sure you have the right equipment and tools. Next, carefully mount the panels and connect power and data. Common mistakes include skipping a site survey or not reviewing the wall’s strength. If you take your time and follow clear instructions, you will find that how to install LCD VIDEO WALL? is straightforward. This guide will help you avoid frequent errors and feel confident at every stage.
Key Takeaways
Plan your installation with care. Look at the wall’s structure. Get all the tools and equipment you need before you start.
Pick the right mounts for your LCD panels. You can use fixed, tilting, or full-motion mounts. Each type works for different spaces.
Use a cable management system to keep cables neat. Neat cables stop accidents and make fixing things easier.
Take your time to line up the screens. Screens that are lined up well look better together.
Check connections and settings often. This keeps your video wall working well. It also stops problems like flickering or wrong colors.
What Do You Need for LCD VIDEO WALL?
Before you start, get all the equipment and tools you need. Each thing helps your LCD VIDEO WALL? work well and stay safe.
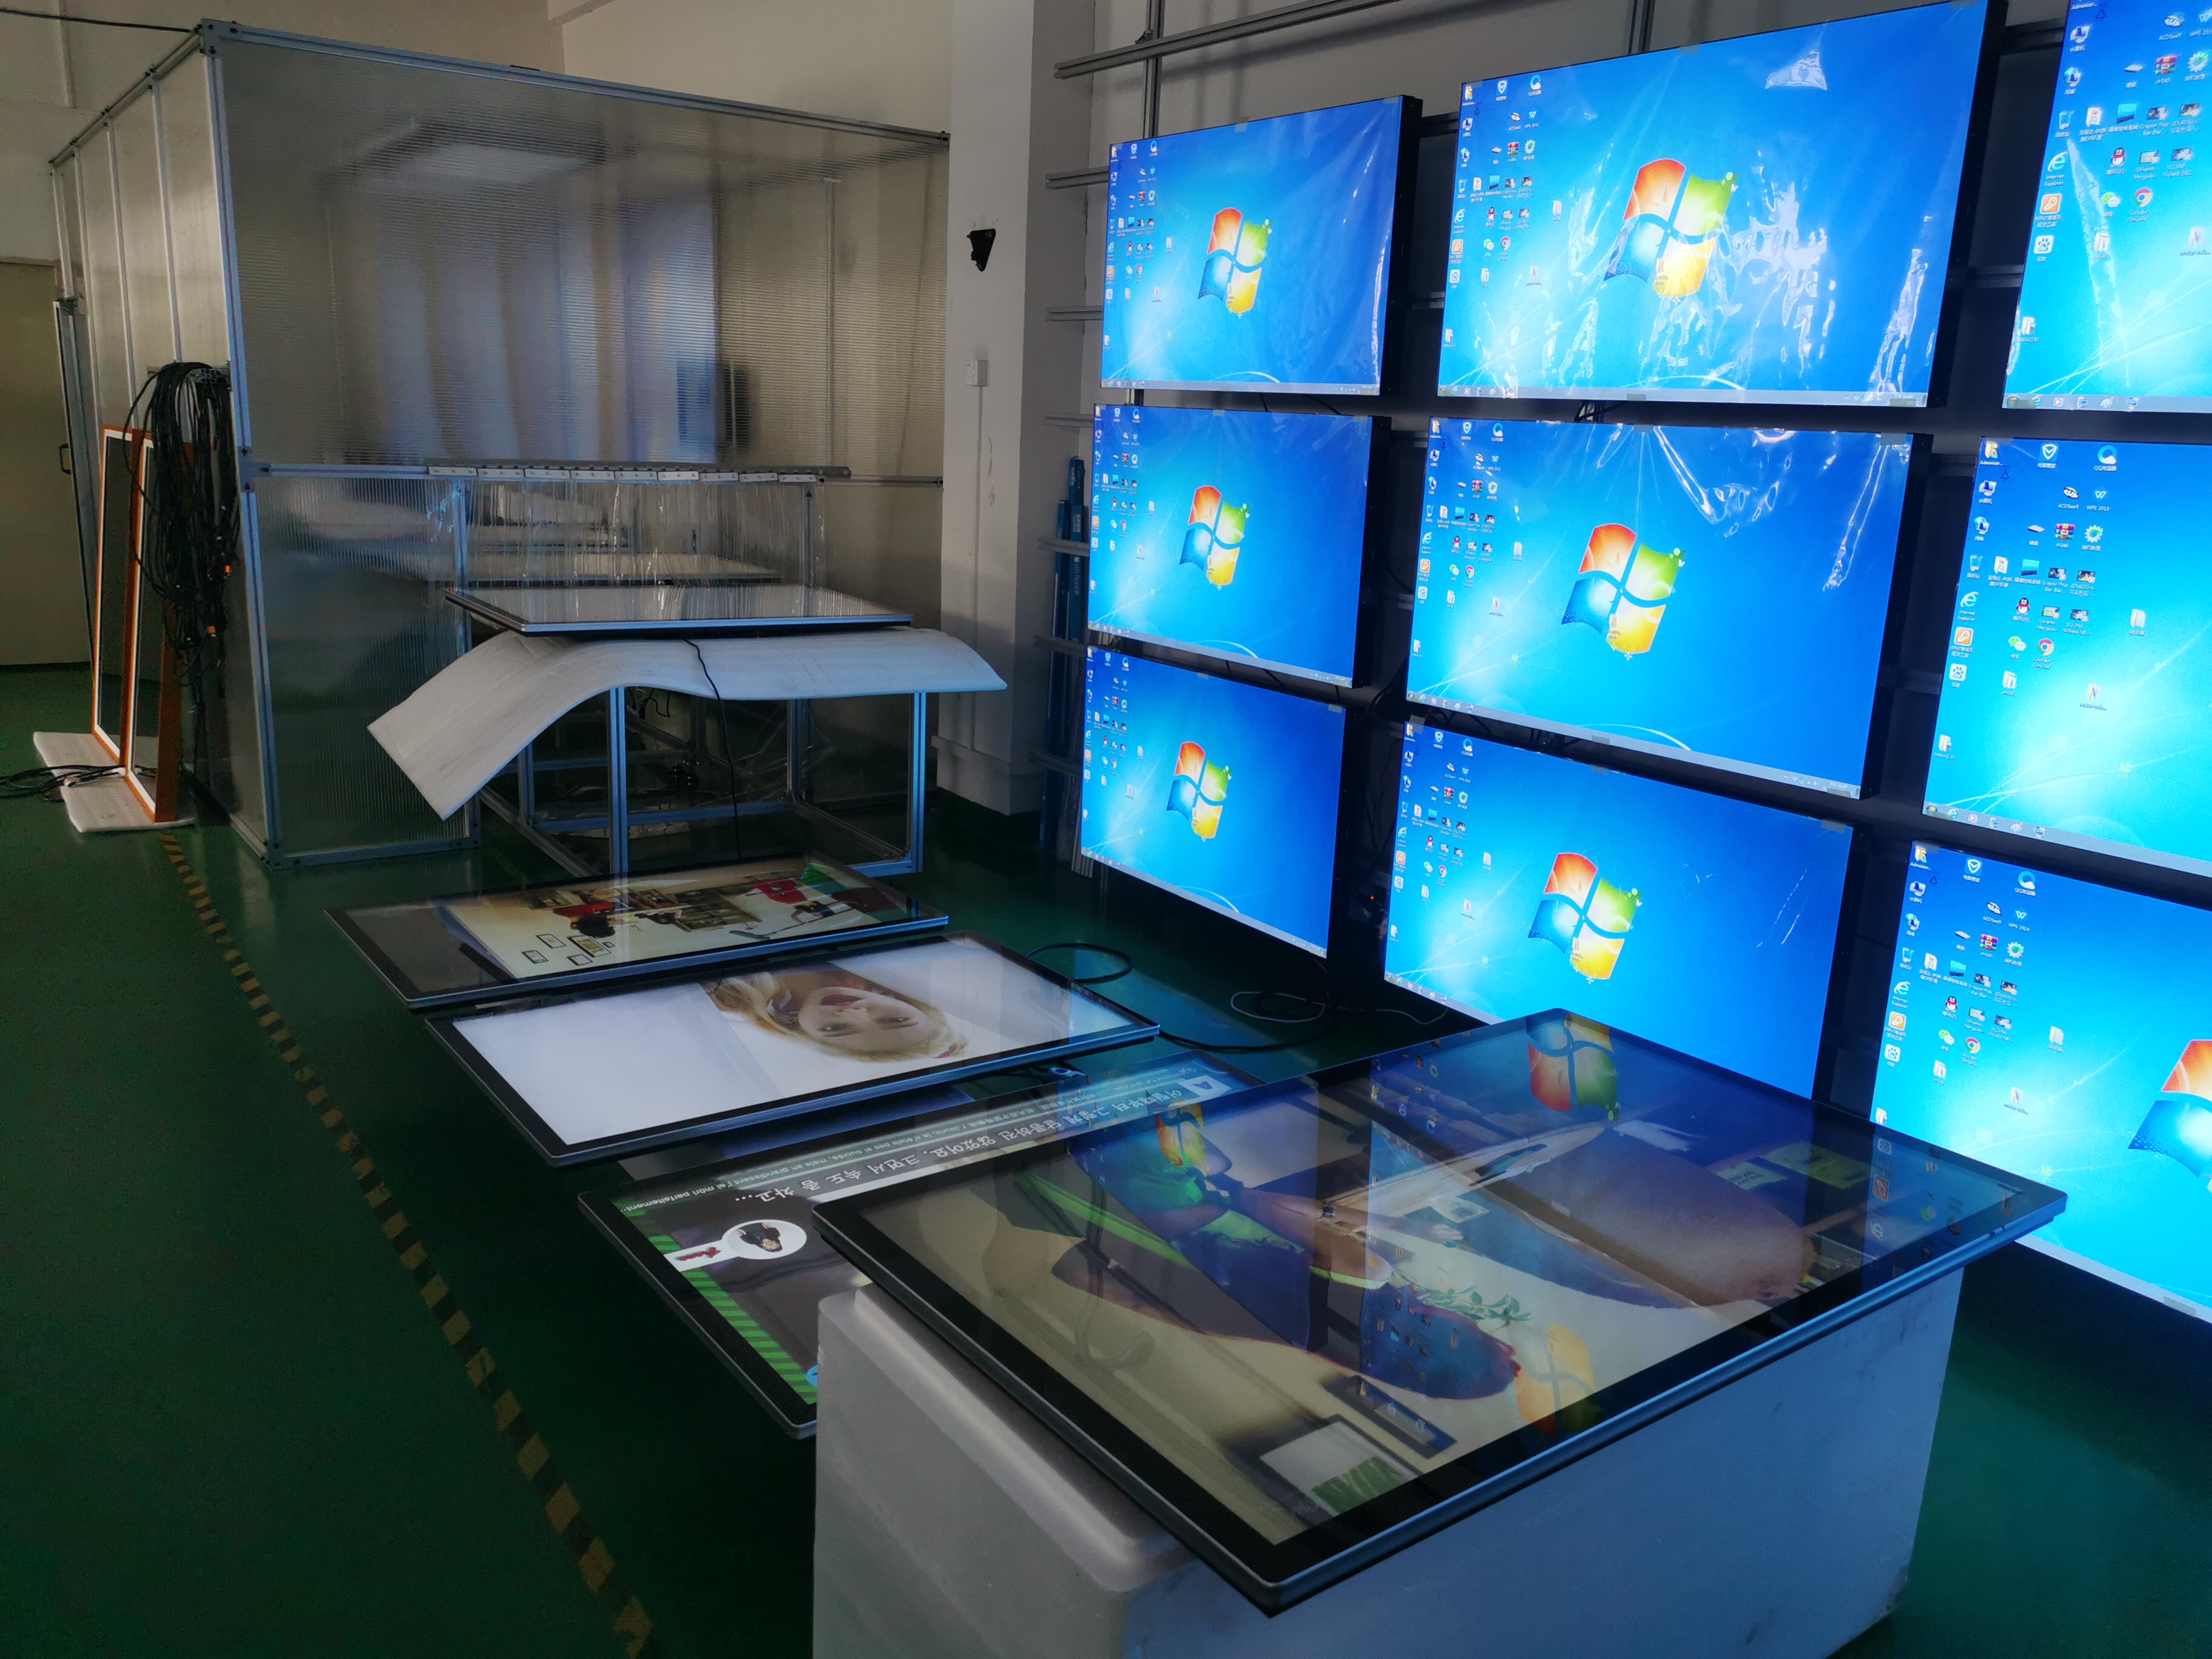
LCD Panels & Mounts
You need good LCD panels for your display. These panels make up the main screen. To keep them in place, you use mounts. There are different kinds of mounts you can pick:
Fixed Wall Mounts: These work well on flat walls.
Tilting Wall Mounts: You can change the angle to stop glare.
Full-Motion/Articulating Mounts: You can move the screens easily.
Ceiling Mounts: These are good for open or busy spaces.
Video Wall Mounts: They help line up many screens perfectly.
Floor and Stand Mounts: These are best for displays you move a lot.
Many people use modular systems like Vogel’s Connect-it. These make setup simple. Safety features like ClickLoc™ make a click when the panel locks. Aluminum frames keep the wall light and strong. Always check for TÜV certification. This means the mounts passed tough safety tests.
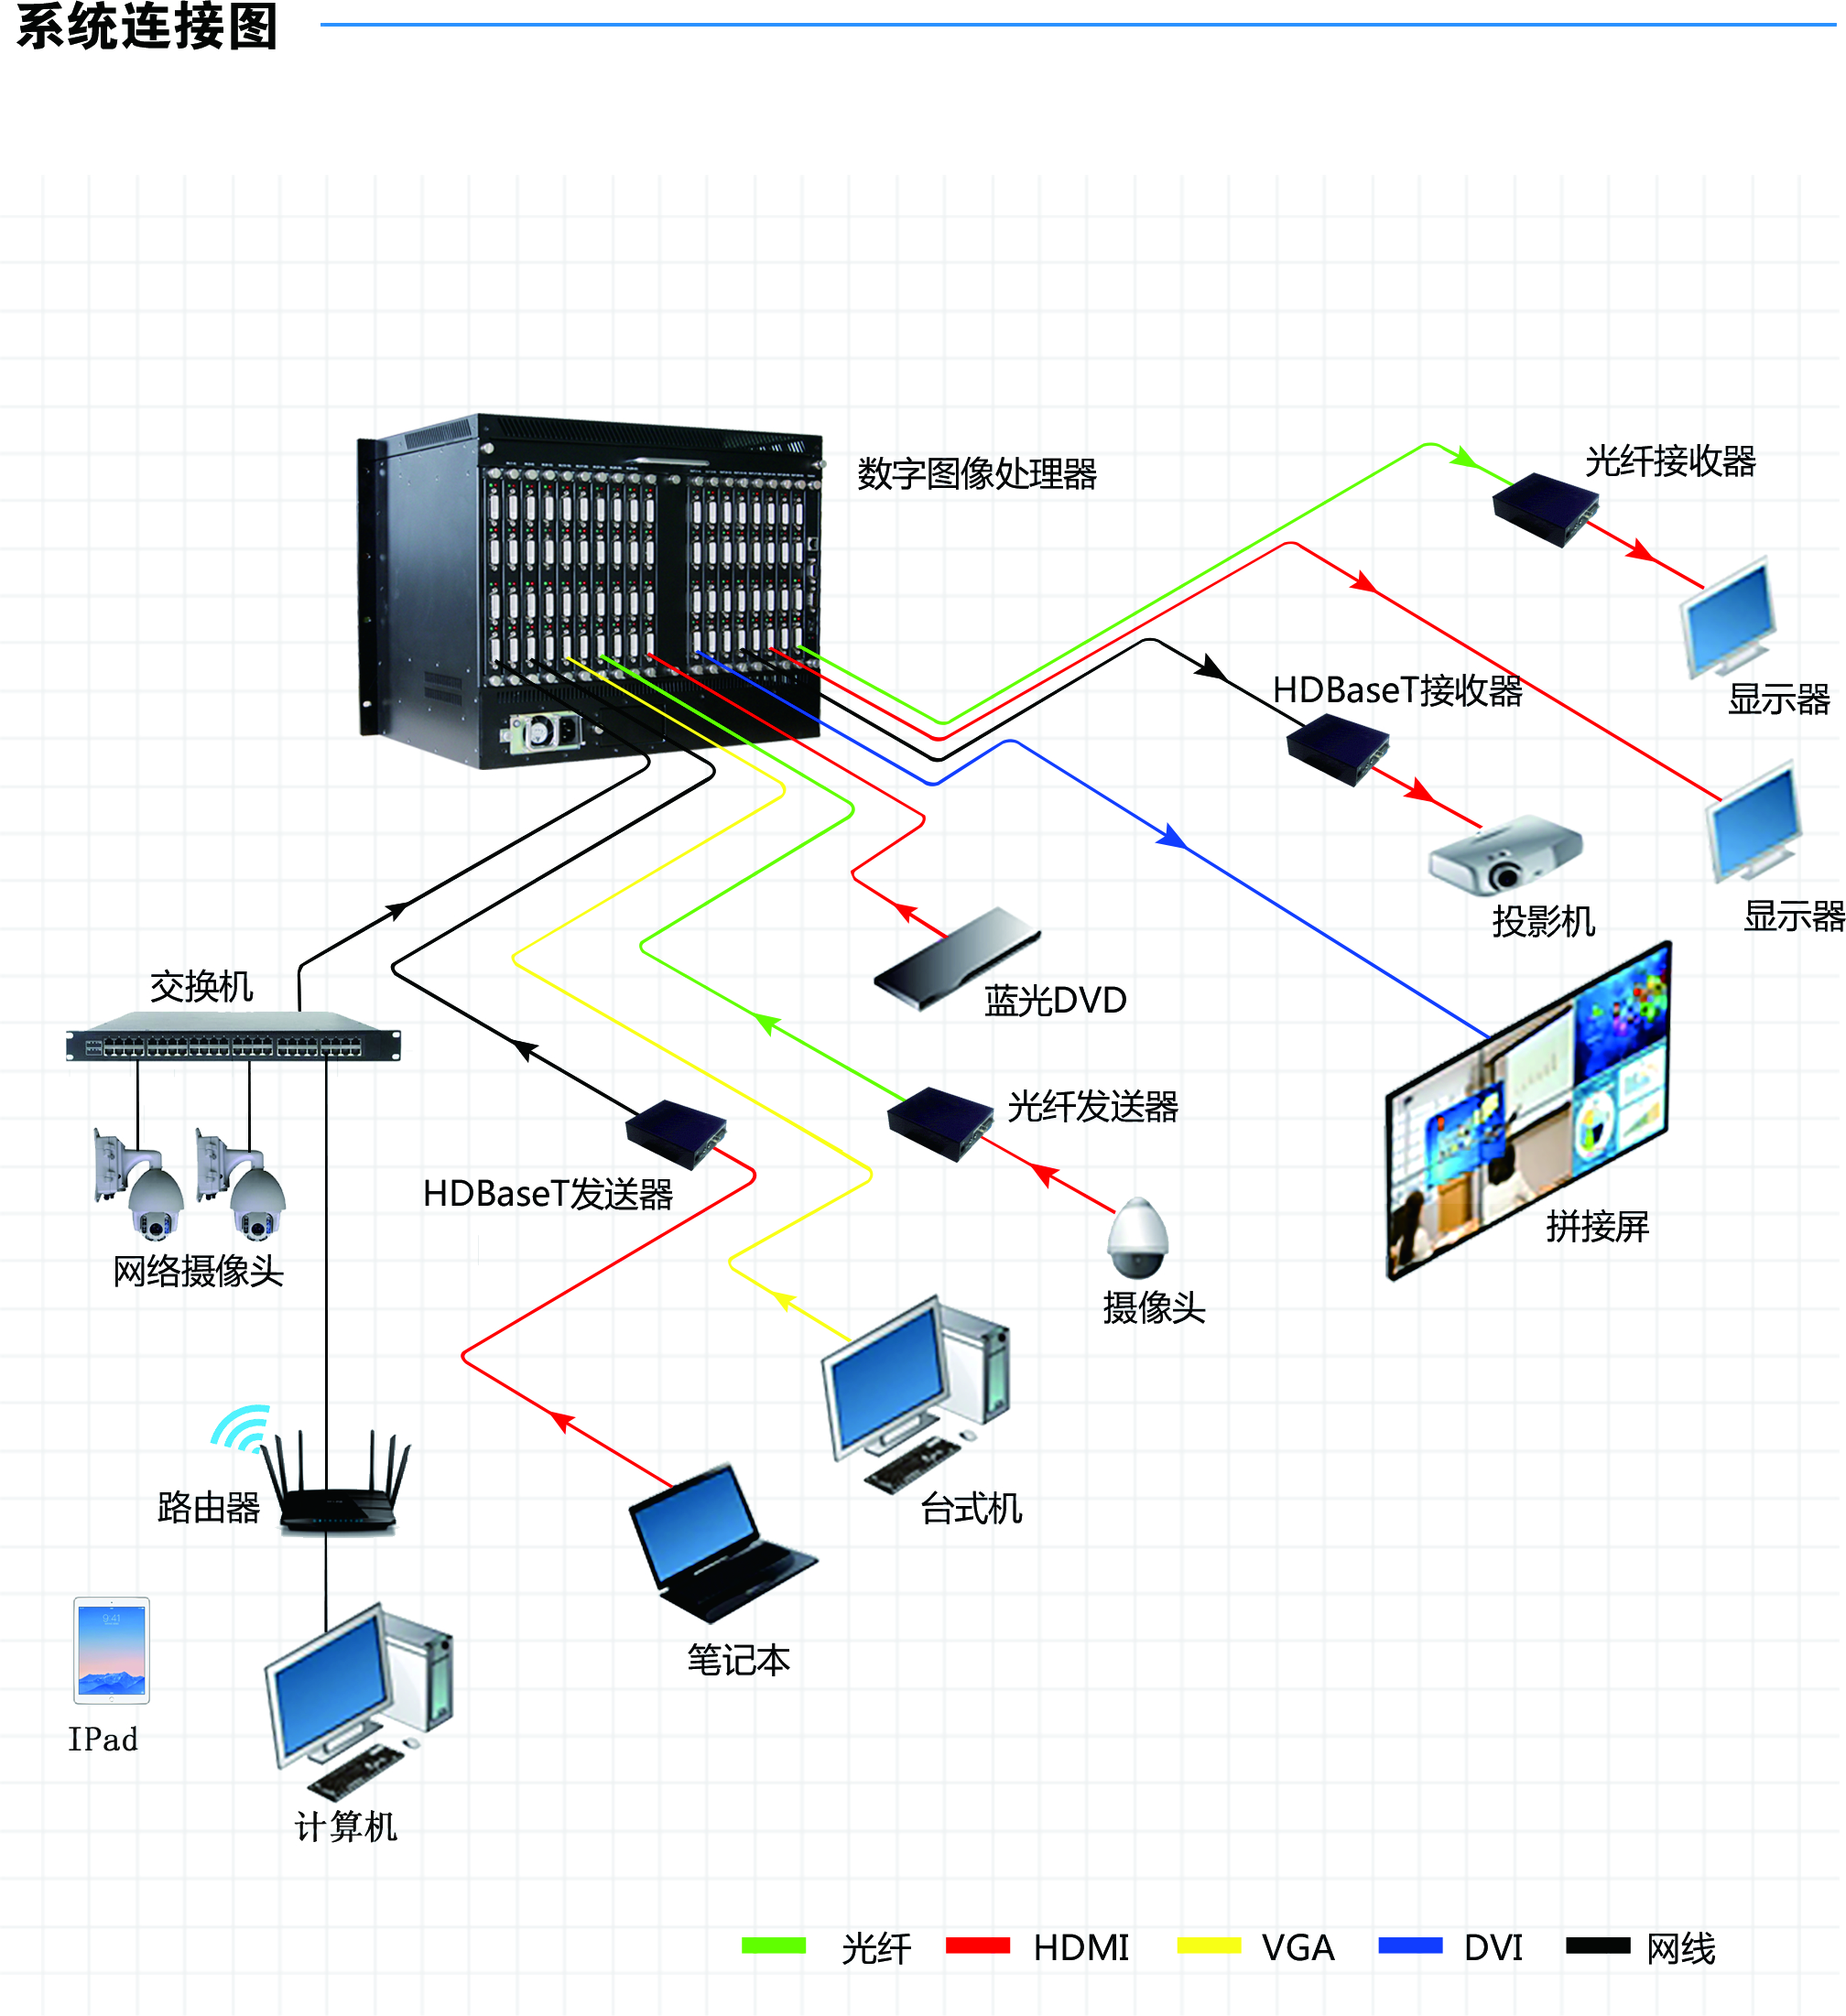
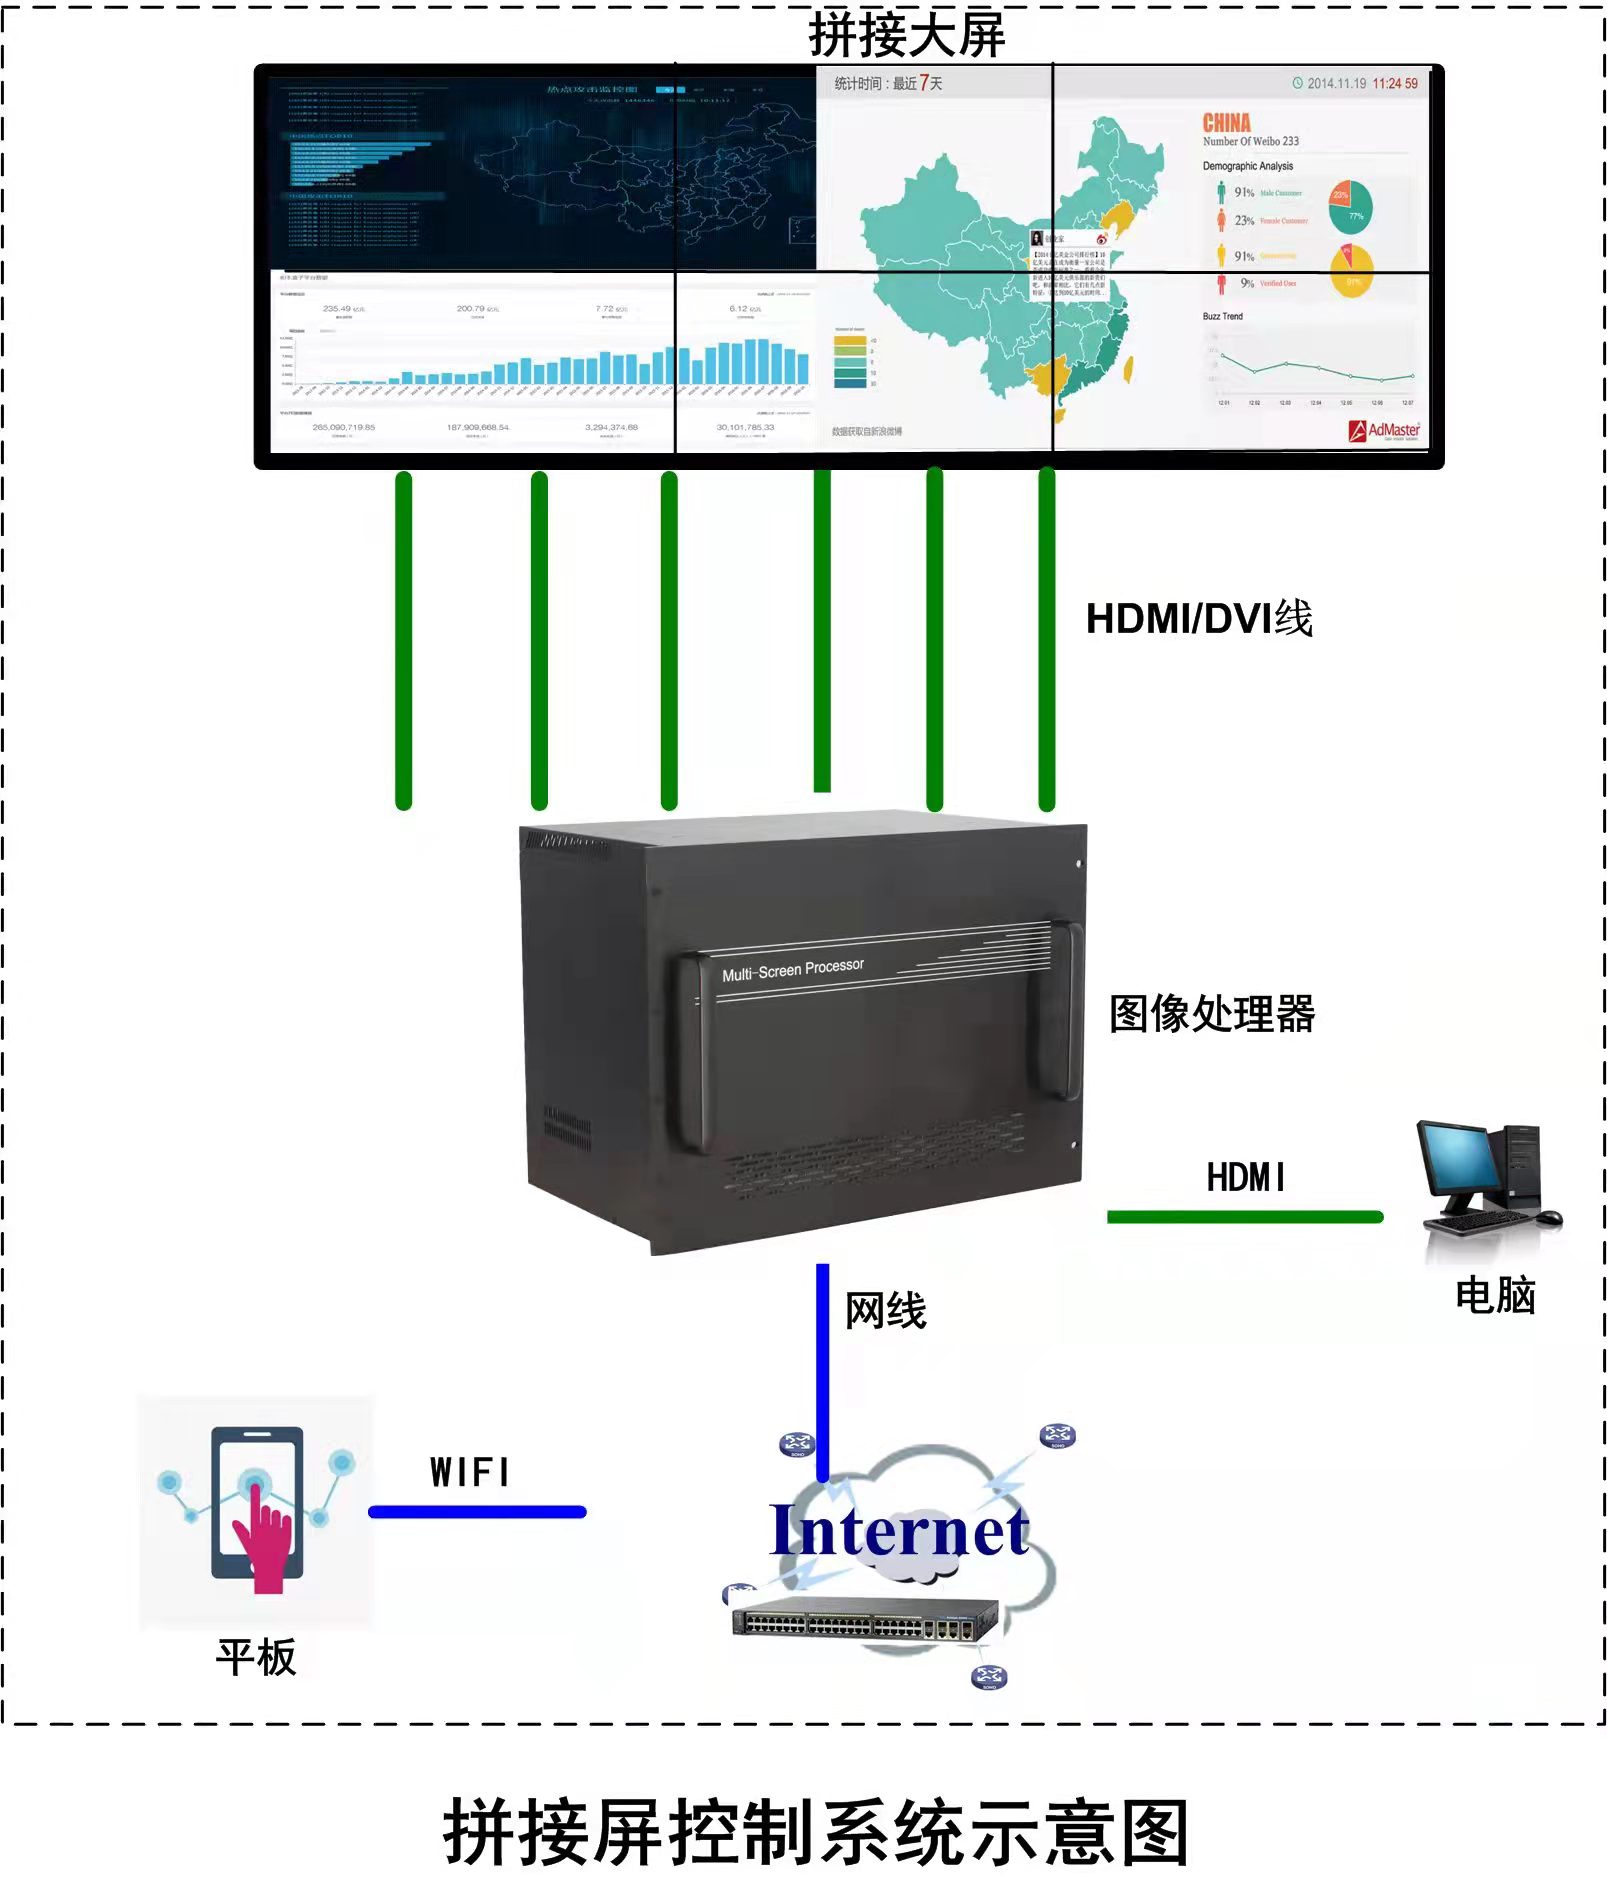
Video Wall Controller
A video wall controller helps you manage what shows on your screens. It takes video and data from different places. Then it sends them to each panel. This device lets you control how things look. It works with different resolutions. You can add more screens if you need to. Some popular models are ISEEVY 4K60 UHD, J-Tech Digital 4k 2X2, and StarTech.com 2×2 HDMI controllers.
Tip: Pick a controller that fits your display size and supports your resolution.
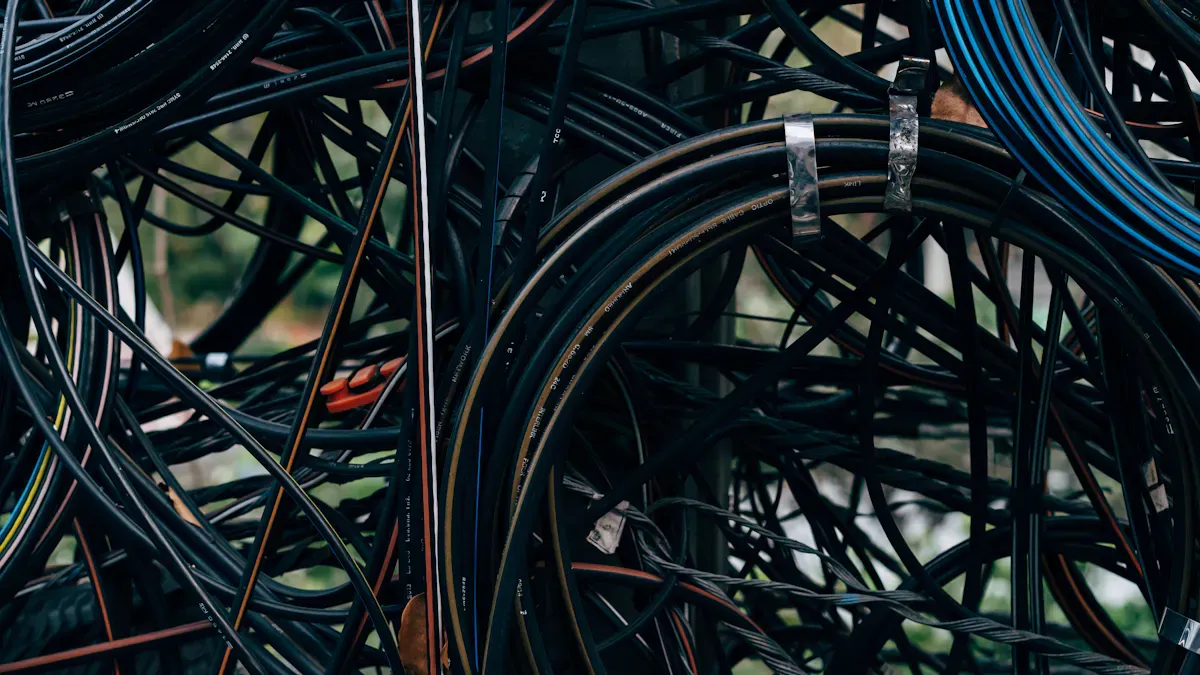
Cables & Power
You need different cables to connect your LCD VIDEO WALL?. Here is a table to show what each cable does:
Cable Type | Purpose |
|---|---|
HDMI | Sends video and sound from player to display |
DisplayPort | Sends high-quality video and sound |
DVI | Sends video signals |
Power Cables | Give power to the panels |
Control Cables | Help run the video wall |
Keep your cables neat with a cable management system. This makes your setup tidy and safe.
Tools Checklist
You need the right tools to install everything well. Here is a list:
Drill and screwdriver
Level and measuring tape
Stud finder
Safety gloves and goggles
Cable ties and labels
Note: Having all your tools ready saves time and stops mistakes.
With these things, you can start installing your LCD VIDEO WALL? and make a great display.
Mounting the Panels
Prepare the Surface
You need to get the wall ready before you start mounting your LCD VIDEO WALL?. A good surface helps your screens look clear and stay safe. Here are some best practices:
Keep ceiling lights away from the display area. This stops light from spilling onto your screens.
Use walls with neutral colors and matte finishes. This reduces glare and distractions.
Add shades or tint to windows that face the video wall. This keeps outside light from washing out your display.
Think about adding acoustic panels. These help control sound reflections in the room.
You should always check that the wall is strong enough to hold the weight of your panels and brackets. If you have drywall, find the studs with a stud finder. Mark them clearly so you know where to drill.
Install Brackets
You must measure and mark the wall before you install the brackets. Use a spirit level to make sure your bracket line is perfectly horizontal. Mark the spots where you will drill holes for the screws. This step helps you get a stable and professional result.
When you attach the brackets, make sure they are secure and straight. Here are some tips:
Plan how you will mount and remove the screens later.
Attach the frame firmly to the wall, floor, or ceiling.
Check the total weight of your setup. Make sure the frame will not bend or bow.
Leave a little space around the frame if you are putting it inside a wall.
For tight spaces, use pop-out or pull-out brackets. These let you fit the screens close together.
Proper alignment and strong attachment of the brackets are important. They help your LCD VIDEO WALL? look good and work well.
Hang & Align Screens
You can now hang your screens on the brackets. Follow these steps for the best results:
Decide how many screens you want and how you want them arranged.
Find the mounting screw holes using the VESA standard on the back of each screen.
Make sure your frame design allows for easy mounting and removal. Plan for cable management too.
Have an electrician install power and data connections before you mount the screens.
Use a spirit level to check that the frame is flat and level.
Mount each screen one at a time. Connect the HDMI and power cables as you go. Make sure each screen sits flush with its neighbors.
You can use special tools to help with alignment. Alignment locating devices, like pins or shoulder bolts, keep the panels even and spaced right. Structurally reinforced mounting solutions give you a strong base and stop the frame from bending. Some systems, like the Planar EasyAxis™ Mounting System, let you adjust the screens in six directions for a perfect fit.
Tip: Take your time with alignment. Small gaps or uneven screens can make the whole wall look off.
Troubleshooting Alignment
Sometimes, you may see problems after you hang the screens. Here are some common issues and how to fix them:
Issue | Description | Resolution Steps |
|---|---|---|
Screens flash or show uneven brightness. | 1. Check all input connections. 2. Restart the system. | |
Color Uniformity Issues | Colors look wrong or uneven. | 1. Recalibrate color and brightness levels. |
Connectivity Failures | Some screens stay blank or lose signal. | 1. Replace faulty modules. 2. Check cable connections. |
If your panels do not line up, you might see a blurry picture. This often happens because of incorrect installation or damage. You should check the user manual for steps to calibrate the panels. If you still have trouble, contact the manufacturer for help.
Note: Careful setup and regular checks help prevent misalignment and keep your LCD VIDEO WALL? looking sharp.
Controller & Connections
Connect Power & Data
You have to connect power and data cables to each panel. This makes your LCD VIDEO WALL? work. Here are some steps for a safe setup: First, plan where you want to put power outlets. Do this before you put up the frame. Next, put in power outlets so every screen and the controller have their own power. Wire the power so each panel gets enough electricity. Connect data cables to link the control system. This lets content show on all screens at the same time. If your controller is in another room, use HDMI to Cat5/6 extenders. Change it back to HDMI at the wall. Keep all cables neat. Use cable ties and labels to keep things tidy and easy to find.
Tip: Attach cables to the wall or frame. This stops people from tripping and keeps your setup looking nice.
Set Up Controller
The video wall controller decides what shows on your screens. Setting it up right helps everything work well. Here are the steps: First, get your controller, HDMI cables, and video source. Connect the controller to each screen with HDMI or DisplayPort cables. Plug your video source into the controller. Turn on the controller and open its menu. Change the settings to fit your screen layout and resolution. Test by playing a video and check each screen. Adjust settings for bezel compensation and screen alignment if needed.
Note: Always use the connectors and extenders the maker suggests for the best results.
Input Sources
You can use different input sources with your video wall controller. These can be computers, media players, or streaming devices. To keep things working well, follow these tips: Use fewer connections to lower the chance of problems. Try to use the same type of connection, like HDMI, for all screens. This makes fixing problems easier. Pick good quality cables and connectors so you do not lose signal. Change your setup if the room is humid or has strong electromagnetic fields to protect your cables.
Here is a table of common mistakes and what they cause:
Error Type | Description |
|---|---|
Cable Issues | Loose or broken cables cause most 'no signal' errors and signal loss. |
Calibration Issues | Bad calibration makes screens look wrong and lowers quality. |
Color Inconsistencies | Different color settings make the display look uneven. |
Performance Monitoring | Not checking performance lets problems get worse and hurt operation. |
Tip: Test your video wall after you set it up. Make sure all screens show the right content.
Fixing Connection Issues
If your LCD VIDEO WALL? has problems, you can fix most connection issues with these steps: Check all cables and make sure they are plugged in tight. Replace any cables that look broken. Try another video source to see if the problem is with the source or the wall. Make sure the resolution settings match on both the video source and the video wall. Turn off all devices and wait 30 seconds before turning them back on. This resets the circuits. Look at connectors for bent pins or rust. Clean or replace them if needed. Plug in cables until you hear a click. Swap out bad cables with ones you know work. Turn on devices in the right order to stop surge errors. If you still have problems, read the user manual or call a technician for help.
Note: Check your setup often and keep cables neat. This stops most connection problems.
System Configuration
Power On & Test
Turn on your LCD VIDEO WALL? and all devices. Look to see if every screen lights up. If a screen is blank, check the power cables. Make sure each panel is plugged in right. Play a simple video or picture to test the video source. This helps you find problems early. If you see flickering or color problems, check the cables. Restart the system if you need to.
Tip: Turn on the controller before the panels. This helps stop signal problems.
Adjust Display Settings
When all screens work, change the display settings. Go to the controller menu and pick the right resolution. Make sure the picture fits the screens. It should not stretch or cut off the edges. Use bezel compensation to line up the picture. Change brightness and contrast so the screens look even. If colors do not match, use the color settings to fix each screen.
Calibrate for Seamless View
Calibration keeps your video wall looking good. Use tools to check color, brightness, and alignment. Go through each panel and make small changes. Try to make the image look smooth across the wall. Wipe the screens with a soft, dry cloth to clean off dust. Calibrate and clean often to keep the display clear and bright.
Note: Check your system often. This helps you find flickering, color problems, or loose cables before they get worse.
Performance Troubleshooting
You might have problems like bad signal or panels not lined up. Loose cables or bad connectors can make the image blurry or shaky. If you see a weird picture, check the resolution on the video source and controller. Old parts can also cause trouble, so check your system often. Update your software to get new features and fixes. Teach your team how to fix simple problems and write down any repairs.
Common Issue | Possible Cause | Solution |
|---|---|---|
Blurry or Flickering Image | Loose cables, weak signal | Check and secure all cables |
Distorted Picture | Wrong resolution setting | Match source and wall settings |
Color Differences | Poor calibration | Recalibrate each panel |
Take care of your system and fix problems fast. This keeps your display working well and looking great.
You have learned how to install an LCD video wall step by step. Always check your connections and settings for the best results. If you want extra peace of mind, you can ask a professional for help. Here are some benefits:
Benefit | Description |
|---|---|
Longevity | Experts help your system last longer. |
Safety | Proper setup keeps your equipment and space safe. |
Reliability | Professionals make sure your video wall works without problems. |
With careful work and these tips, you can create a stunning display. You can do it!
FAQ
How many people do I need to install an LCD video wall?
You need at least two people for safe installation. Large video walls may require more helpers. Teamwork makes lifting and aligning panels easier.
Can I install an LCD video wall on drywall?
You can install on drywall if you find and use wall studs. Always check the wall’s strength. Use a stud finder and heavy-duty anchors for safety.
What tools help with perfect alignment?
A spirit level, measuring tape, and alignment pins help you get straight lines. Some mounts have built-in adjustment features. Take your time for the best results.
How do I keep cables organized?
Use cable ties, labels, and cable management trays. Neat cables prevent accidents and make future maintenance easier.
What should I do if a screen stays black?
Check the power cable first. Make sure the data cable connects well. Try restarting the controller. If the problem continues, swap cables or contact support.
See Also
Selecting The Perfect LCD Video Wall For Your Area In 2026
Exploring The Main Distinctions Between LED And LCD Video Walls
Steps To Install And Configure Digital Display Signage