How to Install an LCD Display Bezel on Your Laptop
Shenzhen TopAdkiosk Display Technology Co., Ltd.
Add.: 2F, Bldg 10, Changfeng Industrial Park, Dongkeng, Fenghuang, Guangming, Shenzhen, China 518132
Mobile/WHATSAPP: 86-138 25769658
Email: marketing@topadkiosk.com topadkiosk@gmail.com
Skype: pghenry1
Wechat: adkioskhenry
English Web.: https://www.topkioskdisplay.com/
http://www.ad-kiosk.com/
https://www.toplcddisplay.com/
http://www.multitouchdigitalsignage.com/
https://www.youtube.com/channel/UCYVYNJHxLVEcQD8fuUxXNTA/videos?view_as=subscriber
https://www.facebook.com/TOPADKIOSKSHENZHEN/?ref=bookmarks
You can install an lcd display bezel on your laptop with simple tools and careful steps. The bezel protects your screen and keeps the display secure. Prepare a clean, static-free area before you begin. Handle all plastic parts gently. Replacement parts usually cost between $40 and $60.
Key Takeaways
Get a clean and static-free area ready before you start. This helps keep your laptop safe and makes installing easier.
Always take out the battery before you work on your laptop. Doing this helps stop accidents and keeps your laptop safe.
Use soft tools like a plastic scribe so you do not hurt your laptop. Take your time to stop cracks and make sure it fits right.
Tools and Workspace for LCD Display Bezel
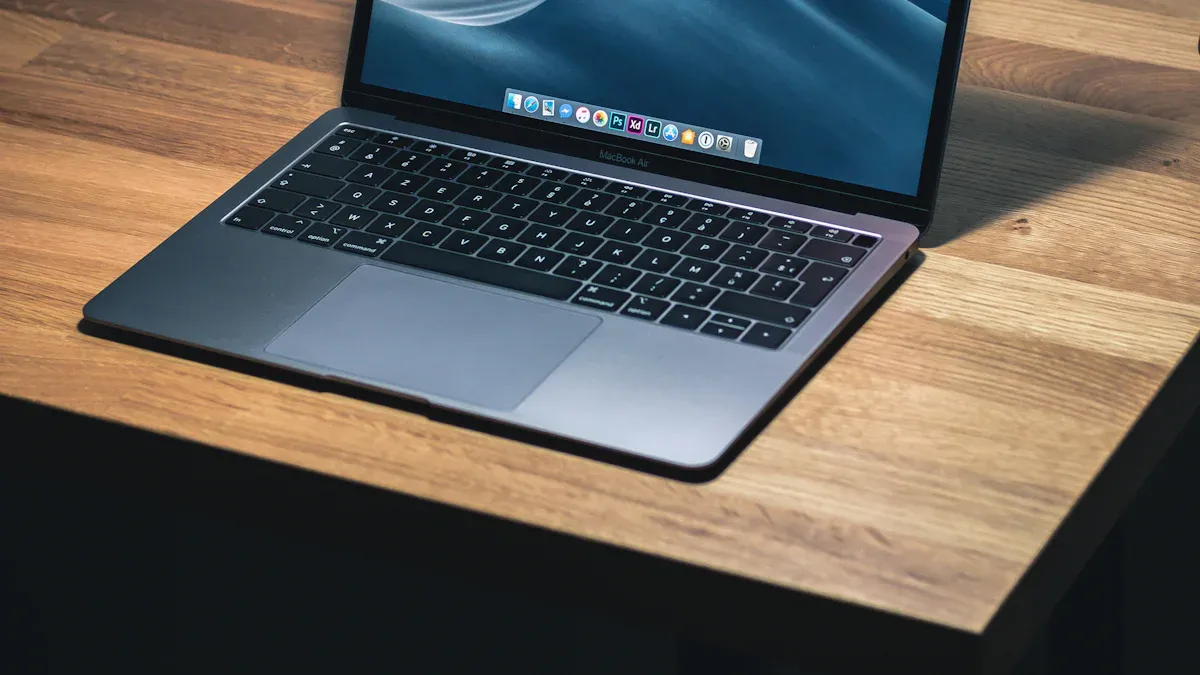
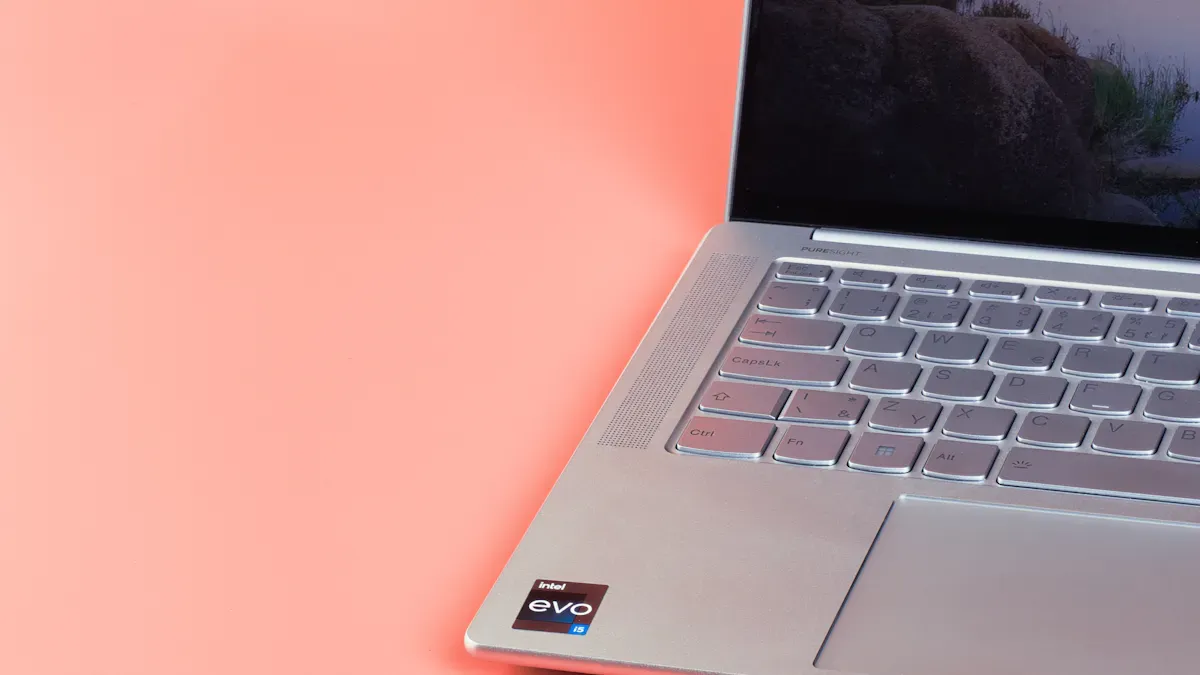
Before you begin, you should know what an LCD display bezel is. The bezel is the thin plastic frame that surrounds your laptop screen. It holds the screen in place and protects the edges from dust and damage. A secure bezel keeps your display safe and makes your laptop look neat.
Essential Tools List
You need the right tools to remove and install the lcd display bezel. Gather these items before you start:
Plastic scribe or spudger
Soft, lint-free cloth
ESD-safe bags for storing parts
Tip: The anti-static wrist strap helps protect your laptop from static electricity. Static can damage sensitive parts inside your device. The strap is a low-cost way to keep your laptop safe.
Preparing Your Workspace
Set up your workspace before you open your laptop. Follow these steps:
Power off your laptop and unplug it from any power source.
Work on a flat, level surface covered with a soft, nonmarring material.
Wear your anti-static wrist strap and make sure your area is grounded.
Clean your work surface to remove dust and debris.
Place removed screws and parts in small containers or ESD-safe bags.
Keep all tools and parts organized and within reach.
A clean, static-free workspace helps prevent damage to your laptop. Organizing screws and parts makes reassembly easier. Careful preparation leads to a smooth installation process.
LCD Display Bezel Installation Steps

Power Down and Remove Edging
You must turn off your laptop and unplug it from any power source. Remove the battery if possible. This step keeps you safe and protects your laptop from damage.
If you do not remove the battery, you may face these hazards:
The battery can swell and become dangerous.
Puncturing a swollen battery can cause serious health risks.
Mishandling lithium-ion batteries can lead to hazardous situations.
Tip: Always remove the battery before you start. This simple step prevents many problems.
Pry Off Hinge Cover with Plastic Scribe
Use a plastic scribe or a soft tool to pry off the hinge cover. Do not use metal tools. You can use a toothpick from a Swiss Army knife, a plastic putty knife, or even the clip from a Bic pen if you trim it.
A non-marring plastic scribe will not scratch your laptop.
Soft plastic tools protect the casing from damage.
Never use too much force. If you do, you might:
Damage the laptop’s casing or structure.
Cause the screen to lift unevenly.
Create gaps between the lcd display bezel and the screen.
Hear clicking or popping sounds.
See visible separation near the corners.
Note: Work slowly and gently. Patience prevents cracks and breaks.
Disconnect Cables if Needed
Some laptops have cables near the bezel. You may need to disconnect them before you remove the lcd display bezel.
Unscrew the LCD cable bracket.
Keep track of all screws and parts. Place them in a safe spot.
Remove Old LCD Display Bezel
Follow these steps to remove the old lcd display bezel:
Unscrew and remove the base cover.
Unscrew and disconnect the battery.
Unscrew the bracket and remove the WLAN card.
Disconnect and loosen the display cable.
Unscrew and lift the right hinge.
Remove the display assembly.
Use your fingers to gently separate and remove the lcd display bezel.
Check the bezel for cracks, breaks, or loose edges. If you see any of these, you need a new bezel.
Align and Attach New Bezel
You must align the new lcd display bezel carefully. Use these steps:
Move the cable on the right hinge up so it goes around the hinge.
Install the bottom part of the bezel first. Angle it to hook under the hinge.
Apply a small amount of force and rotate the bezel to slide it in.
Release the bezel. It should align at the top.
If you see small misalignments, lift and readjust the bezel. Gently push the side bezel in if needed.
Tip: If the bezel does not fit, check for compatibility issues. Some screens have different revisions.
Common problems include:
Plastic tabs or clips breaking.
The bezel not seating properly.
Gaps or uneven edges.
If you notice these, try reseating the bezel. This solves many issues.
Secure Latches and Screws
Snap all latches into place. Replace and tighten the screws, but do not over-tighten them. Too much pressure can damage the LCD glass.
Alert: Over-tightening screws can break the screen. Tighten until snug, not tight.
Final Check and Power On
Before you finish, double-check your work:
Make sure all latches are secure.
Check that no cables are pinched or loose.
Reconnect the battery.
Power on your laptop. If the screen does not turn on:
Shine a flashlight at an angle to the screen. Look for faint images.
If you see faint images, you may have a backlight or cable issue.
Check the video cable connection.
Try reinstalling the old screen to test if the problem is with the new one.
Most lcd display bezel installations work if you follow these steps. If you have problems, reseat the bezel or check for compatibility.
Note: Many users do not succeed on the first try. Do not worry. Take your time and check each step.
Double-check that your lcd display bezel sits securely and your screen works. You protected your laptop and improved its look. Keep leftover screws in a safe place. If you need help, use these resources:
Step-by-step guides and safety tips.
Video tutorials for visual support.
Proper installation protects your screen and makes your laptop safer to handle.
What Is an LCD Display Bezel?
The bezel of an LCD display is the frame that surrounds the actual screen area (the active display area). It is the physical border between the edge of the glass panel and the outer edge of the monitor, TV, laptop, smartphone, or other device.
Bezels can be made of plastic, metal (aluminium), or sometimes carbon fibre. They vary in width – from very thick frames on older monitors to ultra‑thin “edge‑to‑edge” or “zero‑bezel” designs on modern devices.
What Is the Function of the Bezel?
The bezel serves several important functional and structural purposes:
1. Structural Support & Protection
The LCD panel is delicate; the bezel holds it firmly in place within the device housing.
It protects the edges of the glass from chips, cracks, and impact damage.
In portable devices (laptops, tablets), the bezel reinforces the lid against bending and twisting.
2. Hides Internal Components
Behind the bezel, manufacturers place essential parts:
LCD driver circuits and ribbon cables.
Backlight LEDs (often along the bottom edge).
Touchscreen controllers (for touch displays).
Mounting screws and brackets.
Without a bezel, these internal components would be visible and vulnerable.
3. Provides a Clean Aesthetic
The bezel creates a visual boundary between the active screen and the device frame, giving a finished, professional look.
Coloured or brushed‑metal bezels can enhance the device’s design language.
4. Enables Seamless Multi‑Screen Walls
In video walls (arrays of multiple displays), the bezel width directly affects the visual gap between screens.
Narrow bezel displays (e.g., 0.9mm to 3.5mm) are used to minimise the “grid effect” so the combined image appears almost seamless.
Some commercial displays are designed specifically for video walls with ultra‑thin bezels.
5. Houses Sensors & Peripherals
Bezels often contain:
Webcams (top bezel of laptops/monitors)
Ambient light sensors (for auto‑brightness)
Proximity sensors (to turn off screen when near ear)
Microphone arrays
IR receivers (for remote controls)
6. Reduces Light Bleed & Improves Contrast
The bezel masks the non‑illuminated edge area of the backlight, preventing unfocused light from spilling out.
This helps maintain perceived black levels near the screen border.
Types of Bezels (by Width)
Type | Typical Width | Common Use |
|---|---|---|
Thick bezel | > 15 mm | Older monitors, industrial displays, rugged devices |
Standard bezel | 8–12 mm | Many desktop monitors, TVs |
Thin bezel | 4–7 mm | Modern consumer monitors, laptops |
Ultra‑thin / micro‑bezel | 1–3 mm | High‑end monitors, video wall displays |
Zero‑bezel / edge‑to‑edge | < 1 mm (often simulated) | Smartphones, premium laptops |
Note: “Zero‑bezel” rarely means zero physical border – there is still a very thin frame. True zero‑bezel is not yet common in mass production.
Summary
The LCD display bezel is the outer frame surrounding the screen. Its functions include structural support, protection, hiding internal components, improving aesthetics, enabling video walls, housing sensors, and reducing edge light leakage. While thinner bezels are generally preferred for modern designs, the bezel remains an essential part of any LCD display.
FAQ
What is an LCD display bezel and what does it do?
The LCD display bezel is the plastic frame around your laptop screen. You use it to protect the edges and keep the display secure.
Can you install a new bezel without special tools?
You can use simple tools like a small screwdriver and a plastic scribe. You do not need expensive or rare equipment.
What should you do if the bezel does not fit?
Check if you have the correct part number.
Make sure you align the bezel properly.
Try reseating it gently.
See Also
Creating A Premium Touch And Non-Touch LCD Mirror Display
Leading LCD Display Manufacturers For Your Upcoming Project
A Comprehensive Guide To Setting Up A Touch Kiosk