Essential tips for building an LCD video wall safely and efficiently
Shenzhen TopAdkiosk Display Technology Co., Ltd.
Add.: 2F, Bldg 10, Changfeng Industrial Park, Dongkeng, Fenghuang, Guangming, Shenzhen, China 518132
Mobile/WHATSAPP: 86-138 25769658
Email: marketing@topadkiosk.com topadkiosk@gmail.com
Skype: pghenry1
Wechat: adkioskhenry
English Web.: https://www.topkioskdisplay.com/
http://www.ad-kiosk.com/
https://www.toplcddisplay.com/
http://www.multitouchdigitalsignage.com/
https://www.youtube.com/channel/UCYVYNJHxLVEcQD8fuUxXNTA/videos?view_as=subscriber
https://www.facebook.com/TOPADKIOSKSHENZHEN/?ref=bookmarks
Safe and efficient installation is important when building an lcd video wall. Careful planning helps stop many common risks. You should plan each step, like picking equipment and using best practices. Safety problems such as overheating, electrical issues, and environmental factors can cause big trouble. The table below lists some common problems you might face during installation:
Safety Incident | Description | Impact on Installation |
|---|---|---|
Overheating | Causes 30% of LED panel failures from bad heat control. | High |
Electrical Issues | Short circuits happen from unstable voltage or wrong wiring. | High |
Environmental Factors | High humidity can make circuits rust and screens fail. | Medium |
You can stop these problems by planning early and making good choices.
Key Takeaways
Think about your video wall layout before you start. Count how many screens you need. Check how far people will sit from the screens. Look at the angles so everyone can see well. This makes watching better for everyone.
Pick LCD panels that are high quality. Look for panels with small pixel pitch. Make sure they can get rid of heat easily. These features make pictures look sharp. They also help the screens last longer.
Make sure you can reach the screens easily. Set up your video wall so you can clean it. You should be able to fix screens without trouble.
Keep cables neat and safe. Organize cables so they do not get too hot. Use clips and labels to keep cables in place. This stops people from tripping.
Clean your video wall often. Check it to make sure it works well. This keeps it looking nice. It also helps you find problems early.
Planning Your Video Wall
Determining Display Number and Arrangement
You should start your planning by deciding how many screens you need for your multi-screen display. Think about the size of your space and the purpose of your video wall. A good plan helps you avoid problems later. When you choose the number of panels, look at factors like pixel pitch, image quality, brightness, and contrast. Smaller pixel pitch gives you sharper images, which is important if people will stand close to the screens. You also want panels with strong build quality and good heat dissipation. These features help your multi-screen display last longer and work better.
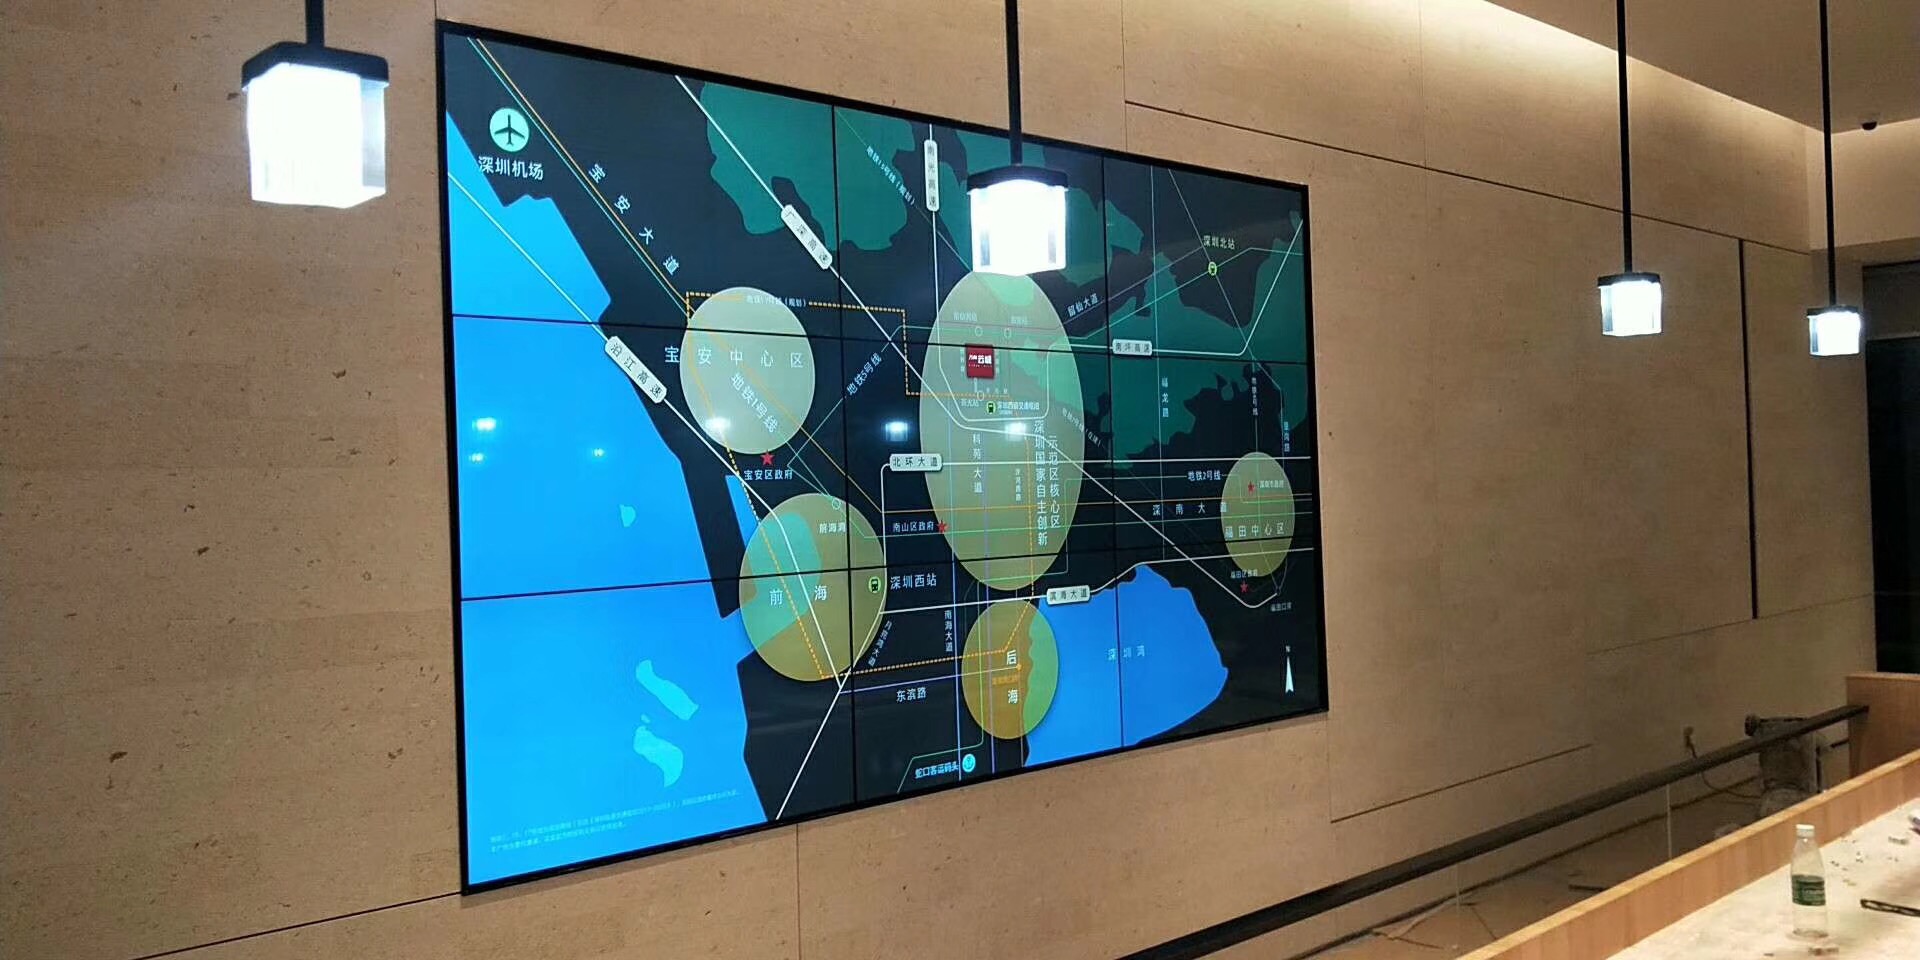
To find the ideal display arrangement, consider the layout that fits your room. You can use a tiled layout for a seamless look or a grid for easy expansion. Make sure your arrangement matches your viewing needs and fits your budget. Some people choose a turnkey solution to make installation and service easier.
Considering Viewing Distance and Angles
Planning for the right viewing distance and angle is key for a successful multi-screen display. If viewers stand close, use displays with smaller bezels and higher resolution. This setup creates a more immersive experience. For larger spaces, bigger screens work better. The ideal display arrangement depends on how far people will be from the screens and how wide the viewing area is.
The viewing angle is the widest position from which a video wall can be seen clearly—without losing brightness, color accuracy, or contrast.
A wide viewing angle keeps images sharp and colors true. If you set up your screens at the wrong angle, the display may look dull or colors may shift. Always check the viewing area during planning.
Ensuring Accessibility for Maintenance
You need to think about maintenance when planning your video wall. Make sure you can reach the back and front of each panel. This access helps you clean the screens and fix any problems quickly. Before you install, check the wall structure and electrical needs. Set up a routine schedule for cleaning and inspection. You can also work with a professional AV service provider for regular checks. Good planning now saves you time and trouble later.
Selecting Equipment for Building an LCD Video Wall
Picking the right equipment is very important. It helps your video wall stay safe and work well. You need to check if everything works together. You also want to make sure it is easy to fix later. This section will help you with each step.
Choosing Compatible LCD Panels
Start by looking at the technical details of different LCD panels. Matching these details helps you avoid problems with how your video wall looks and works. Use the table below to see what features matter most:
Specification | Description |
|---|---|
Pixel pitch | Distance between pixels. Smaller pitch means sharper images, which is important for close viewing. |
Image quality | Look for sharp images and factory color calibration. |
Brightness | Choose panels bright enough for your room’s lighting. |
Contrast | High contrast makes images look better and more vivid. |
Power consumption | Lower power use saves energy and reduces heat. |
Heat dissipation | Good heat control keeps panels working longer. |
Build quality | Strong, lightweight panels are easier to install and last longer. |
Service access | Pick panels you can reach from the front and back for easy maintenance. |
Cost | Compare prices, but remember that better specs may cost more. |
Longevity | Longer life ratings mean less frequent replacements. |
Always check the size and shape of the displays before you buy them. Make sure the panels fit in your space and match your design. If you want to add more screens later, pick panels that are easy to change or add.
Tip: Panels with factory color calibration save you time when setting up. They also make your video wall look good right away.
Picking the Right Video Wall Controller
The video wall controller is like the brain of your system. It controls how pictures and videos show up on all the screens. Pick a controller that fits your needs for how well it works and if you want to add more screens later.
Here is a quick look at different controller types:
Type of Controller | Key Features | Best For |
|---|---|---|
Hardware-Based Controllers | Low latency, stable, high performance | Control rooms, broadcasting |
Software-Based PC & Video-Card | Flexible, easy to upgrade, supports many sources | Small to medium installations |
Cloud-Based Video Wall Controllers | Remote management, no on-site hardware needed | Retail chains, global marketing |
FPGA-Based Controllers | Real-time, custom processing | Military, medical, high-end broadcasting |
Network-Based (IP) Controllers | Scalable, flexible, remote access | Multi-location, smart buildings |
Embedded Video Wall Processors | Fewer cables, plug-and-play | Small to medium installations |
Look for a controller that is both strong and can grow with you. This means you can add more screens or things to show as you need. Good controllers stop crashes and keep your video wall working well.
Note: Using more than one controller or having a backup can protect your video wall. If one stops working, another can take over.
Some brands, like Datapath and Matrox, are known for being reliable. The BRWall BR60 4K60 UHD Controller is also popular because it is easy to set up and works well.
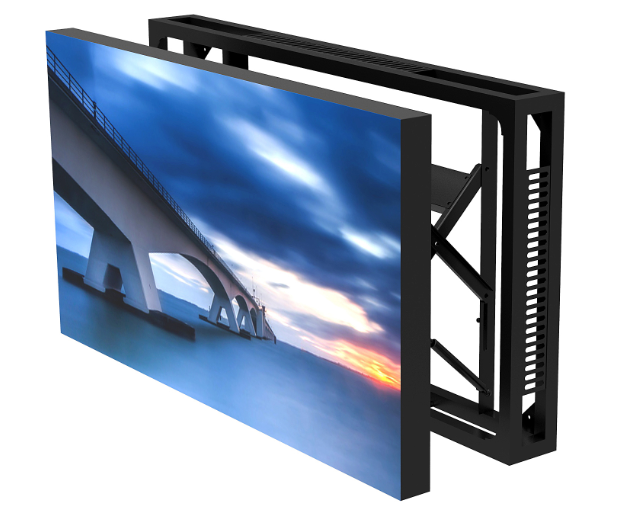
Selecting Mounts and Hardware
Mounts and support parts are very important for safety. Pick mounts that can hold your video wall’s weight and let you move things if needed. Always check for safety marks, like TÜV, which means the mount is very strong.
Here are some common types of mounts:
Mount Type | Features |
|---|---|
Fixed Video Wall Mounts | Permanent, stable, secure |
Hinged Video Wall Mounts | Easy access for maintenance |
Universal Video Wall Mounts | Fits many monitor sizes and brands |
Expandable LED Video Wall Mounts | Modular, adjusts to different setups |
HoverGrid | Interlocking frames for custom sizes |
GridLink | Quick assembly for different configurations |
Pick a mount that fits your display size and setup. If you need to fix your video wall often, hinged or universal mounts help a lot. Always follow the instructions from the company when you put up the mounts.
Safety Alert: Always check the wall before you hang anything. Weak walls can break and cause accidents.
Managing Cables and Power
Good cable management keeps your video wall safe and neat. Use strong cables like HDMI, DisplayPort, or DVI for the best picture. Run cables behind walls or in the ceiling to stop people from tripping. Many mounts have places to hide and organize wires.
Label every cable. This makes it easier to fix problems later. Check power cables often and use surge protectors to stop damage from power spikes. A UPS can keep your video wall on if the power goes out.
Good cable management does more than look nice. It stops overheating, lowers fire risk, and helps your video wall last longer.
Plan your power needs before you start. Too many screens on one circuit can make them flicker or stop working. Try to use more than one circuit if you can.
If you follow these steps, your video wall will be safe, work well, and be easy to take care of.
Step-by-Step Installation Guide
Preparing the Installation Area
You need to start with a safe and clean space for your video wall. Choose a location that is easy to reach and has a flat, level surface. Make sure nothing blocks the view of your screens. The surface must be strong enough to hold the weight of your video wall. Clean the area so there is no dust or debris. A clean space helps you avoid problems during installation.
Check the wall or structure where you will mount the video wall. It must support the weight and size of all the panels. Test the electrical system to make sure it can handle the power needs of your video wall. Look at the brightness in the room and the distance from the viewers. These checks help you get the best picture quality.
You should also think about the environment. Do not put your video wall in places with high humidity, extreme temperatures, or too much dust. Make sure the area has good airflow. This keeps your video wall cool and helps it last longer. The right temperature and humidity help your screens work well.
Tip: A good installation area makes your video wall safer and helps it work better for a long time.
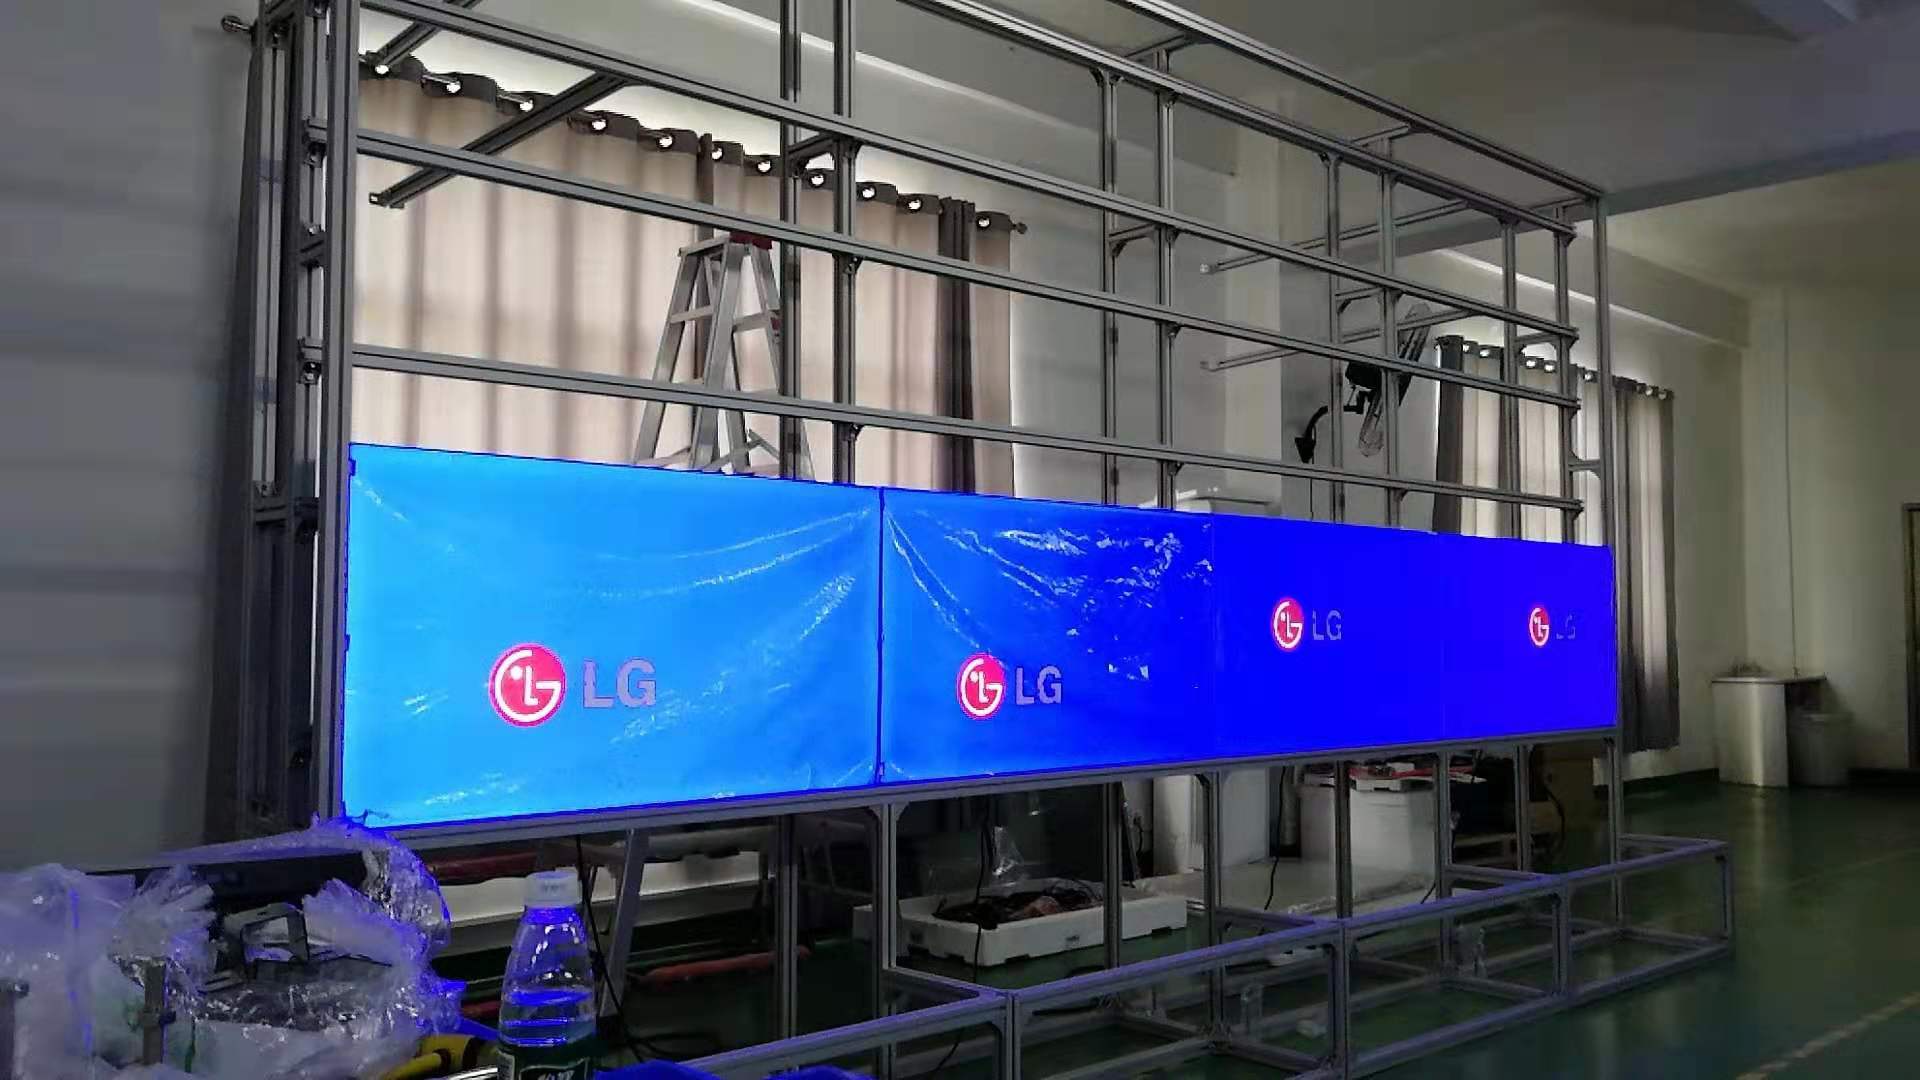
Mounting and Aligning Displays
Mounting your video wall takes careful steps. Start by cleaning the surface of each LCD panel. Dust or dirt can cause problems with the display. Use the right tools to attach the mounts to the wall or frame. The mounts must be strong and fit the size of your video wall.
You need to align each panel with care. Use a level and measuring tape to make sure the screens line up. If you want a seamless look, the edges of each panel must touch without gaps. Some mounts let you adjust the position after you hang the screens. This helps you get a perfect fit.
Here is a simple process for mounting and aligning:
Clean the surface of each panel.
Attach the mounts to the wall or frame.
Place the first panel and check its position with a level.
Add the next panel and line it up with the first.
Repeat until all panels are in place.
Adjust the panels for a smooth, even look.
The frame or chassis gives support to your video wall. Flexible printed circuits connect the panels to the driving circuits. These parts help your video wall work as one big screen.
Note: Take your time with alignment. A small mistake can make the whole video wall look uneven.
Connecting Power and Signal Cables
You must connect power and signal cables with care. Safety comes first. The power system must be stable. Unstable voltage or wrong wiring can cause short circuits. Use a regulated power supply to keep your video wall safe. The normal voltage range is 110-220V.
Safety is the first priority in the installation of LED panel video walls, which involves considering the equipment support structure, power system, and environmental adaptability. Power management is crucial, as unstable voltage or incorrect wiring can lead to short circuit issues. A regulated power supply system is recommended to ensure the LED screen operates within the normal voltage range of 110-220V, significantly reducing failure rates.
Plug in the power cables and check each connection. Use the right cables for your video wall. HDMI, DisplayPort, or DVI cables give you the best picture. Connect the signal cables from the controller to each panel. Make sure each cable is secure.
Test the power before you finish. Turn on the video wall and check for any problems. If you see flickering or blank screens, check the cables again.
Cable Management for a Clean Video Wall
Good cable management keeps your video wall neat and safe. You should keep cables off the floor. Use cable clips or hooks to hold them in place. Separate power cables from signal cables. This reduces interference and makes your video wall work better.
Follow these steps for organized cables:
Group cables by their purpose.
Use cable clips, clamps, or trays to hold cables.
Label each cable near the connector.
Clean the cables before adding labels.
Write clearly on each label.
Check that labels are easy to read and stay in place.
A clean setup makes it easy to fix problems later. You will not unplug the wrong cable by mistake. Good cable management also helps air flow around your video wall. This lowers the risk of overheating.
Tip: Organized cables make your video wall look professional and help with future maintenance.
You have now learned the main steps for a successful installation. Careful planning, safe mounting, proper wiring, and neat cable management will help you build a video wall that works well and lasts a long time.

Configuring and Testing the Video Wall
Initial Power-On and Safety Checks
Before you turn on your video wall, you should check for safety. Look at the table below to see what you need to inspect:
Safety Check | Description |
|---|---|
Proper Ventilation | Make sure your system has enough airflow and heat management. This stops overheating. |
Power Management and Cables | Check all power cables for tight connections. Use surge protectors to avoid power problems. |
Monitoring Tools | Use built-in tools to watch the health of your video wall. |
You should always check these things first. This helps you avoid damage and keeps your video wall running well.
Setting Up the Video Wall Controller
You need to set up your video wall controller to get the best results. Follow these steps:
Plan your layout. Decide how you want your screens to look and what you want to show.
Connect your input sources. Plug in your PC, media player, or camera to the controller.
Open the controller interface. Use a web browser or remote control.
Adjust your content. Change the size, position, or rotation of your images or videos. Use features like bezel correction.
Test your setup. Play videos or pictures to see if everything works.
Save your settings. This keeps your video wall ready for next time.
Keep your system updated. Check for new software and clean your screens often.

Calibrating Alignment and Color
You want your video wall to look like one big screen. Use the controller to line up each panel. Adjust the color so all screens match. If you see lines or color changes, fix them now. This step makes your video wall look smooth and professional.
Verifying Image Quality
When you power on your video wall for the first time, you might see some common problems. Check the table below for help:
Issue Type | Description | Troubleshooting Steps |
|---|---|---|
Power Failure | Black screen or no power | Check power output and drive board |
Flower Screen | Parts of the screen do not show images | Check signal cables for loose connections |
Dark Screen | Screen is black, dark, or flickers | Check power supply and replace drive board if needed |
No Signal | "No signal" message on screen | Check video line and input, replace 5V power line |
Color Cycling | Colors change in a loop | Adjust signal line or replace driving board |
You should fix these issues before you use your video wall every day. Careful setup and testing help your video wall last longer and work better.
Maintenance and Troubleshooting
Routine Cleaning and Inspection
You should clean your video wall often. Dust and fingerprints make screens look bad. Use a soft, dry cloth to wipe each panel. Do not use harsh chemicals. Check mounts and frames for damage. Look for loose screws or brackets. Check cable routing and connections to keep them secure. If you see damage, fix it right away. Cleaning helps your video wall stay bright and clear.
Tip: Plan monthly inspections to find problems early.
Monitoring for Overheating or Power Issues
Watch for signs of overheating. Warm air or sudden shutdowns mean trouble. Make sure the area has good airflow. Check the power supply for steady voltage. Surge protectors stop damage from power spikes. If screens flicker or lose power, test the circuits and replace bad parts. Keeping your video wall cool and powered helps it last longer.
Addressing Common Video Wall Problems
Problems can happen even with careful setup. If screens are blank, check power connections first. For color problems, adjust controller settings. If panels show lines or flicker, check signal cables. Use the troubleshooting table to help with repairs. Fixing problems quickly stops them from getting worse. You keep your video wall working well by fixing issues fast.
Updating Software and Firmware
You must update software and firmware to keep your video wall working well. Updates make performance better and fix bugs. Manufacturers release updates for different models like Clarity Matrix G3 and VM Series. You can find updates for drivers, software, and firmware. The table below shows common updates:
Type of Update | Description |
|---|---|
Drivers & Software | Commercial-grade high-resolution displays available from 43" to 105". |
Firmware Updates | Specific firmware updates for various models of LCD video wall systems. |
Video Wall Models | Includes models like Clarity Matrix G3 and VM Series. |
Note: Regular updates help your video wall work longer. Always check for new releases from your manufacturer.
You keep your video wall reliable by following these maintenance steps. Clean, inspect, monitor, and update to get the best performance.
You can build a safe and efficient LCD video wall by following these steps:
Plan your layout and choose the right equipment.
Install each part with care and check your work.
Clean and inspect your video wall often.
When you use these tips, you get a reliable and professional video wall. Start your project with confidence!
How to Build an LCD Video Wall Step by Step
Building an impressive LCD video wall is far more than just putting a few screens together. It is a challenge that requires the perfect integration of careful hardware selection, precise mechanical installation, and intelligent software calibration.
To give you a clear overview, here is a simplified step diagram:
❓ Step 1: Define Goals & Planning
Before buying any equipment, you must clearly understand what your video wall will be used for.
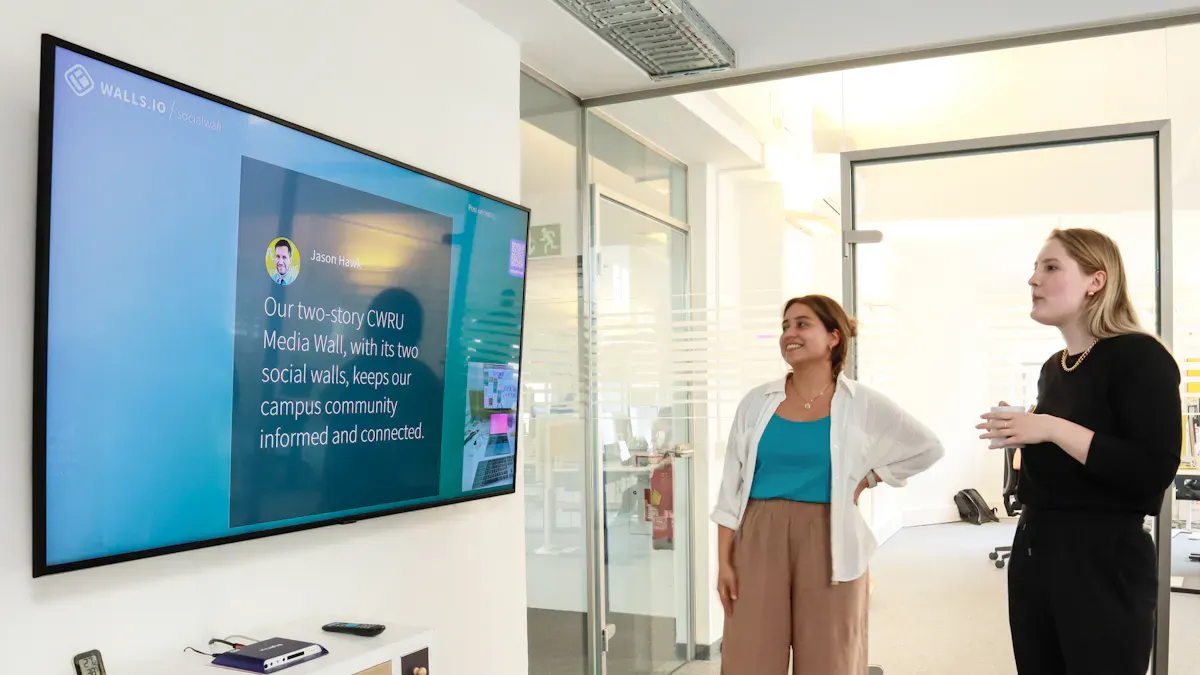
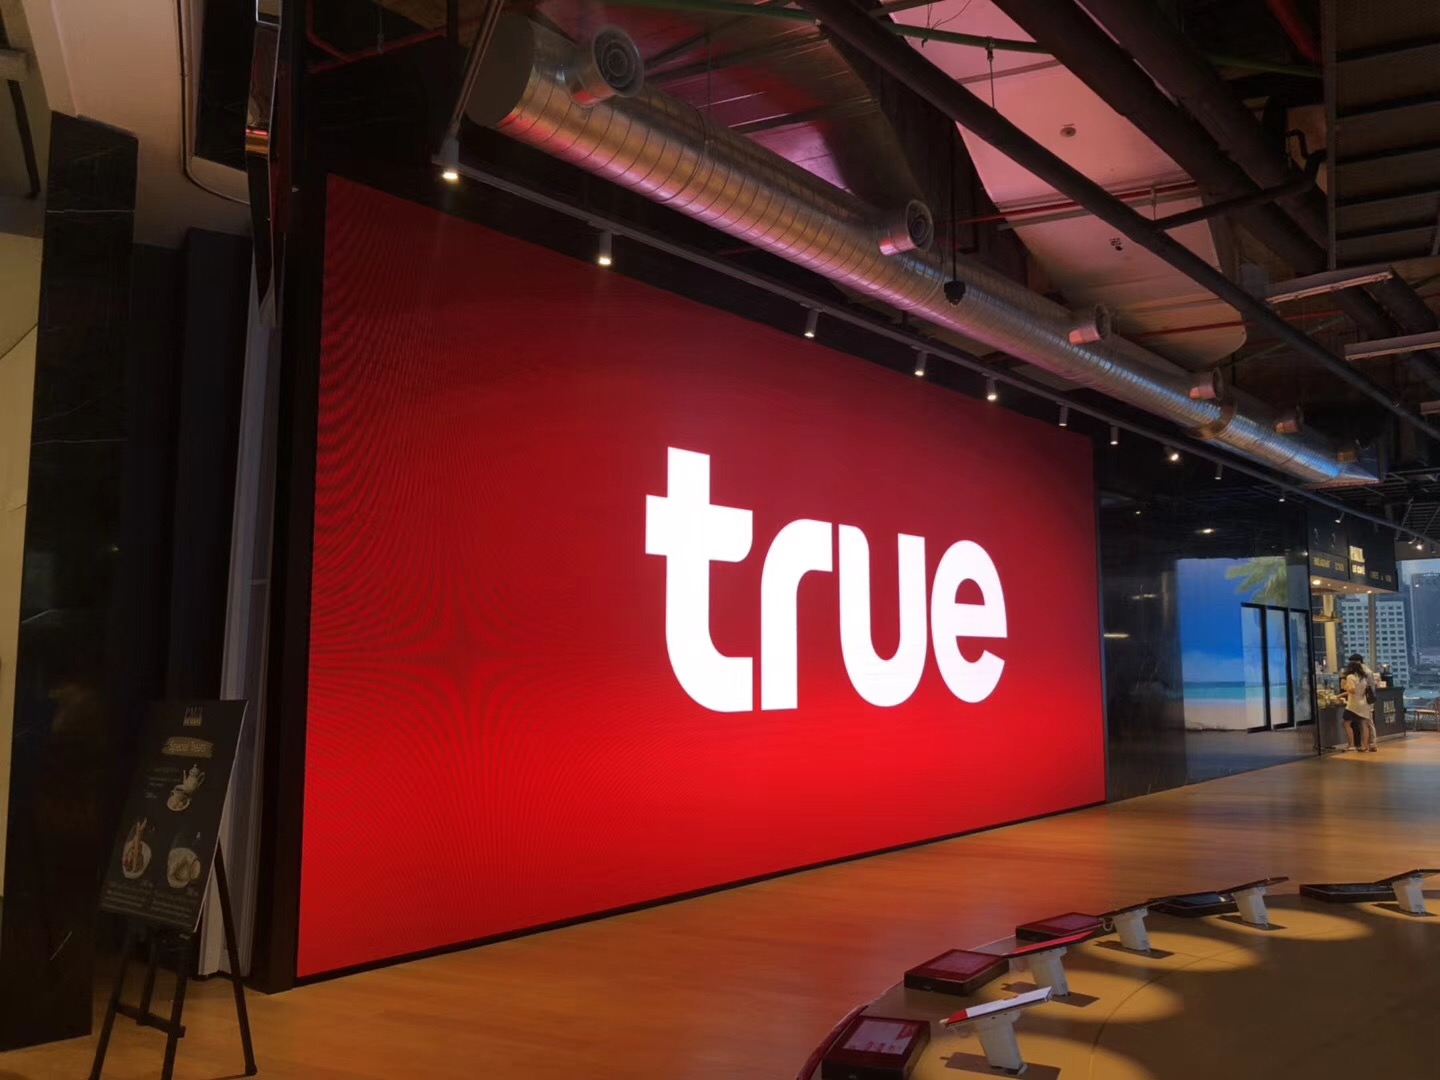
Identify the primary use – Will it display stunning brand videos in a corporate lobby, or show numerous data dashboards in a control centre? Different uses directly affect your requirements for resolution, brightness, and reliability.
Plan the layout – Do you want a standard 2×2 or 3×3 grid, or do you need a non‑standard configuration for a unique design?
Calculate key parameters:
Total resolution – The final pixel count of the wall. For example, a 2×2 wall using 4K displays achieves a total resolution of 7680×4320 pixels, delivering extremely detailed images.
Viewing distance – The closer viewers are, the higher the pixel density required. For close viewing, ensure you use high‑resolution displays to keep text sharp.
🛒 Step 2: Choose Professional Hardware
Selecting the right hardware is critical to the success of your video wall. Keep these points in mind.
Displays
Do not use consumer TVs – They are designed for home use, not 24/7 operation. Choose commercial displays built for this purpose – they have industrial‑grade components, active cooling, and higher durability.
Pay attention to bezel width – This is one of the biggest differences between LCD video walls and seamless LED walls. To visually approximate a single large screen, choose displays with the narrowest possible bezels (modern video wall displays offer bezel‑to‑bezel measurements as thin as 0.88mm).
Ensure brightness uniformity – All displays must have highly consistent brightness to avoid a “patchy” look. Choose displays with brightness uniformity rated at 90% or higher and with colour calibration capabilities.
Controller
Video wall processor – This is the physical core of the video wall. It takes one input signal, splits it into multiple parts, and sends each part to a separate screen, allowing a single large image to span across all displays. Professional processors typically support multiple input sources and can output to different screen resolutions.
Mounting hardware
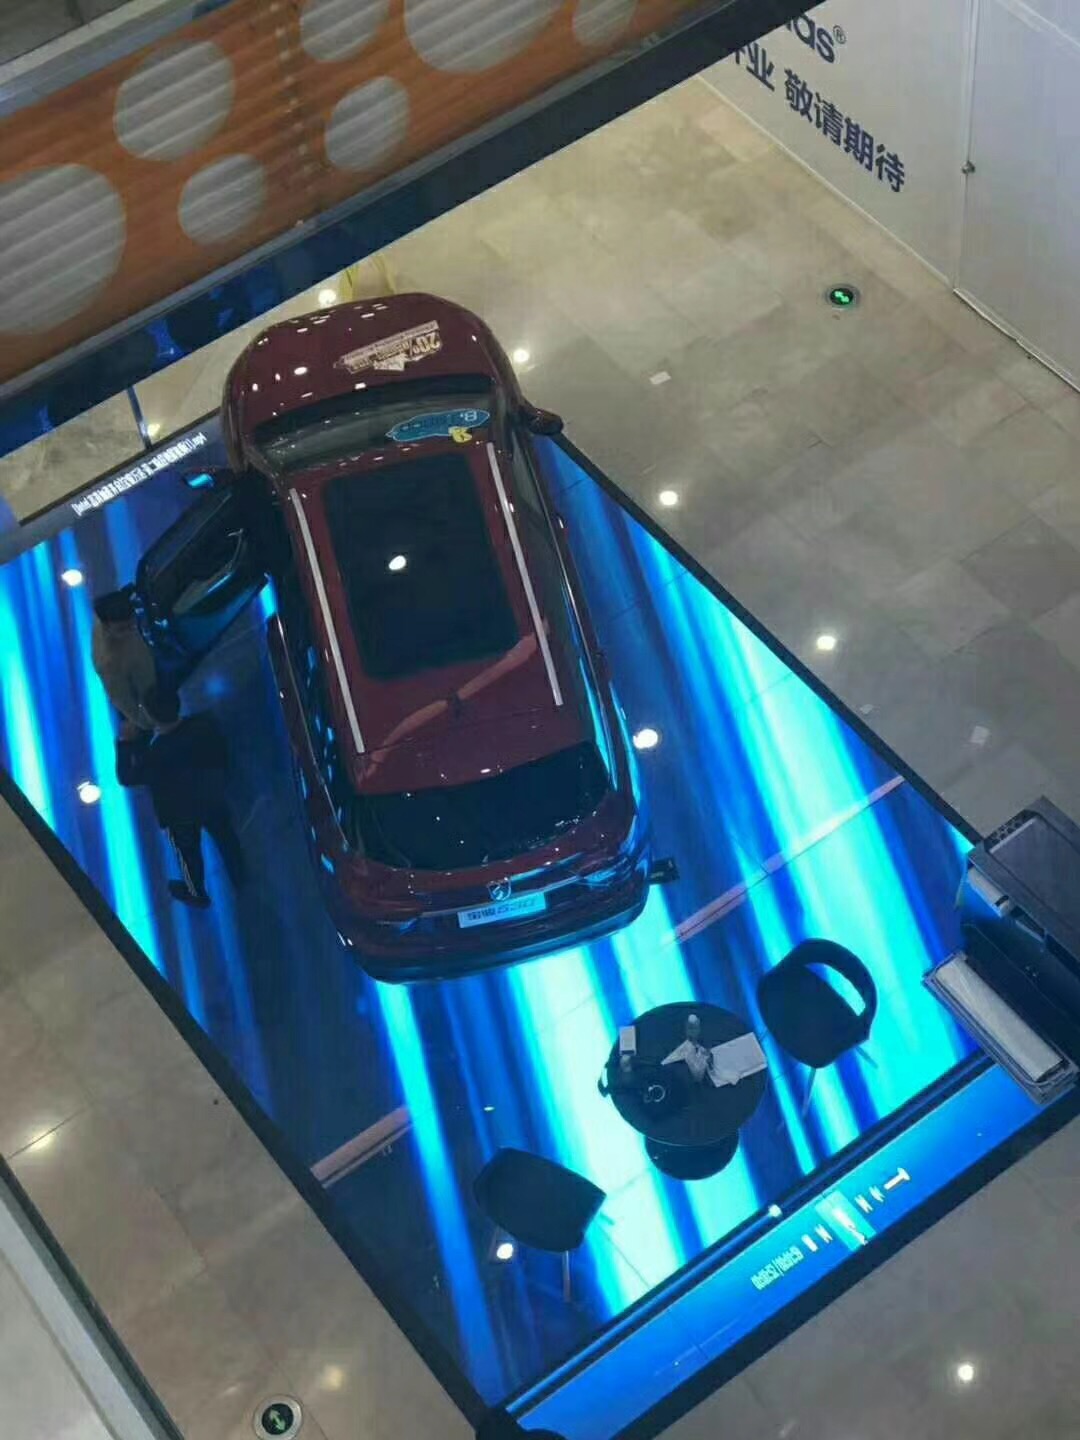
Choose the appropriate fixation method for your environment. Wall mounting requires assessing the wall’s load‑bearing capacity. For floor mounting, use sturdy floor stands or cabinets, and ensure the mounting surface is perfectly level and can support the considerable weight.
🛠️ Step 3: Installation, Power & Cabling
This step requires careful attention and patience, as any small misalignment will be magnified.
Precise mounting:
Use a spirit level to ensure the first screen is perfectly horizontal and vertical – this is the reference for the entire wall.
Use alignment shims at horizontal/vertical seams as needed to ensure all screens are in the same plane.
Cabling standards:
Separate power and signal cables – Keep them apart and at a reasonable distance to prevent electromagnetic interference affecting image quality.
Calculate lengths – Precisely measure all cable lengths in advance to avoid messy excess or cables that are too short.
Plan for cooling and maintenance access – Large equipment generates significant heat. Ensure enough space behind and around the wall (at least 10cm recommended) for airflow. Also plan maintenance access paths (minimum 1.2 metres wide) for future servicing.
💻 Step 4: Software Configuration
Software configuration determines how the multiple screens work together.
Video wall processor configuration – Each video wall processor comes with dedicated software. Within that software, define the number of rows and columns for your wall, then assign each physical display to its correct logical position in the matrix. After that, the image will automatically span across all screens.
Graphics card configuration (multi‑screen spanning) – If your displays are directly connected to a high‑performance PC’s graphics card, you can use technologies like NVIDIA Surround or AMD Eyefinity to combine multiple displays into one large virtual desktop – ideal for playing a single ultra‑large image.
Professional platform software – For digital signage applications, consider professional video wall management platforms. These typically allow you to drag and drop to create your wall layout in a web interface.
🎨 Step 5: Calibration & Tuning
The goal of calibration is to make the entire wall look like one unified giant screen.
Bezel compensation – In the software, enter the physical bezel width of each display. The software will automatically adjust the image edges to visually “ignore” the bezels, achieving smooth transition across the seam.
Colour & brightness uniformity – This is the most challenging step. Display colours can drift over time and differ between units. For professional applications, use a colour calibration device and accompanying software to uniformly adjust brightness and colour temperature across all displays, so they all show the “same colour”.
💡 Content Management
Hardware is the vehicle; content is what makes the video wall valuable.
Professional Content Management System (CMS) – A CMS is your “central kitchen” for all content. It allows you to remotely manage and publish content across all screens from one place.
Develop a content strategy – Regular updates keep your content fresh and engaging. Avoid showing the same static image for long periods – keeping content fresh is key to maintaining viewer interest.
⚠️ Troubleshooting & Calibration Quick Reference
Even with careful preparation, issues can arise. The table below helps you quickly diagnose common problems.
Common Issue | Possible Cause | Solution |
|---|---|---|
No image | Power, signal, or controller failure | Check power connections and indicator lights; check HDMI/DP cables; verify controller status. |
Streaks or noise | Poor cable quality or incorrect resolution | Replace with high‑quality shielded cables; ensure output resolution matches panel specifications. |
Screen flickering | Signal integrity or refresh rate mismatch | Check routing and shielding; set both displays and source to 60Hz refresh rate. |
Ghosting | Overdrive setting or poor signal quality | Adjust overdrive settings via OSD menu; improve source signal quality. |
💎 Summary
Building an LCD video wall is a hands‑on process that turns a grand vision into reality. It integrates a deep understanding of the use case, precise hardware selection, careful installation, and flexible software tuning.
I hope this guide provides you with valuable reference. If you encounter other challenges during implementation, feel free to come back and discuss them.
FAQ
What tools do you need to install an LCD video wall?
You need a drill, level, measuring tape, screwdriver, and cable ties. You also need safety gear like gloves and goggles. These tools help you mount panels, align screens, and manage cables.
How often should you clean your video wall?
You should clean your video wall every month. Use a soft, dry cloth. Avoid water and harsh chemicals. Regular cleaning keeps your screens bright and clear.
Can you expand your video wall later?
Yes, you can add more panels if you plan ahead. Choose modular mounts and controllers that support extra screens. This makes future upgrades easy.
What should you do if a screen goes black?
Check the power cable.
Test the signal connection.
Try restarting the controller.
Replace the panel if nothing works.
A quick check helps you find the problem fast.
See Also
Selecting The Perfect LCD Video Wall For Your Space In 2026
Key Distinctions Between LED And LCD Video Walls Explained
Best 10 Digital Signage Solutions For Video Walls In 2026