How to change a touch screen kiosk from Android OS to Windows OS
Shenzhen TopAdkiosk Display Technology Co., Ltd.
Add.: 2F, Bldg 10, Changfeng Industrial Park, Dongkeng, Fenghuang, Guangming, Shenzhen, China 518132
Mobile/WHATSAPP: 86-138 25769658
Email: marketing@topadkiosk.com topadkiosk@gmail.com
Wechat: adkioskhenry
English Web.: http://www.topadkiosk.com/
https://www.topkioskdisplay.com/
http://www.ad-kiosk.com/
https://www.toplcddisplay.com/
You might wonder how to change touch screen kiosk from Android OS to Windows OS. You need to check if your hardware supports Windows. Always back up your data before you start. Tools like Change My Software help with the process. You must find and install Windows drivers for your device. After installation, you will set up kiosk mode and manage the device for secure use.
Key Takeaways
Make sure your kiosk works with Windows before you switch. Check if it has what it needs for the change to go well.
Always save your files before you change the system. Use USB drives or cloud storage to keep your important files safe.
Get all the tools and software you need. You will need a bootable USB drive and the right Windows drivers to get ready for the setup.
Follow each step to install Windows. This includes making bootable media and setting up BIOS settings.
Set up kiosk mode to control who can use it and keep it safe. Use Mobile Device Management to make handling many kiosks easier.
Check Touch Screen Kiosk Compatibility
Before you switch your touch screen kiosk from Android OS to Windows OS, you must make sure your device can handle the new system. This step keeps you from having trouble later.
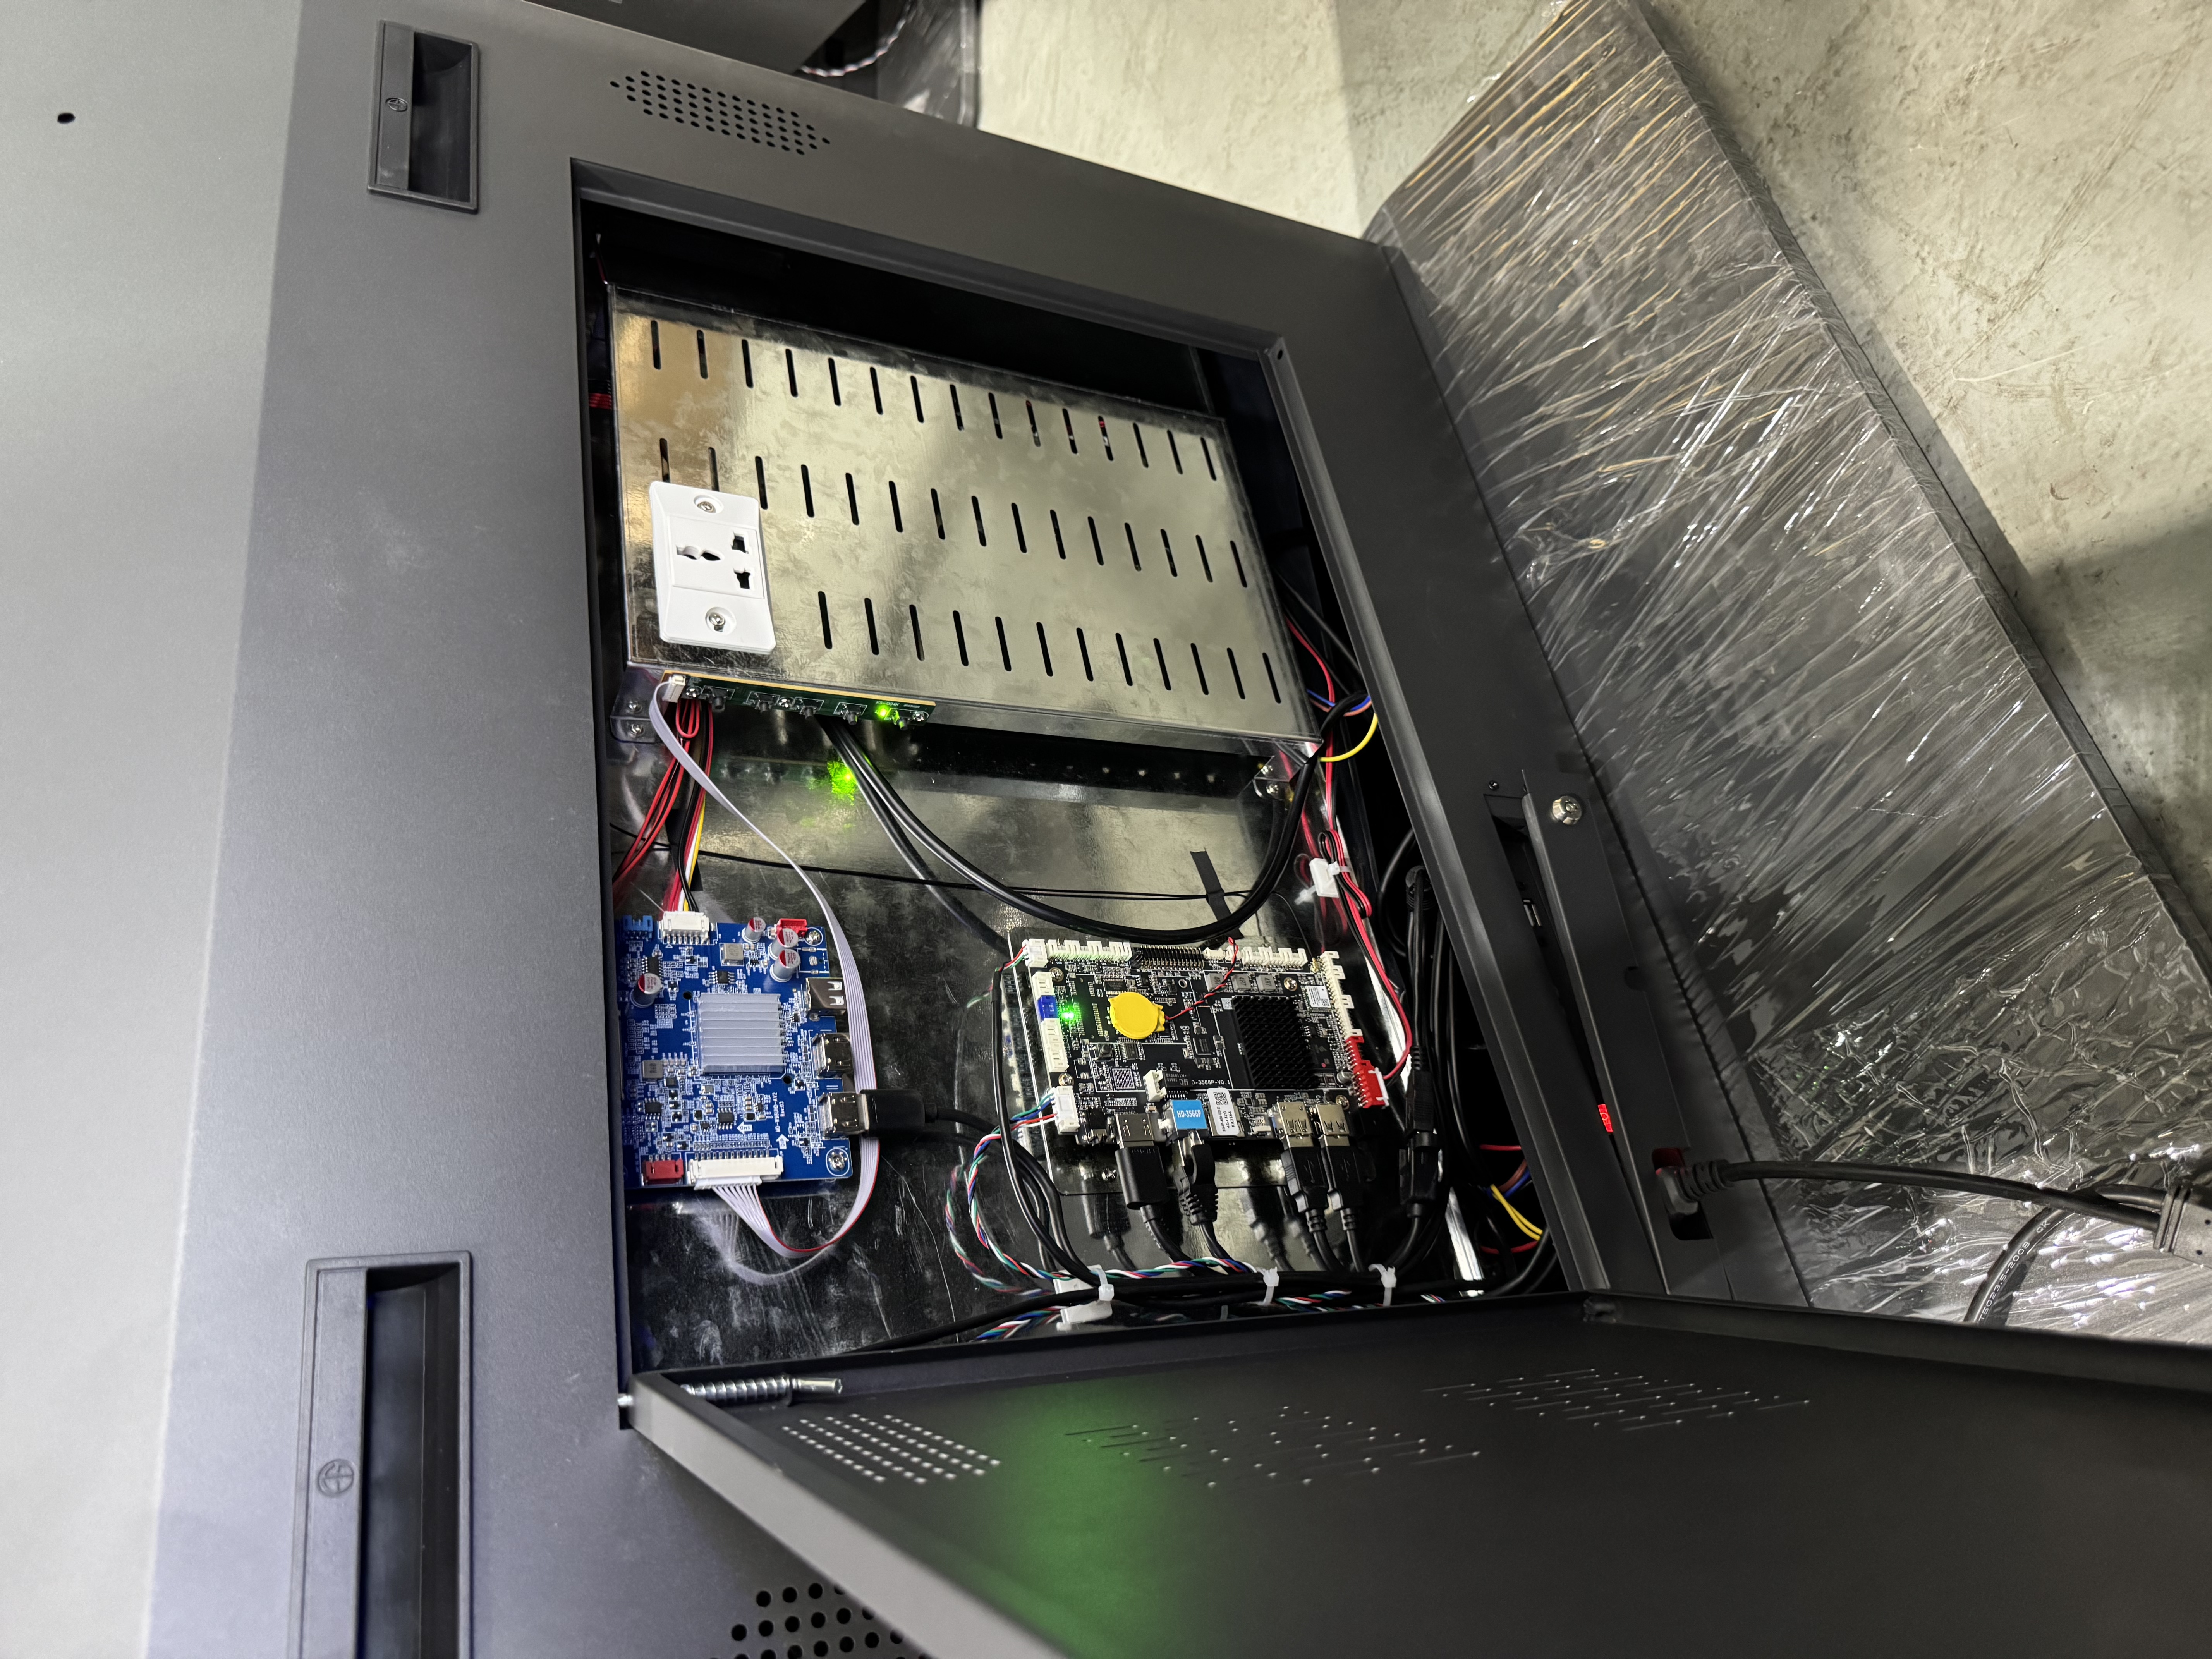
Review Hardware Specifications
Begin by looking at the hardware inside your kiosk. The main things to check are the processor, RAM, storage, and how it connects to other devices. These parts decide if your kiosk can run Windows well. Here is a table to show what you need:
Specification Type | Details |
|---|---|
Processor | Entry-Level: Intel Celeron N-series or AMD Athlon Silver; Recommended: Intel Core i5 or AMD Ryzen 5; High-Performance: Intel Core i7/i9 or AMD Ryzen 7 |
RAM | Minimum 8GB for basic applications; 16GB recommended for media-rich displays; 32GB for extensive processing |
Storage | 256GB SSD for basic use; 512GB SSD for standard applications; 1TB+ SSD for extensive content |
Connectivity | Gigabit Ethernet, HDMI/DisplayPort, minimum 4 USB ports (6+ recommended), audio output if needed |
You also need to check the graphics and touch technology. The hardware should work with high-resolution screens and different touch systems like capacitive, resistive, or infrared. Good network connections, such as Ethernet or WiFi, help with updates and monitoring.
Confirm Windows OS Support
Some kiosks cannot run Windows. Some brands make devices for both Android and Windows. For example, Shenzhen TopAdkiosk Display Technology Co., Ltd builds kiosks that support Windows OS. You can find many models that work as all-in-one PCs or touch screen kiosks. Always check the manufacturer's website or manual to see if your model can use Windows.
Access BIOS/UEFI
You must get into the BIOS or UEFI menu to change the operating system. Here are some common ways to do this:
At the POS login screen, press Ctrl + Alt + Del, open Task Manager, run 'explorer.exe', restart, and press Del, F2, F10, or Esc during boot.
Use the POS software's 'Exit to Desktop' option, enter the manager password, exit to Windows, restart, and tap the BIOS key.
On Windows, hold Shift and click Restart, then choose Troubleshoot > Advanced options > UEFI Firmware Settings.
Hold the power button for 10 seconds to shut down, then turn it on and tap the BIOS key until the menu shows up.
Tip: Write down the BIOS key for your device. This step helps you avoid getting locked out when you install Windows.
Checking your touch screen kiosk's hardware and BIOS access carefully will help you feel ready to move forward.
Prepare for OS Change
Backup Android Data
You should always back up your data before you change the operating system. Important files, app settings, and user information can get lost during the process. Use a USB drive, cloud storage, or an SD card to save your files. Many Android kiosks have built-in backup tools. You can also use Google Drive or another cloud service. Make sure you check that your backup works by opening a few files on another device.
Tip: Write down your Wi-Fi passwords and any special settings. This will help you set up your touch screen kiosk faster after the OS change.
Gather Tools and Software
You need the right tools to switch from Android OS to Windows OS. Here is a checklist to help you get ready:
A computer with Windows to create bootable media
A USB flash drive (at least 8GB)
The official Windows OS image file (ISO)
A keyboard and mouse for setup
The correct drivers for your touch screen and other hardware
You may also want to use tools like 'Change My Software' to help with the installation. Make sure you have everything nearby before you start.
Download Windows and Drivers
You must download the Windows OS image and the drivers that match your hardware. Choose the version that fits your needs, such as Windows 11, Windows 10, or Windows IoT Enterprise. Many touch screen kiosks use special drivers for touch input. You can find official Windows images and drivers from trusted sources. The table below shows some common options:
Operating System | Interface | Driver Filename | Version | Size | Download Link |
|---|---|---|---|---|---|
Serial/USB | SW602870_EloMultiTouch_8.0.0.10 | 8.0.0.10 | 89.19 MB | ||
Windows 7, 8, Vista, XP, 2003, 2008, 2012 | Serial/USB | SW602610_EloMouseTouch_5.8.2 | 5.8.2 | 17.14 MB |
You can use these Windows versions for your device:
Windows 11
Windows 10
Windows 8
Windows Embedded 8 Industry
Windows Embedded 8.1 Industry
Windows IoT Enterprise
Check that you have the right drivers for your touch screen kiosk. This step will help your device work well after you install Windows.
Install Windows OS
Switching your touch screen kiosk from Android OS to Windows OS needs careful steps. First, you have to make a bootable USB drive. Then you will use it to install Windows. Follow these steps to make things easier.
Create Bootable Media
You need a USB drive to put Windows on your device. Here is what you do:
Go to the Microsoft website and get the Windows Installation Tool. Pick the version you want, like Windows 11 or Windows 10.
Put a USB flash drive with at least 8GB of space into your computer.
Open the Media Creation Tool. Click "Create installation media (USB flash drive)" and follow the steps.
Choose your language, edition, and if your device is 32-bit or 64-bit.
Pick your USB drive from the list. The tool will erase everything on the drive, so save anything important first.
Wait for the tool to finish downloading Windows and making the bootable USB drive. This can take a while.
Tip: Write "Windows Installer" on your USB drive. This helps you remember which drive to use.
Install Windows
Now you are ready to put Windows on your touch screen kiosk. Here is how you do it:
Plug the bootable USB drive into your kiosk.
Restart the device and go into the BIOS or UEFI menu. Press the right key when the device starts, like F2, Del, or Esc.
In the BIOS, set the USB drive to start first. Save and exit.
The kiosk will start from the USB drive. You will see the Windows setup screen.
Follow the steps on the screen. Pick your language, time, and keyboard.
Click "Install Now." Type your product key if you have one.
Choose the Windows version you want.
Pick "Custom: Install Windows only (advanced)" for a fresh start.
Pick the drive to install Windows. Delete old partitions if you need to, then click "Next."
Windows will start installing. Your device might restart a few times.
When Windows is done, follow the steps to make a user account and set up your device.
You can use tools like 'Change My Software' to help you install Windows. These tools can show you what to do and help with drivers. Always use safe software to avoid problems.
Note: If your device does not see the USB drive, check the BIOS settings or try a different USB port.
Common Installation Issues and Solutions
You might have some problems when you install Windows. Here is a table with common problems and how to fix them:
Issue | Symptoms | Common Causes | Solutions |
|---|---|---|---|
Performance Degradation | Slow response, slow loading, animations do not run smooth | Too much browser cache, memory leaks, network problems, background apps | Restart often, clear cache, check network, turn off background apps, check installed software |
Touch Input Accuracy Problems | Touches do not work right, need many tries, or do not work at all | Touchscreen needs calibration, screen protector problems, electrical issues, damage | Recalibrate touchscreen, change screen protector, move device, replace broken digitizer |
Content Update Failures | New content does not show, updates are not the same, old content stays | Network problems, content cache, not enough storage, software bugs | Check network, clear cache, free up storage, restart software, ask vendor for help |
If you see any of these problems, try the fixes in the table. This will help your touch screen kiosk work well after you change the OS.
Now you have put Windows on your device. Next, you will set up the touch screen drivers to make sure everything works right.
Set Up Touch Screen Drivers
After you put Windows on your device, you need to check if the touch screen works. This step helps your TOUCH SCREEN KIOSK react to every tap and swipe.
Find Windows-Compatible Drivers
Start by looking for the right drivers for your device. Go to the maker’s website and search for drivers made for Windows. Download the newest version that matches your hardware. If you cannot find a driver, try using Windows Update to get one. Some touch screens work with Windows’ built-in drivers. Others need special software from the company.
Tip: Save the driver files on a USB drive before you begin. This makes it easy to install them right after you set up Windows.
Install and Test Touch Functionality
When you have the drivers, install them by following the steps from the maker. Restart your device when you finish installing. Test the touch screen by tapping, swiping, and trying multi-touch gestures. If the touch does not work right, use the table below to fix common problems:
Issue Description | Troubleshooting Steps |
|---|---|
Touch is not working (but display is) | Make sure the USB Upstream Cable is plugged in. Check Device Manager for HID device. |
Touch is inaccurate or misaligned | Calibrate using 'Calibrate the screen for pen and touch input' in Windows. If needed, install the special driver from the maker. |
Multi-touch gestures do not work | Check if your monitor can do multi-touch. Make sure Windows supports it. |
Touch cursor on wrong monitor | Use Windows Tablet PC Settings to calibrate the right display. |
You should also keep your drivers updated for the best results. Clean the screen with a soft, lint-free cloth. Do not use strong chemicals. Check the calibration often, especially after you move the kiosk. Teach users to tap gently and not use sharp things on the screen to keep the touch sensors safe.
Taking care of your touch screen and updating drivers helps it stay accurate and quick.
Configure Touch Screen Kiosk Mode
Setting up your TOUCH SCREEN KIOSK in kiosk mode helps you control what users can do. You can lock the device so only allowed apps run. This keeps your system safe and makes it easier for users.